You can build a solid, good-looking outdoor patio yourself in a weekend or two without hiring a contractor. The basic process is: pick your design and size, check and grade the site for drainage, choose your surface material, dig out and compact a proper gravel base, install your surface, then finish the edges and joints. Do each step in that order and you'll end up with a patio that drains well, stays level, and holds up for years.
How to Make an Outdoor Patio: DIY Step-by-Step Guide

Nolan Carver
11 May 2026
Decide your patio design, size, and layout
Before you touch a shovel, spend real time on this step because the decisions you make here drive everything else. Follow this guide to learn how to create a beautiful patio from design to installation. Start with size. A good rule of thumb is to allow at least 25 square feet per person for comfortable seating, so a 4-person dining setup needs roughly 10x12 feet as a minimum. If you're adding a fire pit or outdoor kitchen, plan bigger. 12x16 or 16x20 are popular sizes because they feel spacious but don't require a massive budget.
Think about shape next. Rectangular and square patios are the easiest to build and waste the least material. Curves and circular designs look great but require more cutting, more waste, and more patience. If this is your first patio, go rectangular. You can always add a curved border or extension later.
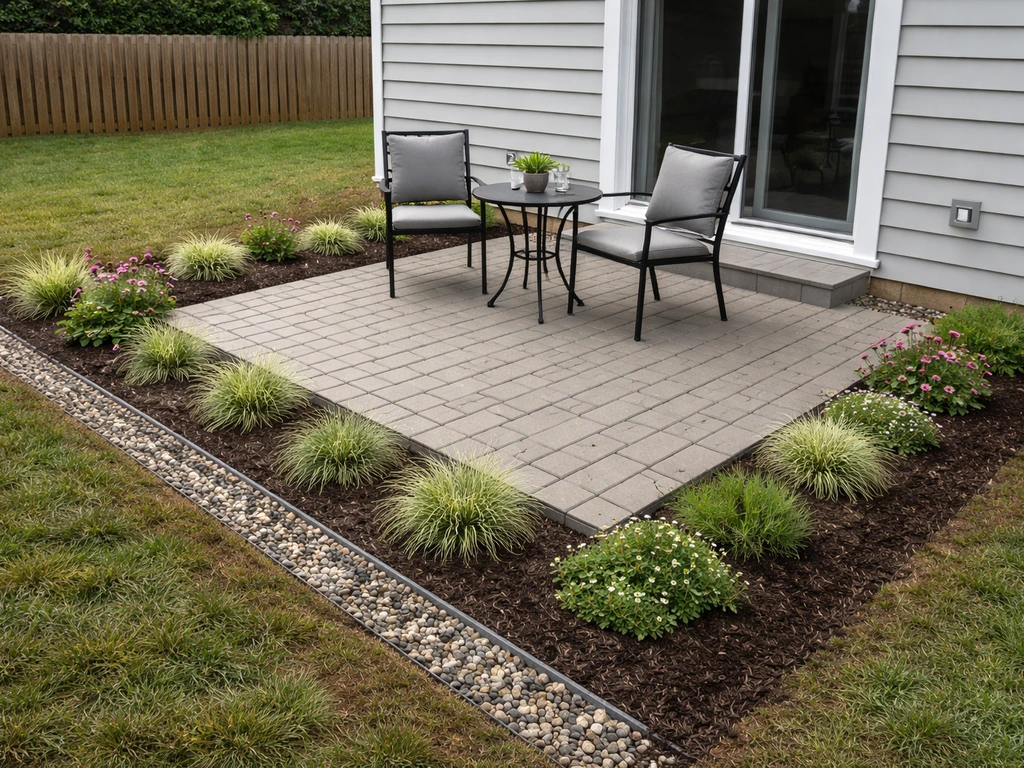
Consider how the patio connects to your house and yard. Most people place it just off the back door for easy access, which makes sense. But also think about sun and shade: a south-facing patio bakes in summer afternoons, while a north-facing one stays cool. Watch your yard at different times of day before committing to a spot. Wind direction matters too, especially if you plan to use it for dining. If you want a more curated design vibe, something like a zen garden layout or a lush patio oasis aesthetic might also influence where and how you orient the space.
Sketch it on paper with real measurements. Mark your house wall, the patio footprint, any steps down to the yard, and where drainage needs to go. That sketch becomes your reference for everything that follows.
Check the site: grading, drainage, and safety
This is the most important step most beginners skip or underestimate. A patio that drains poorly is a patio that fails. Water pooling under or around your surface causes settling, cracking, weeds, and in cold climates, serious frost heave damage.
The target slope is 1/8 to 1/4 inch per linear foot, falling away from your house. That works out to about 1 inch of drop for every 4 feet of patio. On a 12-foot-wide patio, you want roughly 3 inches of fall from the house side to the yard side. This keeps water moving off the surface without feeling like you're sitting on a ramp. Most people can't feel a 1.5% slope at all.
Check your existing grade before you dig. Use a long straight board and a 4-foot level, or better yet, a line level with string stakes. If the ground already slopes toward the house, you'll need to regrade before anything else. Grading toward your foundation is a real problem and not something to work around by hoping the base material absorbs it.
Before digging, call 811 (the US national dig-safe line) to have underground utilities marked. This is free, legally required in most states, and genuinely important. Also check if your municipality requires a permit for a patio. In many areas, ground-level patios don't need permits, but elevated or attached structures often do. A quick call to your local building department takes 10 minutes and saves potential headaches later.
Choose materials and compare costs and maintenance
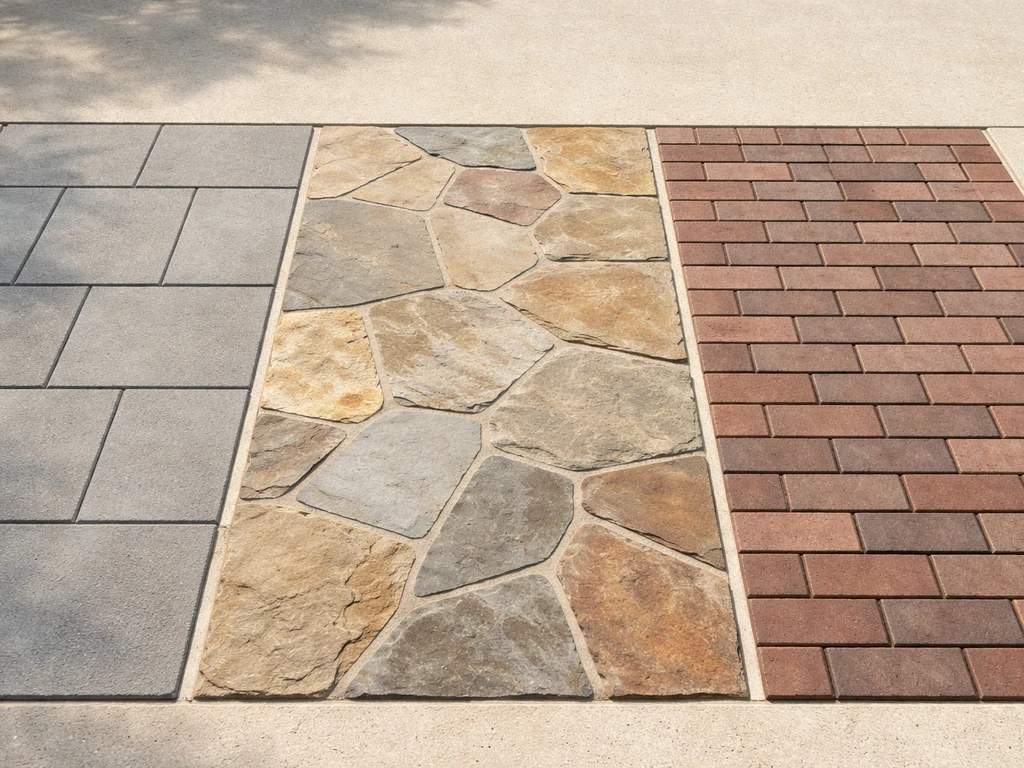
The surface material you choose affects your budget, your build complexity, and how much upkeep you'll do for the next decade. Here's an honest comparison of the most common options.
| Material | Approx. DIY Cost (per sq ft) | Install Difficulty | Maintenance | Best For |
|---|---|---|---|---|
| Concrete pavers | $3–$8 | Moderate | Low (resand joints every few years) | Most DIYers, all climates |
| Poured concrete | $4–$8 | Moderate-Hard | Low-Medium (seal every 2–3 years) | Large flat areas, clean look |
| Natural stone (flagstone) | $5–$15 | Moderate-Hard | Low-Medium (occasional releveling) | Irregular/rustic designs |
| Gravel/decomposed granite | $1–$3 | Easy | Medium (raking, topping off) | Budget builds, casual spaces |
| Brick | $4–$10 | Moderate | Low (occasional re-pointing) | Classic look, cold climates |
| Porcelain tile | $8–$20 | Hard | Low (sealing) | Modern designs, mild climates only |
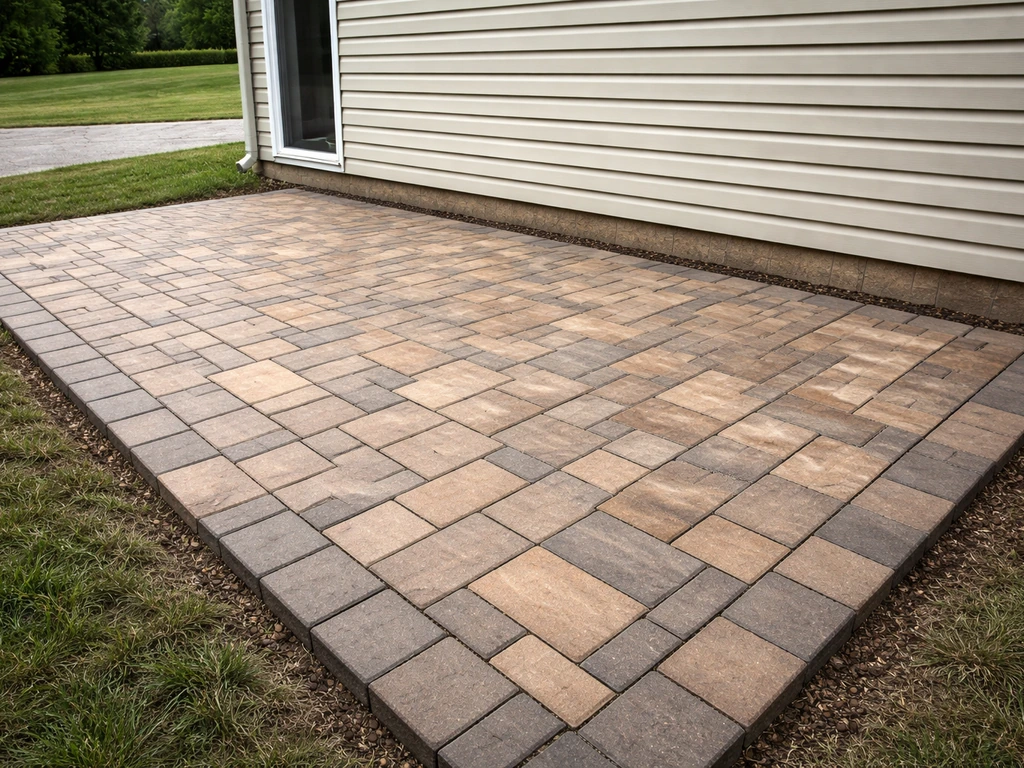
Concrete pavers are the best all-around choice for most DIYers. They're modular, forgiving to install, easy to cut with a rented wet saw, and individual pieces can be pulled up and reset if something settles. They also handle freeze-thaw cycles better than poured concrete, which tends to crack. If you're on a tight budget, compacted gravel or decomposed granite is a legitimate surface that looks great in casual or naturalistic yards and costs a fraction of anything else.
Avoid porcelain tile outdoors unless you're in a mild climate with minimal frost. It looks stunning but is extremely slippery when wet without a grip finish, and it cracks badly in freeze-thaw cycles. Poured concrete is fine but less forgiving to DIY because it has to be mixed, poured, leveled, and finished quickly before it sets.
For quantity estimates, calculate your square footage (length x width), then add 10% for cuts and waste. Most pavers are sold by the square foot or pallet, and your supplier can tell you exactly how many pieces you need once you give them the dimensions.
Plan the base: excavation, subbase, compacting, and edging
A patio is only as good as what's underneath it. A proper base is what separates a surface that stays flat and stable for 15 years from one that starts heaving and shifting after the first winter. Don't rush this phase.
How deep to dig
For most paver or flagstone patios in a temperate climate, excavate to 7–9 inches below your finished surface grade. That breaks down as: 4–6 inches of compacted gravel subbase, 1 inch of bedding sand, and the thickness of your surface material (typically 1.5–2 inches for standard concrete pavers, 1.5–3 inches for flagstone). In cold climates with deep frost, some builders go to 8–10 inches of base material for extra insurance against heave.
Subbase materials and compaction
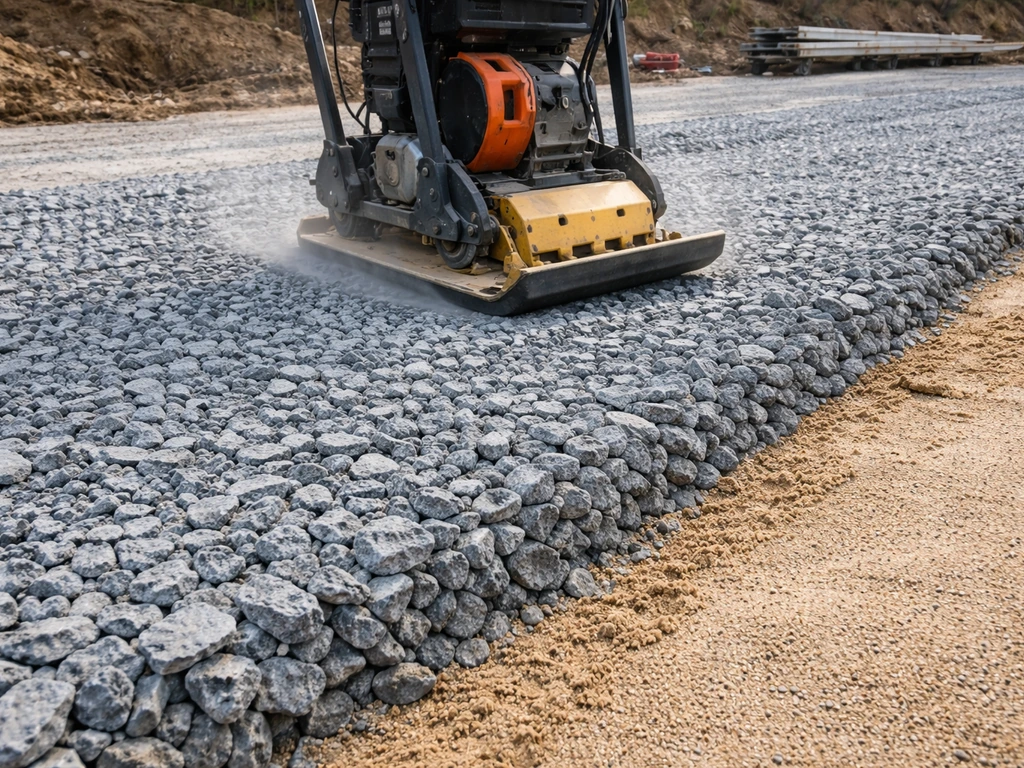
Use crushed stone (also sold as Class II base, road base, or compactable gravel depending on your region) for the subbase. This is angular gravel that locks together when compacted, unlike round river gravel which stays loose and shifts. Spread it in 3-inch lifts and compact each lift with a plate compactor before adding more. You can rent a plate compactor from any tool rental shop for about $60–$100 per day and it's absolutely worth it. Hand tamping a full subbase is exhausting and rarely achieves the same density.
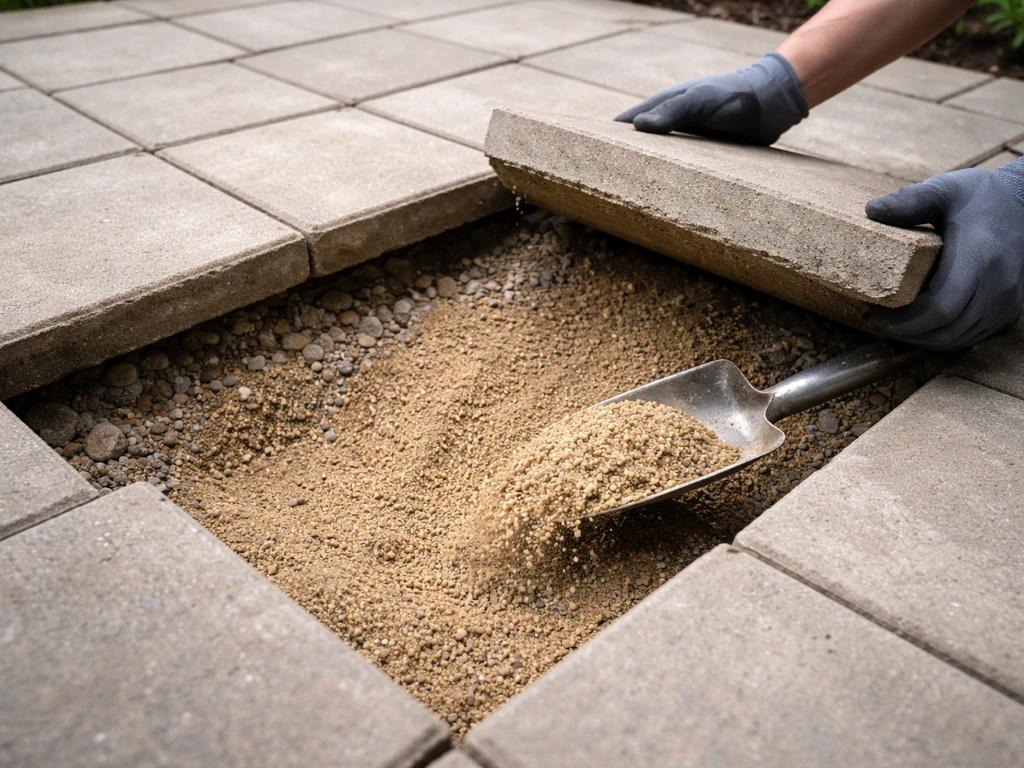
After your base is compacted, spread a 1-inch layer of coarse bedding sand (concrete sand, not play sand). Screed it flat and to your target slope using a long board pulled across two screed rails. This sand layer is what gives you the fine-tuning to get pavers perfectly level.
Edging
Install plastic or aluminum paver edge restraints around the perimeter before you start laying surface material. These are staked into the base gravel with 10-inch spikes and hold everything in tight without mortar. Without edging, pavers at the border slowly migrate outward over time, opening gaps and causing the whole surface to loosen. Edging is cheap (about $1–$2 per linear foot) and takes almost no time to install. Don't skip it.
Step-by-step installation for the patio surface
These steps are written for concrete pavers, which are the most common DIY choice, but the process is nearly identical for brick and flagstone (flagstone just requires more adjusting of the bedding sand thickness per piece).
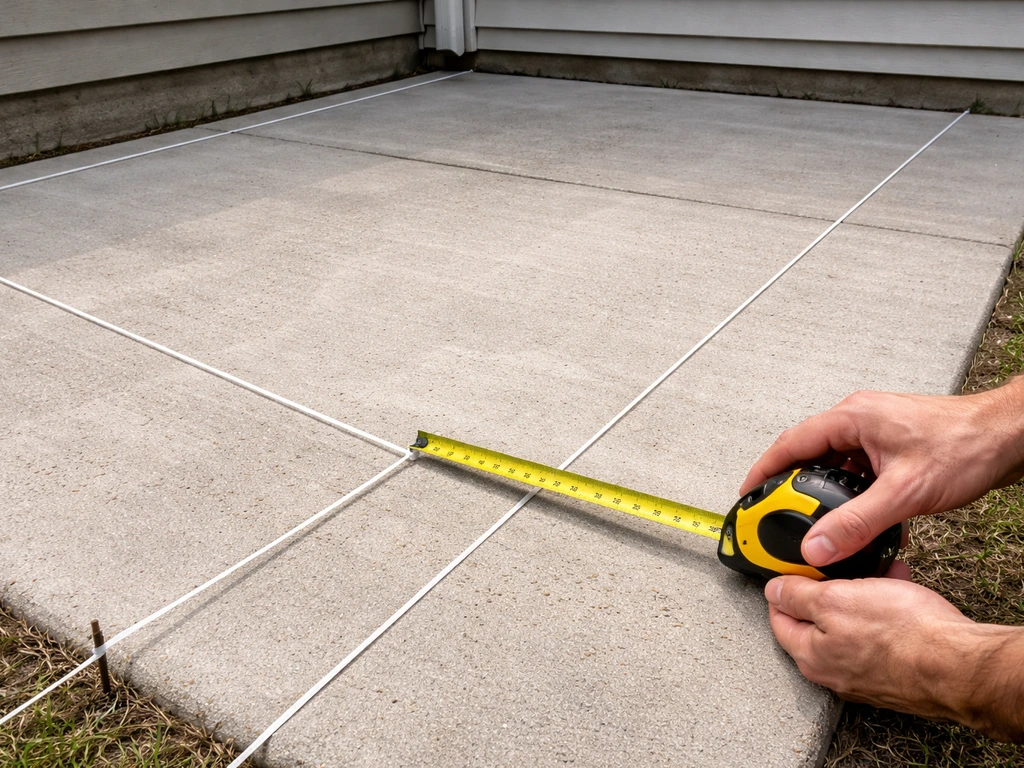
- Establish a layout line. Run a string line from the house wall along one edge of your patio area at finished surface height. This is your alignment guide. Check it's square to the house using the 3-4-5 triangle method: measure 3 feet along the house, 4 feet along the string, and the diagonal should be exactly 5 feet if you're square.
- Set your screed rails. Lay two straight pipes or rails on the compacted base at your target slope (1/8 to 1/4 inch per foot away from house), parallel to each other about 6–8 feet apart. Pour bedding sand between them and screed it flat by dragging a straight board across both rails.
- Remove the rails and fill the channels with sand, tamping lightly. Your sand layer is now a smooth, sloped bed ready for pavers.
- Start laying pavers from a corner of the house outward. Place them tightly together (most concrete pavers have built-in spacer nibs that set your joint width automatically). Do not slide them into place—set them straight down to avoid disturbing the sand bed.
- Check alignment every 4–5 rows with your string line. Minor adjustments are easy now; fixing drift later means lifting whole sections.
- Cut border pieces as needed using a rented wet saw or a chisel and hammer for straight cuts. A wet saw is much cleaner and worth the rental for anything larger than a small patio.
- Once all pavers are down, run the plate compactor over the entire surface to seat everything firmly into the sand. Make 2–3 passes in different directions.
- Spread polymeric joint sand over the surface and sweep it into all joints with a broom. Make two or three passes until joints are fully packed. Blow off all excess sand from the surface, then lightly mist with water to activate the polymeric binders. This sand hardens slightly to resist weeds and washout while staying flexible.
Finishing details and ongoing maintenance
Once the patio is down, give the polymeric sand 24 hours to cure before walking on it heavily or setting furniture. If you want to seal the pavers, wait at least 30 days after installation so any efflorescence (white mineral deposits) can work its way out. A paver sealer enhances color and makes cleaning easier, but it isn't mandatory. Apply it with a roller on a cool, dry day.
For ongoing maintenance, sweep or blow off debris regularly, since organic material sitting on the surface causes staining and feeds weeds. Resand the joints every 2–3 years or whenever you notice joint material thinning. Check the perimeter edging stakes once a year and add any that have worked loose. That's genuinely about all a well-built paver patio needs.
If you want to take the finished space further, think about the surrounding design. Adding plantings, a privacy screen, or a water feature can transform a plain patio into something that feels like a real outdoor room. Adding privacy screens, plants, or smart lighting can help you create a private patio that feels comfortable and secluded.
With a few smart details like lighting, seating zones, and the right plants, you can create a patio oasis that feels calm and inviting year-round patio into something that feels like a real outdoor room. A private patio setup or a more curated, layered look with plants and lighting can all be added over time as separate projects once the base structure is solid.
Troubleshooting common patio problems and fixes
Even a well-built patio can develop issues over time. Most of them are fixable without tearing everything out.
Uneven or sunken pavers
This is almost always a base compaction issue or water erosion underneath. Pull up the affected pavers (they lift out easily without mortar), add sand or base material to the low spot, re-compact if necessary, screed the sand flat again, and relay. It sounds like more work than it is, and taking 30 minutes to fix a low spot now prevents it from spreading.
Water pooling on the surface
If you have a low spot collecting water, your surface isn't holding the planned slope. The fix is the same as above: lift the pavers in the low zone, build up the sand bed, and relay. To prevent it from happening again, double-check your slope with a level after screeding and before laying any material. Catching a flat spot at the sand stage costs 5 minutes. Fixing it after the pavers are down costs an afternoon.
Weeds growing through joints
Regular weeds in paver joints usually mean the polymeric sand has eroded or was never installed. Pull the weeds, sweep fresh polymeric sand into the joints, compact and activate as described in the installation steps. For persistent or deep-rooted weeds, a household vinegar solution or a targeted weed killer applied to joints before resanding can help clear them out first.
Shifting or spreading pavers at the edges
If the border pavers are fanning outward, your edge restraints have failed or were never installed. Pull the edge pavers back, dig out along the border to expose the base, install fresh edge restraint with new 10-inch stakes driven fully into the base material, and relay the border pieces. This is one of the more common failures on DIY patios because people either skip the edging or use flimsy plastic that breaks down.
Frost heave lifting sections
In cold climates, frost heave happens when moisture in the soil freezes and expands under your base. A deeper base (8–10 inches of compacted gravel) that keeps moisture from sitting under the surface is the long-term fix. Short term, wait for the ground to fully thaw, then lift and relay the affected section after adding more base material if you find it's thin.
Efflorescence (white chalky stains)
This is a natural process where mineral salts migrate to the surface of concrete-based products. It usually fades on its own after a season or two of weather and sunlight. You can accelerate the process with an efflorescence cleaner (available at any masonry supply store), scrubbing with a stiff brush, and rinsing well. Sealing after the efflorescence clears helps prevent recurrence.
Your project checklist and realistic timeline
A typical 12x16 foot paver patio takes most DIYers two full weekends to complete: one for layout, excavation, and base prep, and one for laying the surface, cutting borders, and finishing. Here's a straightforward checklist to work from.
- Call 811 and get utility lines marked (do this 3–5 business days before you dig)
- Check local permit requirements
- Sketch your layout with dimensions and mark your drainage direction
- Order materials: base gravel, bedding sand, pavers (add 10% for waste), edge restraints, polymeric sand, and stakes
- Rent tools: plate compactor, wet saw, line level (most rental shops have weekend rates)
- Mark the patio footprint with stakes and string
- Excavate to the correct depth for your climate and material
- Spread and compact base gravel in 3-inch lifts
- Install edge restraints on three sides (leave the house side open until you know your final height)
- Set screed rails, spread and screed bedding sand to correct slope
- Lay pavers from the house corner outward, checking alignment every few rows
- Cut border pieces, install final edge restraint on open sides
- Run plate compactor over finished surface (2–3 passes)
- Sweep in polymeric joint sand, blow clean, mist to activate
- Let cure 24 hours before heavy use
Budget-wise, expect to spend $600–$1,200 in materials for a 12x16 patio using mid-range concrete pavers, plus $100–$200 in tool rentals if you don't own a plate compactor and wet saw. That's a total of $700–$1,400 DIY versus $3,000–$6,000 or more for a professionally installed patio the same size. The work is real but very learnable, and the result is something you built yourself that will last for decades if the base is done right.
FAQ
Can I make an outdoor patio without compacting the gravel base?
You can physically place pavers on un-compacted material, but the patio will be much more likely to settle and create low spots after the first wet season or freeze-thaw cycle. If you do not want to rent a plate compactor, reduce risk by using a thicker base than usual and compact in shorter passes, but this still rarely matches the density you get with a plate compactor.
What should I do if my yard slopes toward my house instead of away?
You generally should not “work around it” by relying on bedding sand to absorb the problem. Regrade before you build the base, then re-check the slope with a level and straight board after the sand screed stage. Fixing slope errors after pavers are down usually means lifting sections, which is a bigger job.
How can I tell whether I need drainage improvements beyond base slope?
If water pools during a heavy rain even away from the patio footprint, the issue may be yard drainage or sub-surface saturation. In that case, consider adding swales or improving yard grading around the patio, and avoid running bedding sand into low, muddy areas because it can wash out and undermine the base.
Is polymeric sand mandatory between pavers?
For a typical paver patio, it is strongly recommended because it locks joints and reduces weed growth. If you skip it, plan on more frequent joint refilling with regular sand and expect weeds to appear sooner, especially after heavy rainfall. If you use it, activation timing matters, let it cure properly and avoid over-wetting right after spreading.
How do I prevent pavers from rocking or feeling uneven when I walk on them?
Most rocking comes from uneven bedding sand depth or an under-compacted base. Before you set pavers, screed the bedding sand flat to your target slope, and after placing pavers, use a plate compactor with a paver mat (or roller made for pavers if available) to seat everything evenly.
What’s the correct way to cut pavers so the patio looks straight at the edges?
Dry-fit your main field rows first, then make edge cuts only after you confirm the layout lines. Measure and mark from a consistent reference edge, cut in small adjustments if needed, and keep cut faces oriented the same way around the patio for a cleaner look. Buying a few extra pavers for mistakes helps a lot on DIY builds.
Can I install a patio right after I regrade the ground?
It depends on soil conditions. If the ground is disturbed and still loose, it needs time to settle and dry slightly before excavation and base building. Building immediately can lead to future settling if the soil layer you compacted was not stable, so re-check grade and firmness before you start digging to the final base depth.
How long should I wait before watering polymeric sand or using the patio heavily?
After you install polymeric sand, you typically allow it to cure and then activate it per the product instructions, usually with controlled watering. Avoid heavy furniture placement and repeated foot traffic for the initial cure window, since premature disturbance can cause joint material to wash out or not lock properly.
Do I need to seal my pavers, and when is the best time to do it?
Sealing is optional, it is mainly for easier cleaning and color enhancement. If you seal, wait long enough for efflorescence to fade, and choose a cool, dry day so the sealer cures correctly. Sealing too early can trap moisture and make white residue more noticeable.
What’s the best way to handle weeds that come back quickly in the joints?
If weeds return fast, the root cause is usually eroded or improperly installed joint material, not just weeds themselves. Pull weeds, clean joints, add fresh polymeric sand, compact it, and activate it as directed. For deeper roots, spot-treat individual plants in joints before resanding rather than spraying broad weed killer across the whole surface.
My patio is sinking in one spot, should I lift only the affected pavers?
Yes, in most cases you can lift only the low section. Remove the pavers, add the right material to rebuild the base thickness or bedding depth, screed the sand back to the slope, re-lay, and compact. The key is to verify the slope with a level before placing pavers so the problem does not reappear nearby.
How much space do I need for furniture and circulation in addition to the seating area?
A seating layout based on square footage is only part of it. Plan for walk paths around the perimeter and between seating zones, a common mistake is building to “minimum seating size” and leaving no room to move chairs comfortably. If you expect a dining setup, add extra width for chair pull-out space and keep at least a couple of feet for easy circulation.
Are there any common permit mistakes homeowners make for patios?
The main mistake is assuming all ground-level patios are exempt. Rules vary by municipality and the patio’s relationship to structures, setbacks, or elevations. Call your local building department, confirm whether your design counts as a permitted structure, and check if any drainage or foundation-related reviews apply.