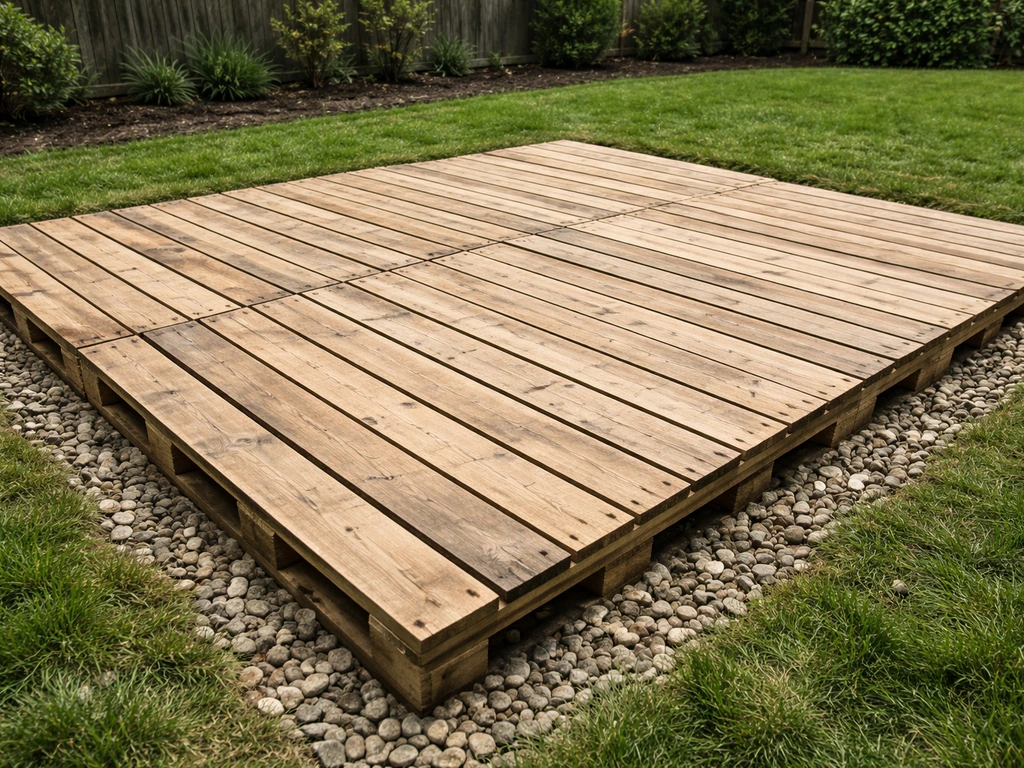
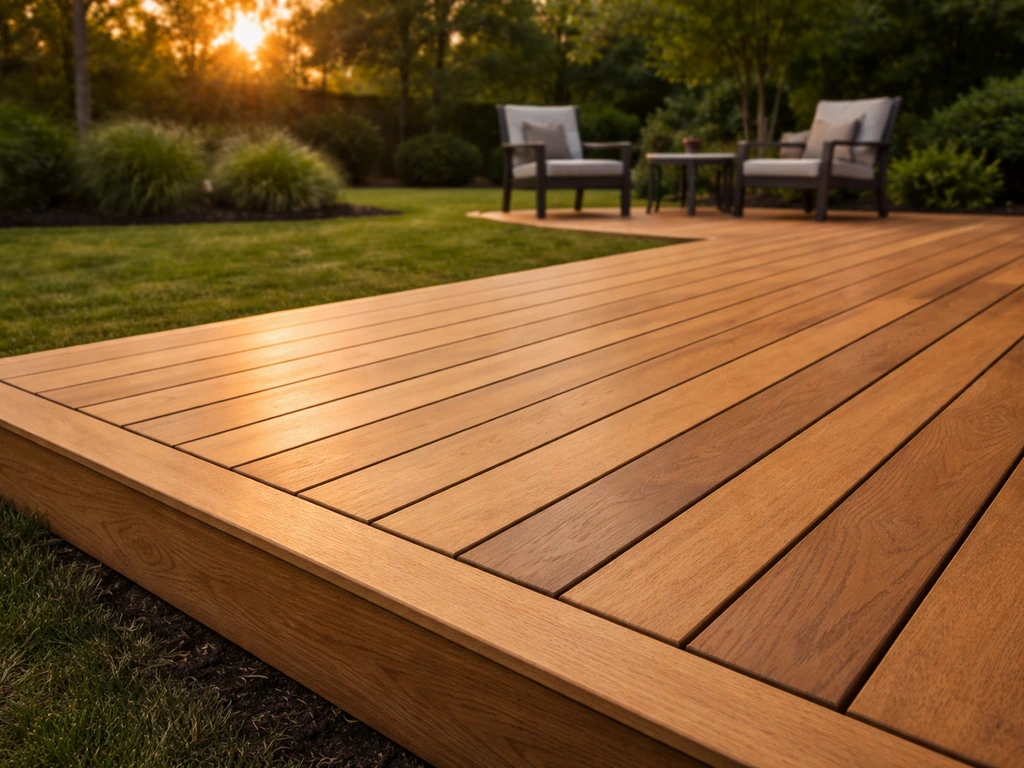
You can build a solid, attractive pallet patio deck for as little as $50 to $200 in materials, using free or cheap shipping pallets as both the structural base and the deck surface. The basic approach: prep a level site, lay down a weed barrier, arrange pallets in your desired layout, add a simple perimeter frame if needed for stability, and finish everything with a good exterior sealant or stain. It takes a weekend, a few basic tools, and some careful pallet selection. Here is exactly how to do it right.
How to Build a Pallet Patio Deck Step by Step DIY Guide

Nolan Carver
8 Jul 2026
Is a pallet patio deck a good fit for your space?
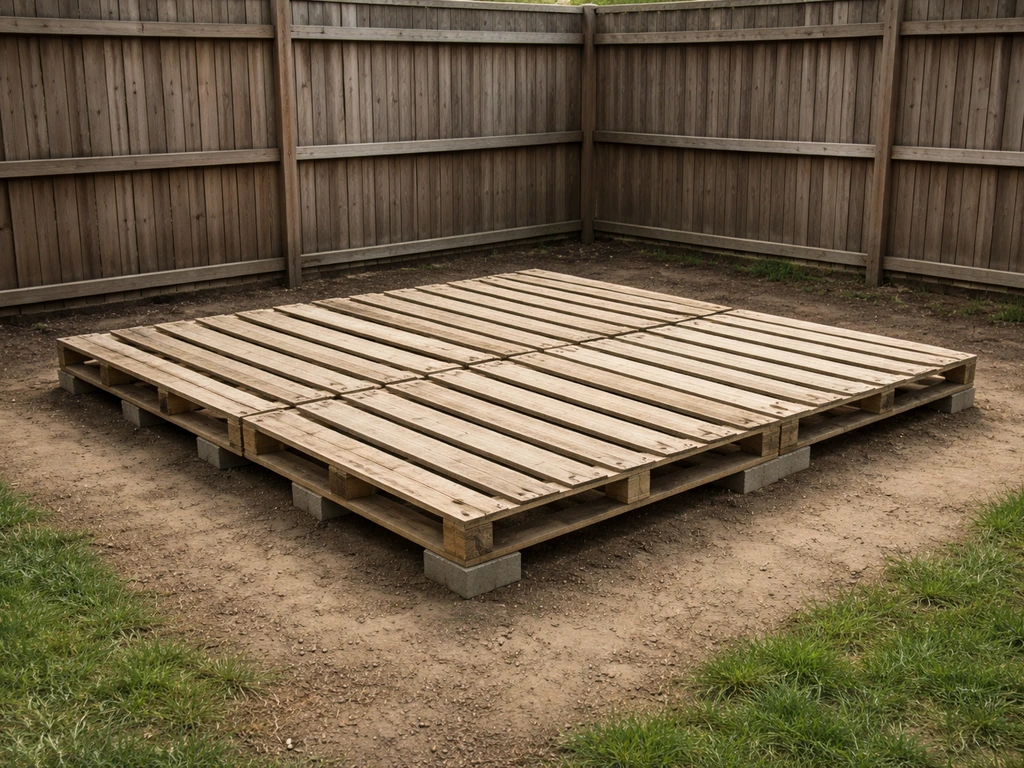
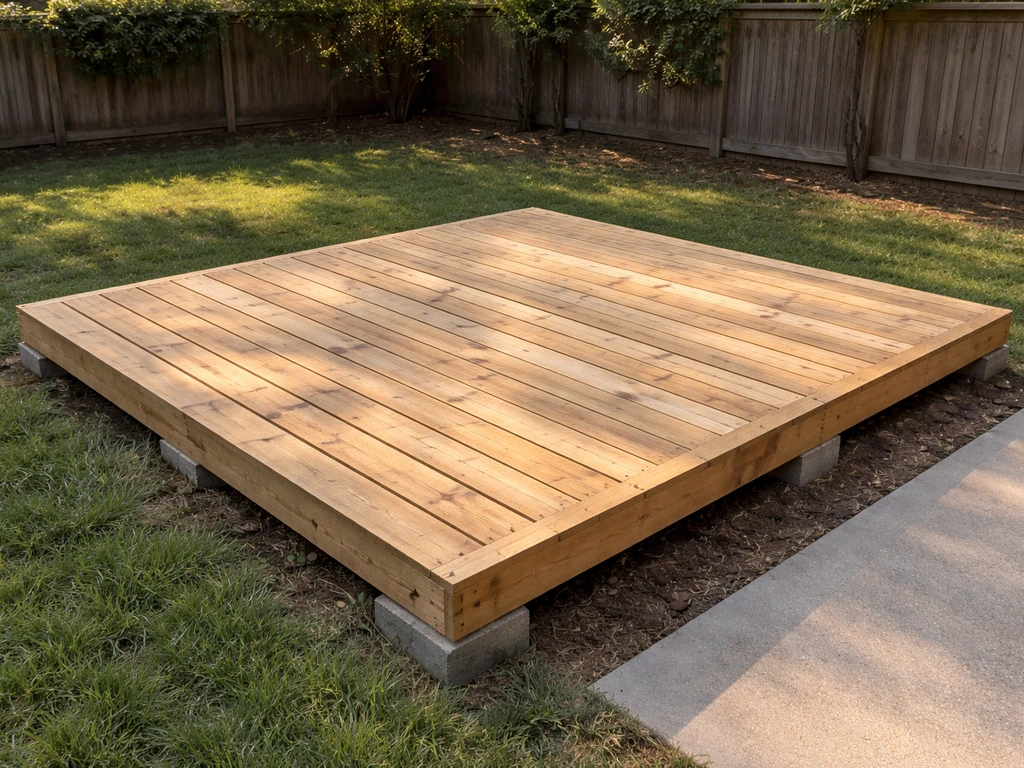
A pallet deck works best as a ground-level or near-ground-level structure, typically sitting no more than 6 to 12 inches above grade. If you are thinking about a true raised deck (more than 24 to 30 inches off the ground), pallets alone are not the right structural material. At that height, you need engineered lumber, proper footings, and in most jurisdictions a building permit. In the U.S., the IRC requires guardrails at least 36 inches tall whenever a walking surface is more than 30 inches above grade, so a raised pallet deck starts carrying real code obligations fast. Keep it low and you sidestep most of that complexity.
That said, a ground-level pallet deck is genuinely useful for a lot of common backyard situations: a small seating area off the back door, a garden lounge space on flat lawn, a simple outdoor entertaining platform, or a budget-friendly patio in a rental where you cannot pour concrete. If you want a similar guide for a finished patio using wood on the ground, focus on leveling, drainage, and proper pallet selection before you start assembling ground-level pallet deck. It suits yards that are already reasonably level or have only a gentle slope. Very steep yards, low-lying spots that regularly flood, or areas with standing water after rain are poor candidates unless you address drainage first.
Before you commit, check local rules. In the U.S., many municipalities consider even a ground-level deck a structure that may require a permit, especially if it exceeds a certain area (commonly 200 square feet). Canada varies by province, with Ontario requiring permits based on deck characteristics and some jurisdictions needing designer approvals. In the UK, the blank" rel="noopener noreferrer">Planning Portal classifies most ground-level decking as permitted development, meaning no planning application is needed, provided it meets size and position conditions. Scotland has its own Class 3D rules with specific height and size thresholds. Gov.scot Circular 1/2024 outlines the permitted development limits for householder decking and raised platforms under Class 3D, including maximum height and size thresholds blank" rel="noopener noreferrer">Scotland has its own Class 3D rules with specific height and size thresholds.. When in doubt, a quick call to your local building department takes five minutes and saves a headache later.
Planning and design basics
Start with a tape measure, not a hammer. Standard GMA (Grocery Manufacturers Association) pallets are 48 inches by 40 inches, and standard stringer pallets often come in 48 by 48. Knowing your pallet dimensions before you sketch anything means your layout will actually work without a lot of cutting. Measure your available space, decide roughly how many pallets you need, and sketch a grid on paper or a free app like SketchUp Free. A 10 by 10 foot patio takes about six 48x48 pallets or roughly seven to eight 48x40 pallets. A 12 by 16 foot space needs around twelve 48x48 units.
Level matters more than almost anything else here. Pallets are rigid rectangular blocks, and if the ground under them is uneven, you will end up with a wobbly, trip-hazard deck. Aim for no more than 1/4 inch of variation across any 10-foot span. Check your site with a long straightedge or a 4-foot level extended across a 2x4. Low spots need to be filled with compacted gravel or crushed stone. High spots need to be dug down.
Drainage is the other big one. You want water to run away from the deck, not pool under it. A slope of about 1/8 inch per foot away from any structure (like your house) is the standard guideline. If your yard slopes toward the house, you need to address that with a slight crown in your gravel base or a perimeter drainage channel before laying pallets. Skipping this step is the number one reason pallet decks rot prematurely, so do not rush past it.
Choosing your layout
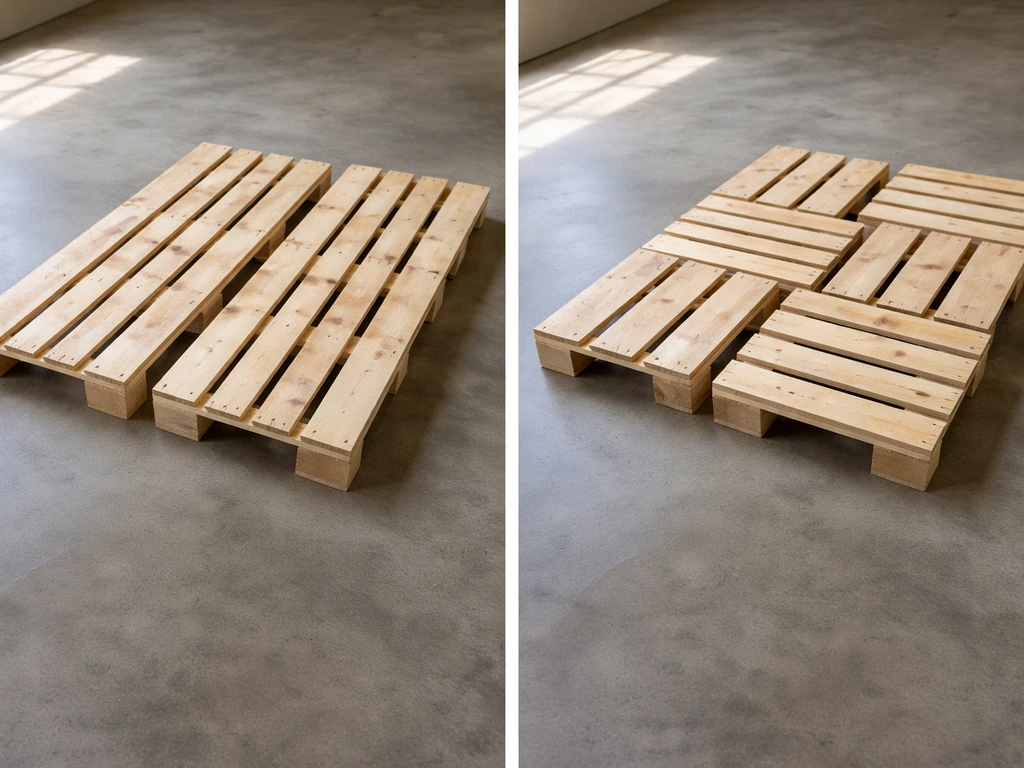
You have a few layout options. Running all pallets in the same direction gives a uniform look and makes it easy to add a perimeter frame. Alternating directions (like a brick bond pattern) creates a more interesting visual and can reduce visible gaps between units. For a deck that will see heavy furniture or multiple people, I recommend the same-direction layout with a 2x6 or 4x4 perimeter frame screwed to the outer pallet edges, which locks everything together and prevents lateral shifting over time.
Materials, tools, and pallet selection
Pallet selection is where most beginners make their biggest mistake. Not all pallets are safe to use as a deck surface. You must look for the IPPC (International Plant Protection Convention) stamp on the pallet block or stringer. The stamp tells you how the wood was treated. HT (heat treated) pallets are what you want. MB (methyl bromide) pallets were chemically fumigated and should never be used for a surface you will walk on, sit near, or put food on. Also avoid pallets stamped with any chemical product names, pallets that smell strongly of chemicals, or anything stained with an unknown substance. If there is no stamp at all, skip it.
Beyond the stamp, inspect each pallet physically. You want ones with no cracked or missing deck boards, no soft or punky wood (press your thumb into the boards, it should not compress easily), no signs of mold or heavy staining, and no protruding nails. Reject any pallet that flexes noticeably when you pick it up from one end. A structurally sound pallet should feel solid and hold its shape.
Where to get pallets
Grocery stores, home improvement centers, garden centers, and small manufacturers often give away pallets for free or sell them for $1 to $5 each. Call ahead and ask specifically for HT-stamped pallets. Hardware stores and nurseries tend to have cleaner, better-condition pallets than industrial warehouses. Facebook Marketplace and Craigslist are also reliable sources, and you can often see photos before you pick them up.
Full materials and tools list
- HT-stamped pallets (quantity based on your layout, plus 1 to 2 extras for replacements)
- Landscape fabric or weed barrier (cover the full footprint plus 6 inches on each side)
- Crushed gravel or compacted base material, 2 to 4 inches deep
- Pressure-treated 2x6 or 4x4 lumber for perimeter framing (optional but recommended)
- 3-inch exterior-grade screws or galvanized ring-shank nails
- Joist hanger hardware if building a framed base (galvanized)
- Exterior wood sealant, stain, or decking oil (water-repellent, UV-resistant)
- Wood filler or exterior caulk for large gaps
- 4-foot level and long straightedge
- Tape measure
- Circular saw or miter saw (for trimming pallets or frame lumber)
- Drill/driver with bits
- Pry bar and hammer (for removing or replacing damaged boards)
- Work gloves and safety glasses
- Wheelbarrow and rake (for gravel base)
How to build it: step by step
Step 1: Prep the site
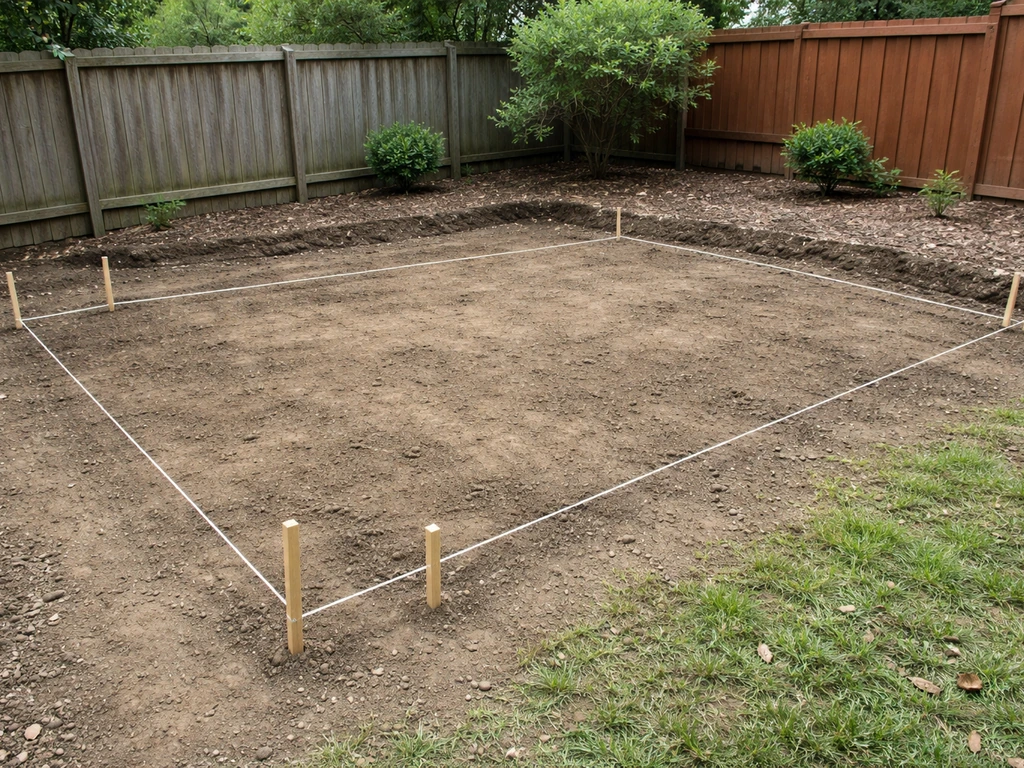
Mark out your full deck footprint with stakes and string line, extending the boundary about 6 inches beyond the outer pallet edges on all sides. Clear the area completely: remove sod, grass, large rocks, and any debris. Dig down about 3 to 4 inches across the entire footprint. This gives you room for your gravel base without the deck sitting too high above the surrounding grade.
Lay landscape fabric across the entire excavated area, overlapping seams by at least 6 inches and securing the edges with landscape staples. This prevents weeds from growing up through your deck and helps with moisture management. Then pour in 2 to 3 inches of crushed gravel or compactable base material and rake it level. Compact it with a hand tamper or plate compactor (rentable for about $50 to $75 per day). Check for level across the entire surface. This base is your foundation, so take your time here.
Step 2: Build a perimeter frame (recommended)
For anything larger than a simple 2-pallet sitting nook, build a basic perimeter frame from pressure-treated 2x6 lumber. If you also want a patio bar, you can build a matching pallet bar top and seating height next to the deck so the whole outdoor area looks cohesive. This frame sits directly on your gravel base and defines the outer boundary of the deck. Cut your frame pieces to the exact outer dimensions of your pallet layout and assemble them with 3-inch exterior screws, driving two screws per corner. Check the frame for square by measuring diagonally from corner to corner: if both diagonal measurements match, you are square. If they do not, rack the frame gently until they do before locking it down.
If you want the pallets to sit flush with the top of the frame, select a 2x6 because most standard pallets are about 5.5 inches tall, which matches a 2x6 almost perfectly. This keeps the surface flat and gives you a clean edge to finish later. For very large layouts, add one or two interior cross-members to prevent the frame from bowing inward over time.
Step 3: Set the pallets
Start placing pallets from one corner, working your way out. Set each pallet down, check it with your level, and shim low spots with flat stones, composite shims, or small pieces of pressure-treated scrap. Follow the same process for a pallet patio, from planning and leveling the base to securing the pallets and weatherproofing the surface. Do not use wood shims that will absorb moisture and rot. Once each pallet is level, connect it to its neighbors: drive 3-inch exterior screws through the stringer of one pallet into the stringer of the adjacent one at multiple points. This step is what separates a solid, stable deck from a collection of loose pallets that shifts and separates over time.
If your layout does not divide evenly into whole pallets, you have two options. You can cut pallets with a circular saw to fill the gap, which works fine as long as you keep at least one full stringer intact on each cut piece. Or you can fill the gap with a simple frame-and-deck-board infill built from standard lumber, which actually looks cleaner and gives you a custom fit. Either way, secure all cut pieces to the perimeter frame.
Step 4: Secure the deck to the frame
Once all pallets are placed and shimmed level, screw the outer pallets down into the perimeter frame: drive screws every 12 to 16 inches along each exterior edge. This locks the whole assembly together so it moves as one unit rather than individual pieces. Check for wobble by pressing down firmly on various points across the deck. If anything still rocks, add shims under the low corner before final screwing.
Finishing, weatherproofing, and keeping it safe
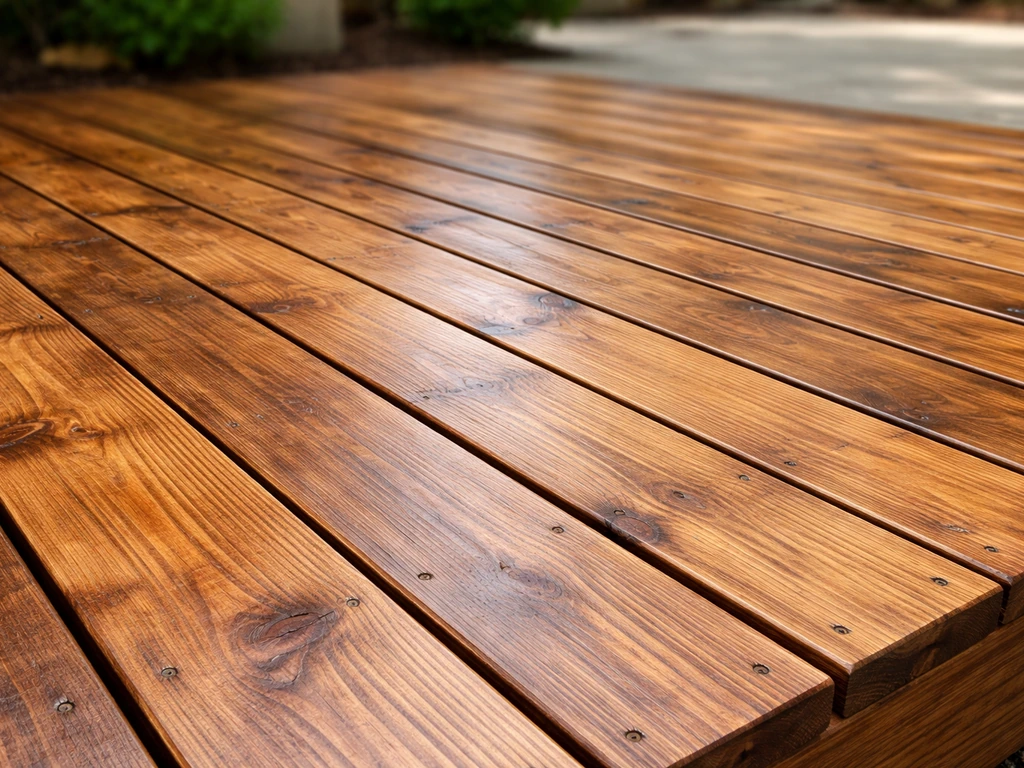
Raw pallet wood is almost always pine or spruce, and unprotected softwood outdoors will start showing gray, cracking, and early rot within one season in most climates. If you are wondering how to build a timber patio, choosing the right finish and protecting the wood from moisture is one of the biggest differences between a patio that lasts and one that fails quickly. Before you apply any finish, sand the top surface of every pallet with 60-grit sandpaper to knock down splinters and rough edges, then follow with 80-grit for a smoother walking surface. Wear a dust mask: old pallet wood can release a lot of fine dust. Fill any large gaps or cracks with exterior wood filler and let it cure fully before finishing.
Sealing and staining options
| Finish Type | Best For | Typical Cost (per gallon) | Recoat Interval | Notes |
|---|---|---|---|---|
| Clear water repellent sealer | Natural wood look, UV-resistant protection | $20–$35 | Every 1–2 years | Good starter option; shows off wood grain |
| Semi-transparent stain + sealer | Color with grain visible, moderate UV protection | $30–$50 | Every 2–3 years | Best balance of protection and appearance |
| Solid color deck stain | Full color coverage, hides rough grain | $35–$55 | Every 3–5 years | Best durability; harder to sand off later |
| Decking oil (e.g., Cabot, TWP) | Deep penetration, natural finish | $40–$60 | Every 1–2 years | Great for hardwoods, works on softwood too |
Apply your chosen finish with a brush or roller, working it into the gaps and edges, not just the flat top surface. The underside of the pallet deck boards will absorb moisture from below, so if you can get some sealant on the underside faces before setting the pallets, do it. It takes an extra 20 minutes and meaningfully extends the deck's life.
Rot and termite prevention
The gravel base helps because it drains quickly and does not hold moisture against the wood the way bare soil does. Still, the biggest rot risk is anything that traps moisture in contact with the pallet stringers: leaf debris, dirt that blows in, potted plants sitting directly on the wood for months. Clear debris from the gaps every spring and fall. Lift potted plants onto feet or risers so water can drain freely. If you live in a termite-prone area (most of the U.S. south and southwest), treat the underside of the frame and perimeter lumber with a borate-based wood preservative like Timbor before assembly. It soaks into the wood and makes it unpalatable to termites and carpenter ants without posing a risk to you or your pets once dry.
Safety checks to do before anyone uses the deck
- Walk the entire surface and press down with your full weight at every pallet corner: nothing should flex more than about 1/4 inch
- Run your hand across every board edge to find any remaining splinters or protruding nail heads, hammer them flush or replace the board
- Confirm the deck does not rock or shift when you walk across it; if it does, add shims and re-secure
- Check that water drains away from the deck (pour a bucket of water on one end and watch where it goes)
- Verify no pallet boards are cracked through, soft, or showing signs of active rot
Budget, timeline, and mistakes to avoid
What this project actually costs
| Item | Budget Option | Mid-Range Option |
|---|---|---|
| Pallets (10–12 units) | Free (sourced locally) | $10–$60 (bought) |
| Gravel base (2–3 inches, ~100 sq ft) | $20–$40 (bags) | $50–$80 (bulk delivery) |
| Landscape fabric | $10–$20 | $20–$30 |
| Perimeter frame lumber (PT 2x6) | $40–$70 | $70–$120 |
| Screws, hardware | $15–$25 | $25–$40 |
| Sealant or stain | $25–$40 | $40–$70 |
| Sandpaper, tools (if renting) | $0 (own tools) | $50–$75 (plate compactor rental) |
| Total estimate (10x10 ft deck) | $110–$195 | $265–$425 |
A straightforward 10 by 10 foot pallet deck built over a weekend is realistic. Day one covers site prep and gravel base (3 to 5 hours). Day two handles pallet layout, framing, securing, and sanding (4 to 6 hours). Sealing can happen on day two after the sanding dust settles, or on a separate day if rain is forecast. Add half a day if you are working alone versus with a helper.
Common DIY mistakes and how to fix them
Using MB-stamped or unstamped pallets is the most dangerous mistake, both for your health and for the deck's longevity. There is no safe way to remediate a chemically-treated pallet, so just replace it.
Skipping the perimeter frame on anything larger than two pallets creates a deck that slowly spreads apart at the seams as people walk on it and the ground shifts seasonally. You will see gaps opening up between pallets within a year. The fix is to lift the outer pallets and add the frame retroactively, which is annoying but doable.
Not leveling the base properly leads to uneven pallets that rock, boards that crack under uneven load, and water that pools in low corners. If you notice a corner or section that is consistently wet after rain, it means water is not draining away. Lift those pallets, add gravel to the low spot, re-compact, and re-level before resetting.
Gaps between pallet boards that are too wide (over about 1/2 inch) are a trip hazard, especially for kids and older family members in shoes with thin soles. You can fix small gaps with exterior wood filler, or for larger gaps, use a pry bar to gently shift boards closer together and then refasten. If individual boards are cracked or missing, a pry bar and replacement deck boards (1x4 or 2x4 pressure-treated lumber cut to length) work perfectly to patch in.
Structural wobble after the deck is finished usually means a pallet is sitting on a high spot on one corner rather than flat across all four stringers. Lift the problem pallet, check the base with your level, fix the high or low spot, and reset. It sounds tedious but it takes about 20 minutes once you identify which pallet is the culprit.
What to do before you buy a single board
- Measure your space and sketch a pallet layout to scale on paper, noting exact pallet dimensions
- Check for drainage: pour a bucket of water on the site and watch which way it flows and whether it pools
- Confirm the site is reasonably level with a 4-foot level (within 1 inch across the full footprint is workable; more than that requires grading first)
- Call your local building or planning department and ask whether a ground-level deck of your planned size requires a permit
- Source and inspect your pallets before building day so you are not stuck waiting for acceptable ones
- Check the weather forecast: you need at least 48 hours of dry weather for the sealant to cure properly
This project is one of the most accessible outdoor builds you can take on as a DIYer. The materials are cheap, the skills required are basic, and the result gives you a real usable outdoor space in a weekend. If you enjoy this and want to go further, a pallet patio bar or a full wood patio with dimensional lumber follows many of the same principles but gives you more design flexibility and structural options. Start here, get comfortable with the process, and you will have a solid foundation (literally) for tackling bigger outdoor projects.
FAQ
How high can a pallet patio deck be before it stops being a simple DIY build?
For a pallet patio deck that is meant to be stable, plan it as a low, near-ground surface. A practical rule is to keep the walking surface within about 12 inches of grade, then frame the outer edges and screw pallets together through the stringers. If you truly need a raised deck (over roughly 24 to 30 inches), treat it as a conventional deck build (footings, engineered structure, and guardrail requirements), not a pallet-only project.
What should I do if my yard is sloped or uneven for a pallet patio deck?
If your yard is on a gentle slope, you can still do it, but you should not rely on thick shims under pallets to compensate for many inches of difference. Instead, adjust the gravel base so pallets sit flat across their stringers, and consider a slight “crown” so water drains away from the house. If the slope is dramatic or you get standing water, you will likely need a different drainage strategy or a step-down design.
Can I build a pallet patio deck directly on the ground if I use weed barrier?
Yes, but only use the right base strategy. Do not lay pallets directly on soil, even with fabric, because you can end up with trapped moisture and faster rot. Use excavated depth (about 3 to 4 inches), weed fabric, then a compacted gravel base. If the area is very wet, increase drainage capacity by using more gravel and ensuring water can flow around and away from the deck footprint.
How can I tell if pallets are safe for walking, and what do I do if I find MB-stamped or unstamped pallets?
Avoid wood that was chemically fumigated or is unknown. Use pallets that have an IPPC stamp showing heat-treated (HT). Do not use MB-stamped pallets for walking or sitting areas, and skip pallets with chemical product names or strong chemical odors. If there is no stamp, replace the pallet rather than trying to “clean it out,” because you cannot safely remediate unknown chemical treatment for reuse.
What is the best way to finish pallet wood so it stays comfortable and resists weathering?
Sand from coarse to smoother for comfort, then seal thoroughly. In practice, you want to knock down splinters on the top surface (and edges) and address gaps with exterior wood filler, then apply a penetrating exterior sealer or stain made for softwood decking. Recoat on a schedule that matches your local weather (often every 1 to 3 years), because pallet decks rely on surface protection to slow cracking and moisture uptake.
What should I use to shim pallets if the base is not perfectly level?
Use flat, non-rotting shims only, and keep the under-surface as dry as possible. The guidance that helps most is: never use absorbent scrap wood under stringers, because it becomes a moisture sponge and creates weak points. If you need leveling corrections, use composite shims or flat stones, then re-check level across the deck after everything is screwed down.
Is a perimeter frame really necessary, and what happens if I skip it?
For the outside boundary, screw pallets into a perimeter frame and also connect adjacent pallets through the stringers. This turns many loose boards into one stable surface. If you skip the frame on anything beyond a very small nook, the deck can spread at seams with seasonal movement, which creates gaps and wobble you then have to fix later.
What’s the safest way to handle wide gaps between pallet boards on a deck?
A trip hazard often shows up when boards shrink after drying or when spacing is excessive. Target about 1/2 inch or less between boards as a safety threshold. For small spacing issues, exterior wood filler can work. For larger gaps or movement, you may need to pry boards closer carefully and refasten, or patch with replacement pressure-treated deck boards cut to fit.
How do I prevent water pooling under the pallet deck, especially if water flows toward my house?
Yes, but treat drainage as a design problem, not an afterthought. If your yard slopes toward the house, you should create a drainage path away from the structure, often with a slight crown in the gravel base and clear runoff routes around the deck. If you notice consistent wet corners after rain, lift that section, correct the gravel depth, recompact, and reset the pallets.
Which pallet layout direction is best for stability and looks, straight or alternating?
Choose a plan that matches how you will use the space. Same-direction pallet layout with a perimeter frame tends to be easier to align and lock down, especially for heavier furniture. Alternating directions can look more patterned, but it still needs the same level base and solid connections so joints do not open over time.
What is the best way to handle leftover space if my patio footprint does not match full pallets exactly?
If your layout does not divide evenly, cutting can work, but only if you keep at least one full stringer intact on the cut piece so you do not create a weak section. An alternative is a frame-and-deck-board infill that looks cleaner and avoids partially supported pallet segments. Either way, secure every cut or infill piece into the perimeter frame so movement does not concentrate at the seam.
Do I always need a permit for a ground-level pallet patio deck, and what should I ask the building department?
General DIY guidance depends on local rules and the deck size, but the key is to check area thresholds and whether it is considered “attached” or “free-standing” in your jurisdiction. Even ground-level decks can need permits if they exceed a certain footprint, and some regions require engineered elements for certain conditions. When you call, ask what triggers a permit (height, area, and whether it connects to the home) and whether you need inspections.