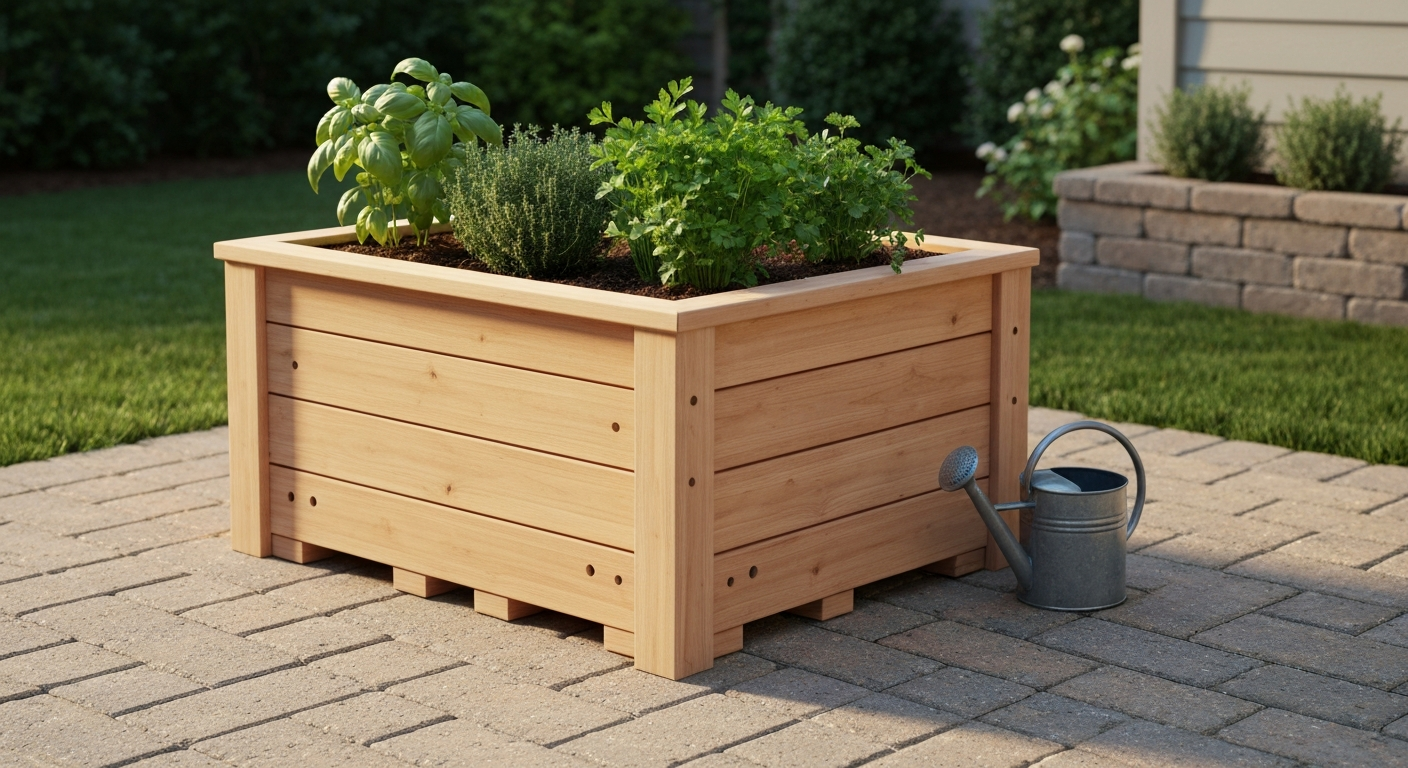
You can build a solid patio planter box in a single afternoon using basic lumber, a handful of screws, and a few common tools. The most beginner-friendly starting point is a cedar box sized roughly 24 inches long by 12 inches wide by 12 inches deep, it holds enough soil for herbs, flowers, or compact vegetables, it won't overwhelm a small patio, and the whole project costs around $30 to $50 in materials. Once you understand that one build, scaling up to a long 48- to 96-inch planter or a multi-section system is just repeating the same logic with a few extra joints.
How to Build a Patio Planter: Step-by-Step Plans & Tips

Nolan Carver
24 Jul 2026
What this guide covers and who it's for
This guide walks you through every stage of building a patio planter box, from the first decision about size and material, through the actual cut list and build steps, all the way to filling, planting, and keeping the planter in good shape year after year. It covers single small planters, long multi-section planter runs, raised planter boxes, mobile planters on casters, and planters that integrate directly into a deck or patio edge. Whether you're searching for how to build a patio planter, how to make a planter box for a patio, or just want a good-looking patio planter box without paying retail prices, you're in the right place. I've written it for absolute beginners who've never made a single cut, but there's enough depth here for experienced builders too.
Make these decisions before you buy anything
Rushing to the lumber yard before answering a few basic questions is the number one reason people end up with a planter that's the wrong size, in the wrong spot, or made from a material that won't last. Run through this checklist first and your build will go much smoother.
- Size: How much planting space do you actually need? A 24"×12" box suits herbs and annuals; a 4'×2' or 4'×8' bed handles vegetables. Bigger isn't always better — larger planters are dramatically heavier once filled.
- Placement: Is the planter going on a wood deck, a concrete patio slab, pavers, or a balcony? Each surface has different load, drainage, and anchoring considerations.
- Mobility: Do you need to move the planter seasonally or to chase sun? If yes, keep the box under about 18" in any dimension and plan for casters rated for the loaded weight.
- Material: Cedar and redwood look great and resist rot naturally. Composite is virtually maintenance-free. Concrete and metal last longest but are the heaviest. More on this below.
- Sunlight: Full-sun vegetables need 6 to 8 hours of direct light. Herbs and most annuals need at least 4. Map the sun patterns on your patio before you pick a permanent spot.
- Budget: A small cedar box runs $30–$60 in lumber. A long composite planter system can run $200–$500+. Be honest about your budget before you fall in love with a design.
Design basics: shape, depth, and single vs. multiple boxes
The most practical planter shapes for a patio are rectangles and squares. They're easy to build, easy to line up against a wall or railing, and efficient with standard lumber lengths. Avoid anything with compound angles on your first build, the joints are fussy and the extra effort doesn't gain you much planting space.
Depth matters more than most people realize. University extension research on container gardening gives clear guidance: shallow-rooted annuals and leafy greens only need 4 to 8 inches of soil. Mid-size crops like peppers, herbs, and chard need 8 to 12 inches. Tomatoes, large vegetables, and potatoes need 12 to 18 inches or more. Building a 12-inch-deep box is a sweet spot that handles most crops and keeps weight manageable. Going shallower than 8 inches to save money tends to backfire because the soil dries out too fast.
Single versus multiple boxes is mostly a question of access and weight. A single long planter (say, 8 feet) looks clean and unified but is basically impossible to move once filled. Two or three shorter boxes lined up give you the same visual run but let you rearrange or bring them inside for winter without a crew. If you're planting on a deck, multiple smaller boxes also let you distribute weight across more joists, which matters, more on that in the safety section.
Raised versus integrated planters are two distinct approaches. A freestanding raised planter sits on top of your patio surface and can be moved (weight permitting). An integrated planter is built as a permanent part of the patio structure, framed into a deck edge, for example, or constructed from the same concrete block as a retaining wall. Integrated planters look more finished but require more planning and are harder to change later. If you're new to patio building, start freestanding.
Which material is right for your planter?
Each material has a real personality once you've built with it. Here's an honest rundown, followed by a side-by-side comparison so you can make a fast decision.
Wood
Cedar is my top recommendation for a first patio planter. It's lightweight, easy to cut with basic tools, naturally rot-resistant, and smells great while you're working it. Redwood performs similarly but costs more in most regions. If you want to grow edibles, university extension guidance (OSU, University of Maryland, and others) consistently recommends cedar or redwood over pressure-treated lumber, because even the modern copper-based preservatives (ACQ and copper azole, used since 2004) can show trace copper increases in soil within about an inch of the wood. Multiple university extensions note that modern ACQ/CA pressure‑treated lumber (post‑2004 formulations) no longer contains arsenic like old CCA lumber but research shows trace copper increases in soil within about an inch of the wood edges; see Growing Vegetables in Raised Beds (University of Maryland Extension) for guidance. That said, modern ACQ/CA-treated lumber no longer contains arsenic like old CCA lumber did, and extensions generally say it's acceptable for raised beds, just avoid it for seedlings or line the inside if you want to be cautious. Pine and fir are cheaper but will rot faster without a liner or finish.
Composite lumber
Composite decking boards (brands like Fiberon, Eva-Last, and others) make excellent planter walls. They won't rot, they don't need painting, and many profiles are rated for ground contact, check the manufacturer's Technical Data Sheet for your specific product before building. The downsides are cost (roughly 2 to 3 times more than cedar per linear foot) and the fact that composites don't hold screws at the end grain the same way wood does, so you need to think through your joinery a bit more carefully.
Metal
Galvanized steel and Cor-Ten (weathering steel) planters are extremely durable and have become popular for their industrial aesthetic. Galvanized steel is the budget option; Cor-Ten develops a rust patina that seals the surface over time. Both hold up for decades with minimal care. The catch is weight, even before soil, a large metal planter is heavy, and metal transfers heat rapidly, which can stress plant roots in summer if the planter faces full afternoon sun.
Concrete and masonry
Concrete block, brick, and poured concrete are essentially permanent installations. They're the heaviest option by far and almost always require a structural review before going on a deck. On a ground-level concrete patio slab, they're straightforward and extremely long-lasting. Good for integrated designs; overkill for a moveable planter.
Prefab planters
Prefab options (fiberglass, resin, foam-core composite) are worth mentioning as a no-build alternative. A high-quality fiberglass planter looks like concrete or terracotta, weighs a fraction of the real thing, and lasts for years. If building isn't your focus, a premium prefab is completely valid. But if you're here for the build, read on.
| Material | Typical Cost (small planter) | Weight (empty) | Lifespan | Best For | Watch Out For |
|---|---|---|---|---|---|
| Cedar / Redwood | $30–$60 | Light | 10–20 yrs with care | Edibles, beginners, rental-friendly | Needs occasional sealing or oiling |
| Pressure-treated pine | $20–$40 | Light | 15–25 yrs | Non-edible or lined planters, budget builds | Copper leaching near edibles; line interior |
| Composite lumber | $80–$180 | Light-medium | 25+ yrs | Low-maintenance, long runs | Higher cost, end-grain fastening |
| Galvanized steel | $50–$150 (DIY) | Medium-heavy | 20–30+ yrs | Modern/industrial look, durability | Heats up in sun, sharp edges during fabrication |
| Concrete / masonry | $40–$200+ | Very heavy | 50+ yrs | Permanent integrated planters, ground-level | Requires structural check on decks |
| Prefab fiberglass/resin | $60–$300+ | Light | 15–25 yrs | No-build option, realistic look | Limited customization of size/shape |
Patio load, drainage, and safety, don't skip this part
Soil is heavy. This is the part most people underestimate, and it's genuinely important if your planter is going on a wood deck, a balcony, or any elevated surface. Let me give you a real number: a 4-foot by 8-foot planter filled to 12 inches deep holds 32 cubic feet of soil. At a moist soil density of roughly 2,400 pounds per cubic yard, that single planter holds around 2,850 pounds of soil alone, before you add the wood box, water from rain, or plants. That is not a trivial load.
The International Residential Code (IRC) prescribes a design load for residential decks of 40 psf live load plus 10 psf dead load, 50 psf total. A large planter concentrated in one area can easily exceed that. For accessible roof gardens, loads up to 100 psf are common requirements under the IBC, and ASTM E2397/E2399 provide standard methods for calculating saturated growth media weights. The practical takeaway: if you're placing any significant planter on a deck or balcony, calculate the loaded weight and check it against your deck's capacity. When in doubt, consult a structural engineer before you build. It's a single phone call and usually costs less than $150 for a simple review.
Here's a simple way to estimate your planter's loaded weight: multiply the interior length (feet) by width (feet) by depth (feet) to get cubic feet, then multiply by 96 pounds per cubic foot (saturated soil weight, use this number for the worst case). The Topsoil.com industry guide reports typical topsoil weights varying roughly from 1,500 to 3,000 lb per cubic yard depending on moisture (dry → saturated) and advises using saturated weights when checking deck or roof load capacity How Much Does a Cubic Yard of Topsoil Weigh? — Topsoil.com (industry guide with ranges). Add the weight of the box itself (typically 15 to 40 pounds for a wood box in the sizes we're discussing). That total is what your patio surface needs to support.
Drainage is the other non-negotiable. Every planter must have drainage holes in the bottom, at least one 3/4-inch hole per square foot of base area. Without drainage, roots rot, soil turns anaerobic, and your plants die. On a wood deck, direct drainage can stain or accelerate rot on the decking below, so either use a saucer (and empty it after heavy rain), elevate the planter on feet to allow airflow, or route drainage toward a gap in the decking. On concrete or pavers, drainage is less of a structural concern, but standing water under a planter will still promote mold and wood rot. I always add at least a half-inch of coarse gravel inside the base of any wood planter before adding soil mix.
Tools, fasteners, and safety gear you'll need
You don't need a full shop to build a great planter. Here's what you actually need for the projects in this guide.
Tools
- Measuring tape (at least 16 feet)
- Speed square or combination square
- Circular saw or miter saw (a circular saw handles everything here)
- Drill/driver (cordless is much easier; 18V is plenty)
- Drill bits: 1/8" pilot bit, 3/8" countersink bit, and a 3/4" spade or Forstner bit for drainage holes
- Clamps (at least 2 medium bar or F-clamps to hold corners while you drive screws)
- Pencil and marking knife
- Sandpaper (80-grit and 120-grit)
- Safety glasses and hearing protection
- Work gloves
Fasteners and hardware
Use exterior-rated fasteners every time, regular zinc screws will rust within a season outdoors, leaving ugly stains and weakening joints. Simpson Strong-Tie and other manufacturers publish clear guidance on matching fastener finish to environment and wood type. For cedar or composite, use Type 305 or Type 316 stainless steel screws, or hot-dip galvanized (HDG) screws. If you're using ACQ pressure-treated lumber, you must use HDG or stainless, because ACQ reacts with standard galvanized and causes accelerated corrosion. The standard fastener for these planter builds is a 2.5-inch (2-1/2") or 3-inch coarse-thread exterior screw. For larger planters with corner posts, 3/8-inch galvanized carriage bolts add real strength.
- 2-1/2" or 3" exterior coarse-thread screws (stainless or HDG) — one 1-lb box handles most small planters
- 3/8" x 3" galvanized carriage bolts with nuts and washers (for corner posts on large planters)
- Exterior wood glue (optional but adds joint strength)
- Landscape fabric or mesh (to line the interior and keep soil from washing out drainage holes)
- Exterior wood finish, stain, or linseed oil (for cedar/wood planters)
Build plan: small single planter (24"×12"×12")
This is the build I recommend for first-timers. It's fast (roughly 2 to 3 hours including finishing), inexpensive, and teaches you all the techniques you'll use on bigger projects. I'll call for cedar 1×6 boards throughout, they're easy to source, work cleanly, and last well outdoors.
Cut list and materials
| Part | Quantity | Dimensions (cut) | Notes |
|---|---|---|---|
| Long side panels | 4 | 24" long × 5.5" wide × 0.75" thick | Two layers per side, stacked; cut from 1×6 cedar |
| Short end panels | 4 | 10.5" long × 5.5" wide × 0.75" thick | Two layers per end; width accounts for side panel thickness |
| Corner posts (optional but recommended) | 4 | 12" long × 1.5" × 1.5" | Cut from 2×2 cedar or rip from 2×4 scrap |
| Bottom slats | 3 | 22.5" long × 5.5" wide × 0.75" thick | Leave 3/8" gaps between slats for drainage |
| Drainage hole drilling | — | 3/4" holes, ~6 per bottom slat | Minimum 1 hole per sq ft of base area |
Shopping list: two 8-foot lengths of 1×6 cedar (one for sides, one for bottom and ends), four 12-inch lengths of 2×2 cedar for corner posts if using them, one box of 2-1/2-inch stainless exterior screws, and one small can of exterior wood finish or tung oil. Total material cost is typically $35 to $55 depending on regional lumber prices.
Step-by-step build
- Cut all pieces to length following the cut list. Mark each piece with a pencil label so you don't mix them up during assembly.
- Sand all cut ends with 80-grit paper to knock off splinters, then 120-grit for a cleaner finish.
- Drill drainage holes in the bottom slats now, before assembly — it's much easier with the board flat on sawhorses. Use the 3/4" spade bit and drill at least 6 holes spread evenly across the three slats.
- If using corner posts: stand one 12" post vertically and clamp one long side panel (first layer) flush to the inner face of the post. Drill 1/8" pilot holes through the panel into the post, then drive 2-1/2" screws. Repeat for all four corners on the first layer of long sides.
- Add the first layer of short end panels the same way — butt them against the inner face of the corner posts, pilot drill, and screw. You now have a low rectangular frame.
- Stack the second layer of long side panels on top of the first, offsetting any joints by at least 4 inches. Screw through the new layer into the layer below and into the corner posts.
- Add the second layer of short end panels to complete the double-layer box walls. The finished interior dimension should be approximately 22.5" × 10.5" × 11".
- Drop the three bottom slats into the box, resting on the lower edge of the bottom side boards, spaced with a 3/8" gap between each slat for drainage. Screw up through the bottom of the side boards into the slat ends, or toe-screw through the slats into the side boards.
- Cut a piece of landscape fabric to fit the interior, press it into the corners, and staple or pin it to the wood. This keeps potting mix from washing out while still allowing drainage.
- Apply exterior wood finish, tung oil, or an exterior stain to all outer surfaces. Let it cure fully (usually 24 hours) before adding soil.
- Fill with a quality potting mix — not native garden soil — and plant. A mix of compost, aged bark fines, perlite, and coco coir drains well and feeds plants through the season.
A few tips from experience: pre-drilling pilot holes is not optional on cedar, it splits easily near the ends without them. Keep your screws at least 3/4 inch from any board edge. If a board wanders slightly out of square during assembly, don't panic, clamp it back in position before the screws fully seat. Slight imperfections disappear once the box is filled and planted.
Build plan: long or multi-section planter (48"–96" runs)
Once you're comfortable with the small build, scaling up to a 48-inch, 72-inch, or full 96-inch planter run opens up a lot of design possibilities, a long planter along a patio fence, a multi-section vegetable bed, or a divider between entertaining zones. The principles are identical; what changes is how you handle support, joinery, and the significant increase in weight.
Key structural differences for long planters
Any planter longer than 48 inches needs mid-span support to prevent the long side boards from bowing outward under soil pressure. Add an internal cross-member (a 2×4 cedar block running across the width of the planter) at the midpoint of any 48-inch run, and every 24 inches for planters over 48 inches. These braces sit on top of the bottom slats and are screwed through the outer side walls using 3-inch carriage bolts or long exterior screws. They do reduce interior planting volume slightly, but they're not optional, without them, a soil-filled 8-foot planter will visibly bulge at the sides within one season.
For multi-section systems (two or three separate boxes placed end-to-end), I prefer building individual boxes and connecting them with a shared face board that spans the joint. This gives you the visual continuity of one long planter while keeping each section manageable to move. Use 3/8-inch carriage bolts to connect the end posts of adjacent boxes through the shared face board.
Cut list for a 48"×12"×12" single planter (1×6 cedar)
| Part | Qty | Cut Dimensions | Notes |
|---|---|---|---|
| Long side panels | 4 | 48" × 5.5" × 0.75" | Two stacked layers per side |
| Short end panels | 4 | 10.5" × 5.5" × 0.75" | Same as small planter ends |
| Corner posts | 4 | 12" × 1.5" × 1.5" | 2×2 cedar |
| Mid-span cross-brace | 1 | 10.5" × 3.5" × 1.5" | 2×4 cedar at center; use 2 braces for 72"+ runs |
| Bottom slats | 5–6 | 46.5" × 5.5" × 0.75" | Spaced with 3/8" drainage gaps |
| Drainage holes | — | 3/4" holes, ~12 total across bottom slats | More holes = better drainage |
Material estimate for a 48-inch planter: four 8-foot 1×6 cedar boards (for sides and ends), two 8-foot 1×6 boards (for bottom slats), one 8-foot 2×2 (corner posts), one short 2×4 offcut for the cross-brace, plus screws and finish. Budget around $70 to $100 for materials.
Assembly steps for long and multi-section planters
- Cut all pieces to length and label them. Lay the long side boards flat in pairs to verify they're consistent in length — a difference of even 1/4" will cause alignment headaches.
- Build the end assemblies first: attach end panels to corner posts the same way as in the small planter build.
- Stand both end assemblies upright and clamp the first layer of long side boards to the corner posts, making sure everything is square by measuring diagonally corner to corner (both measurements should match).
- Drive screws through the long side boards into the corner posts. Two screws per connection point minimum.
- Add the second layer of long side panels, staggering them so no joint aligns with the layer below.
- Install the mid-span cross-brace(s) by measuring to the center of the planter, positioning the 2×4 block, and driving 3-inch screws through the outer long side boards into the block ends. For 72"+ runs, space braces every 24 inches.
- Install bottom slats with drainage gaps and pre-drilled drainage holes, as in the small planter plan.
- For a multi-section system: build each box separately, then stand them side-by-side. Cut a continuous face board from 1×6 cedar to span the full run and bolt it to the outer face of each end post at the shared joints using 3/8" carriage bolts.
- Line the interior with landscape fabric, apply exterior finish, let cure, then fill and plant.
Weight reality check for long planters
A 48-inch (4-foot) by 12-inch by 12-inch planter holds 4 cubic feet of soil. At saturated weight (about 96 pounds per cubic foot), that's roughly 384 pounds of soil plus the box, call it 420 pounds total. A 96-inch (8-foot) version holds 8 cubic feet: around 768 pounds of soil, 800-plus pounds loaded. Both are fine on a concrete patio or ground-level pavers. Both require a structural check before going on a residential wood deck. Distribute weight across multiple joists, not parallel to one joist, and keep large planters away from deck cantilevers.
Filling, planting, and getting the most from your new planter
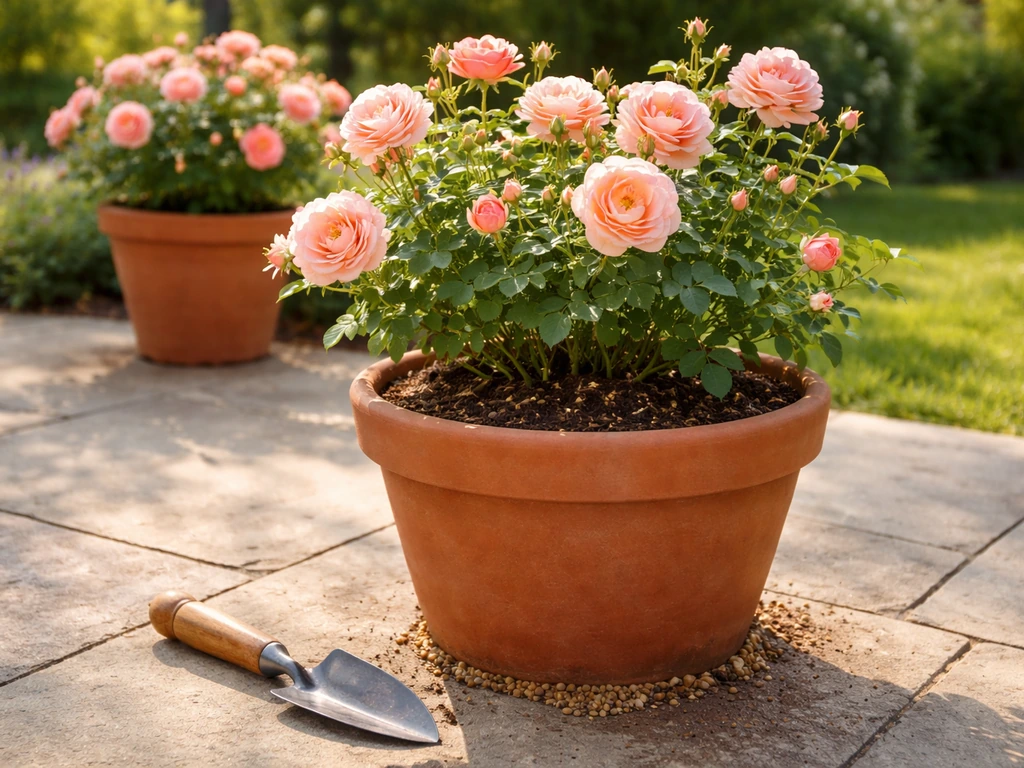
Never fill a patio planter with native garden soil or topsoil. Native soil compacts in containers, drains poorly, and often brings weed seeds and pests. Use a quality potting mix designed for containers, one that includes compost, composted bark, perlite or coarse sand for drainage, and a water-holding element like coco coir. For step-by-step advice on arranging and planting container mixes, see how to plant patio pots. For step-by-step guidance on planting roses in pots, see how to plant a patio rose in a container. You can buy a pre-blended container mix or make your own by combining roughly 40% compost, 40% aged bark fines, and 20% perlite. This mix drains freely, feeds plants through the season, and won't compact into a brick over summer. For step-by-step advice on arranging plants, spacing, and watering schedules, see our guide on how to plant a patio container (a134a769-785d-4636-9310-cf3ed488e88e). For step-by-step instructions on how to fill large patio pots, see our guide on how to fill large patio pots.
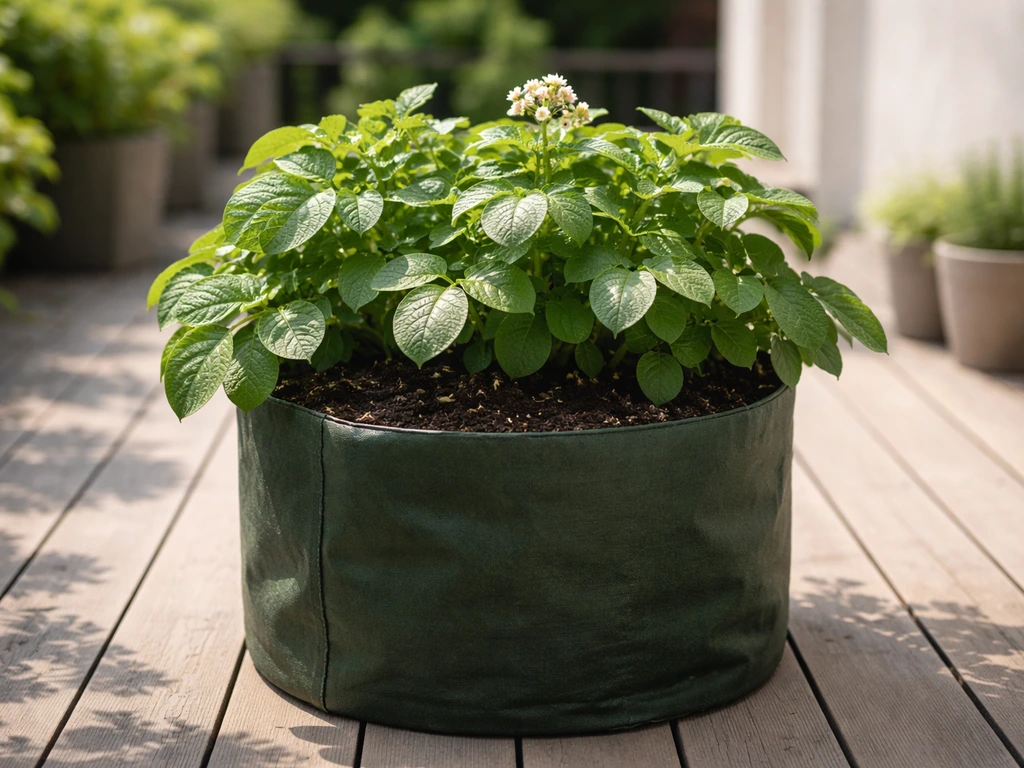
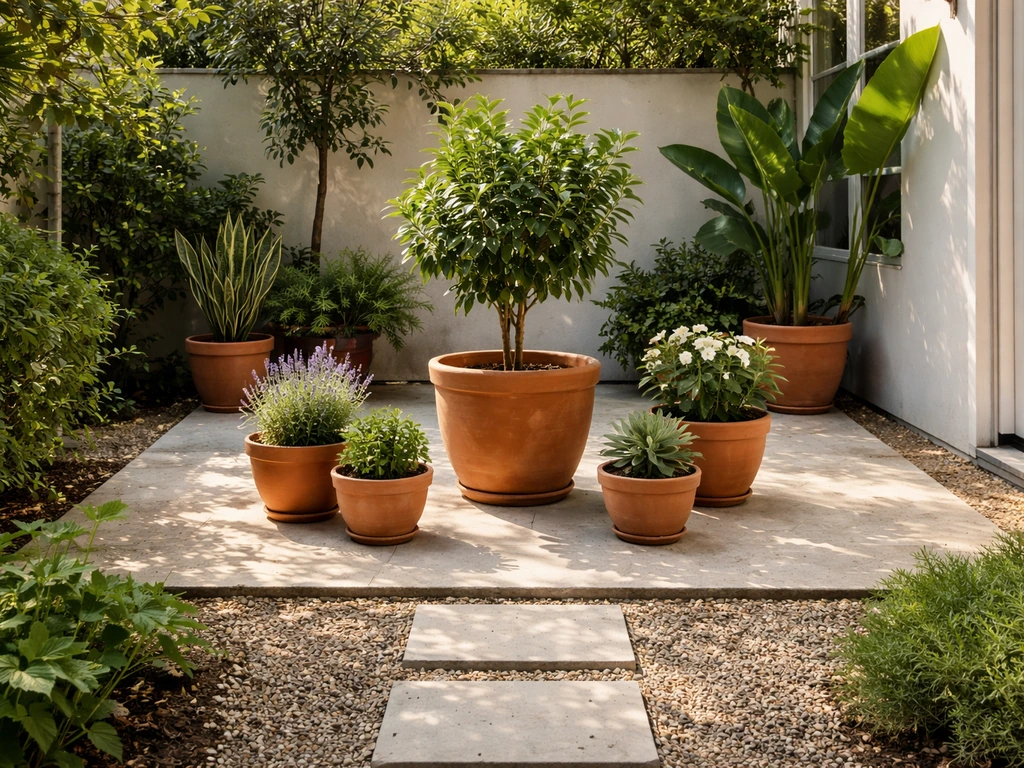
Match your planting choices to your planter depth. Leafy greens and annual flowers do fine in 6 to 8 inches of mix. Peppers, herbs, and compact fruiting plants want 8 to 12 inches. Tomatoes, large vegetables, and root crops like potatoes need 12 to 18 inches minimum. For guidance on planting and caring for roses in containers, see our how to plant patio roses guide. If you're interested in growing potatoes in a patio planter, that's a rewarding project that pairs well with a deeper 18-inch box. For tips on arranging multiple pots and planters together for best visual impact, the companion topic on how to arrange potted plants on a patio covers layout strategies in depth.
Finishing, maintenance, and seasonal care
Cedar looks beautiful raw for about one season before it grays. If you like that driftwood-gray look, skip the finish and let it happen naturally, the wood is still protected. If you want to preserve the warm honey color, apply a UV-blocking exterior wood oil or stain before the planter ever sees rain. Reapply every one to two years. For composite planters, soap and water once a season is all you need. Metal planters: watch for rust spots on cut or drilled edges and touch them up with cold galvanizing spray.
At the end of the growing season, empty the planter of spent plants, refresh the top few inches of potting mix with compost, and cover the soil with burlap or move mobile planters under cover if temperatures will drop below freezing. Wet soil expands when it freezes and can crack or bow the sides of a wood planter, especially if the drainage holes are blocked by debris. Clear the holes every fall. For wood planters, a light coat of exterior oil before winter storage adds years to their life.
Common problems and how to fix them
- Sides bowing outward: add a mid-span cross-brace or run a galvanized threaded rod with washers and nuts through the long sides at mid-height to pull them back in.
- Water pooling on top of the soil: drainage holes are blocked. Remove a small amount of soil, check and clear the holes, and add more perlite to the mix to improve drainage.
- Wood rotting faster than expected: the interior was not lined with landscape fabric, allowing constant wet soil contact with raw wood. Repair by removing soil, letting the wood dry, treating with an exterior preservative, lining with thick poly sheeting or fabric, and refilling.
- Planter sliding or tipping on a smooth patio: add rubber feet or non-slip pads to the base. For narrow tall planters, screw a low cleat to the base that hooks over the edge of a paver to prevent tipping.
- Soil washing out through drainage holes: the landscape fabric has failed or was never installed. Empty the box, re-line with fresh fabric, and refill.
- Plants wilting even with regular watering: the potting mix has compacted and is no longer draining freely. Refresh the top half of the mix with new container potting mix and perlite.
Quick cost summary by project tier
| Project | Material Cost (approx.) | Build Time | Skill Level |
|---|---|---|---|
| 24"×12"×12" cedar single planter | $35–$55 | 2–3 hours | Beginner |
| 48"×12"×12" cedar single planter | $70–$100 | 3–4 hours | Beginner-Intermediate |
| 96" (8') cedar planter or 2-section run | $120–$180 | 5–7 hours | Intermediate |
| Composite lumber planter, 48" | $150–$250 | 3–5 hours | Intermediate |
| Integrated deck-edge planter (wood framing) | $200–$400+ | Full day+ | Intermediate-Advanced |
| Concrete block raised planter, ground-level | $100–$300+ | Half to full day | Intermediate |
These are material-only estimates for DIY builds. If you're sourcing lumber locally, prices vary by region and season, check current prices at your nearest home center before finalizing your budget. Buying full-length 8-foot and 12-foot boards and cutting them down yourself is almost always cheaper than buying pre-cut specialty lumber.
FAQ
What are the first steps to design a patio planter for my space and needs?
Measure available patio area and note sunlight, clearance for doors/windows, and access paths. Decide purpose (ornamental, herbs, vegetables), target plant types (root depth needs), and whether planter will be single, multiple, raised, mobile (on casters), or integrated into decking/furniture. Choose a size that fits: common small planters ~2'×1', medium beds 4'×2' or 4'×4', and large vegetable beds 4'×8'. Plan depth by plants: 4–8" for shallow annuals, 8–12" for medium crops/herbs, 12–18"+ for tomatoes/potatoes. Sketch layout, note materials and weight limits (especially on decks/roofs) and decide drainage approach before building.
Which materials should I use for a patio planter and what are the pros/cons?
Wood (cedar/redwood): natural look, rot-resistant, easier to cut/fasten; avoid untreated softwoods directly in contact with soil for long-term durability. Modern pressure-treated (ACQ/CA) lumber is safer than old CCA but consider lining for edible crops. Composite: long-lasting, low-maintenance, resists rot and insects but can be more expensive and has different fastener/thermal behavior—check manufacturer TDS for ground contact. Metal (galvanized, corten, stainless): slim modern look, very durable; may heat soil more and require insulation/lining for roots. Concrete/masonry: durable and heavy—good for permanent planters but assess surface load. Prefab planters: quick, consistent, often include drainage; check materials and drainage. Choose by budget, look, weight limits, and whether you want the planter to be permanent.
What is a simple step-by-step build plan for a basic 4'×2' cedar planter (12" deep) with cut list and tools?
Step-by-step summary: 1) Cut list for 4'×2'×12": (a) Sides: two 4' long cedar 2×6 (actual 1.5"×5.5") boards; (b) Ends: two 2' long cedar 2×6 boards; (c) Corners/posts: four 6" long 4×4 post cutoffs (for internal support) or use full-height 4×4 posts if desired; (d) Optional bottom slats: 4× 18" 1×4 for drainage platform inside. Tools: circular saw or miter saw, drill/driver, 1/8" & 3/16" drill bits, 2½" exterior screws (stainless or hot-dip galvanized), tape measure, speed square, pencil, clamps, safety gear. Assembly steps: 1) Pre-drill pocket or face screw locations; 2) Fasten ends to sides to form rectangle (use clamps); 3) Attach internal corner supports/posts inside each corner; 4) Install optional bottom slats spaced 1/4–1/2" for drainage; 5) Sand exposed edges; 6) Line interior with landscape fabric or pond liner stapled above soil line (optional for treated wood/edible concerns) and drill drainage holes through liner where bottom slats are. Seal or apply finish if desired.
Can you give a brief cut list and material quantities for a 4'×8' raised bed (12" deep)?
Standard quick list for 4'×8'×12": Lumber: four 8' long 2×6 boards (cut into two long sides 8' and two short ends 4' if using 8' stock) or use (6) 8' 2×6 boards depending on layout to minimize joints. Corner posts: four 4×4 posts 12" (or full-length posts if anchoring). Fasteners: ~32 exterior deck screws (2½"), plus extras. Optional: landscape fabric or heavy-duty pond liner, gravel for bottom (if needed), potting mix ~32 ft³ (≈1.19 yd³). University extension plans and many DIY guides provide exact cut lists that optimize standard 8' stock to reduce waste—follow a printed plan for step-by-step cuts and joinery.
How should drainage be handled for patio planters?
Ensure planter has drainage holes or a drained bottom platform. For wood planters use multiple 3/8–1/2" holes per square foot near the bottom or leave small gaps between bottom slats. For heavy or decorative planters without bottom access, add internal drainage layer: 1–2" of coarse material (pumice, crushed clay, or coarse gravel) with a separation fabric above to prevent fines clogging. Always use a well-draining container potting mix (not native garden soil). If planter sits directly on a deck, place feet or shims under the planter to allow water to exit and air to circulate; add a drip tray or saucer if you must protect the surface but monitor standing water. On roofs/decks check with structural requirements and provide overflow paths to prevent ponding.
How do I calculate the loaded weight of a filled planter for patio/deck safety?
Calculate planter volume in cubic feet (length×width×depth in feet). Convert to cubic yards (1 yd³ = 27 ft³) and multiply by soil weight per cubic yard. Use saturated soil density for conservative checks; moist/saturated ranges typically ~2,200–2,800 lb/yd³ (≈81–104 lb/ft³). Example: a 4'×8'×1' bed = 32 ft³ = 1.185 yd³. At 2,400 lb/yd³, weight ≈2,840 lb. Compare distributed weight per square foot to local code load (IRC decks often designed for 50 psf total). For rooftop or unknown structures consult a structural engineer before installing heavy or multiple planters.