Plant patio roses in a pot at least 30 cm (12 inches) wide and deep, using a rich compost mix with good drainage, and set them somewhere that gets at least six hours of direct sun a day. Water them in thoroughly after planting, feed every few weeks through the growing season, and deadhead spent blooms regularly. Do that, and you will have flowers from late spring right through to the first frost.
How to Plant Patio Roses: Pots and In-Ground Step by Step

Nolan Carver
2 Jul 2026
Patio roses are one of the most rewarding plants you can add to an outdoor space. They are compact, purpose-built for smaller spots and containers, and they repeat-flower all summer rather than giving you one flush and calling it done. If you want to build a patio planter instead of relying on standard pots, focus first on size, drainage, and weather-resistant materials containers. Whether you are planting them in pots on a finished patio or tucking them into a border alongside your hardscaping, this guide walks you through every step from choosing the right variety to troubleshooting problems when things go sideways.
Choosing patio roses and picking the right spot
Patio roses are a specific class of rose: small, bushy, and bred to stay compact, usually topping out between 30 and 60 cm (1 to 2 feet) tall. The Royal Horticultural Society describes them as ideal for containers or mass plantings and notes they will flower all summer. That makes them very different from a hybrid tea or a shrub rose, which needs a lot more space and does not repeat-bloom as reliably.
For containers specifically, your best options in order of ease are true patio roses, miniature roses, shorter polyanthas, and compact floribundas. Ground cover roses and shorter climbing roses can also work, but they need larger pots and a bit more management. If you are buying from a garden center today, look for labels that say 'patio rose,' 'compact,' or 'container rose.' Those are the ones bred for exactly this situation.
For placement, the single most important rule is sun. You can use the same patio-container mindset for potatoes too, focusing on choosing the right tub size and providing enough light and consistent moisture how to grow potatoes on a patio. Roses need a minimum of six hours of direct sunlight per day. Less than that and you will get weak stems, fewer blooms, and more disease. South or west-facing spots on a patio are usually ideal. Also think about air circulation: avoid tight corners where air stagnates, because that encourages fungal problems like black spot and powdery mildew. One practical tip from the RHS: decide exactly where the pot is going to live before you fill and plant it, because a large container of moist compost can weigh 20 kg or more and is difficult to move.
Planting patio roses in pots
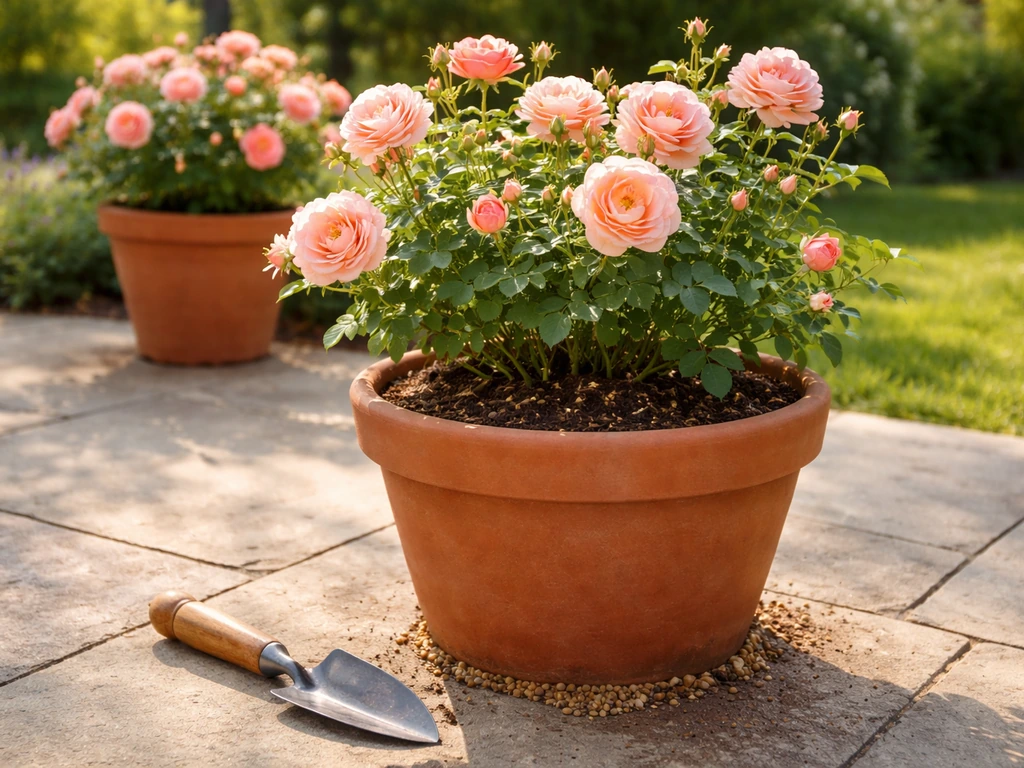
Container planting is where most people start with patio roses, and it is genuinely straightforward once you get the basics right. Learn the basics of how to plant patio pots so your roses get off to a strong start. The three things that matter most are pot size, drainage, and soil mix.
Picking the right pot
Go with a minimum pot size of 30 cm wide by 30 cm deep (roughly 12 x 12 inches). For a standard patio rose, a 35 to 40 cm pot is more comfortable and gives the roots room to grow without stressing the plant in summer heat. Avoid dark-colored containers if you can: David Austin Roses specifically notes that dark pots absorb more heat, which dries the compost out faster and can stress the roots. If dark pots are all you have, position them where they get afternoon shade or wrap the outside with hessian in hot months.
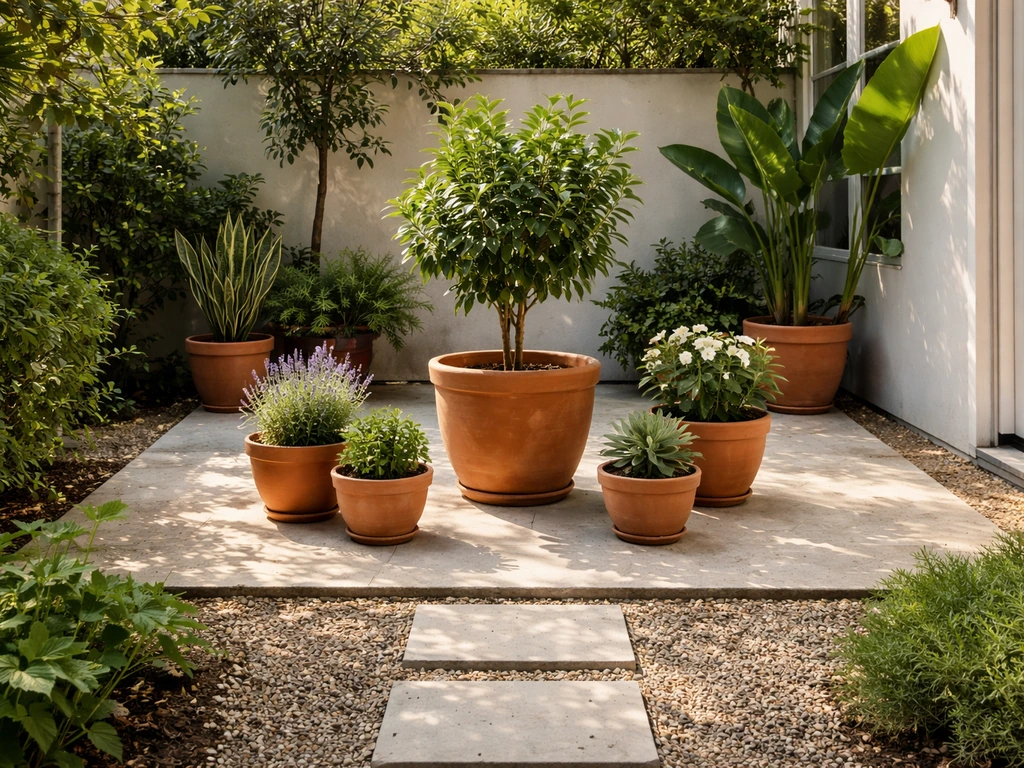
Material matters too. Terracotta looks great but dries out quickly and can crack in frost. Thick plastic or glazed ceramic retains moisture better and handles temperature swings more gracefully for year-round container growing.
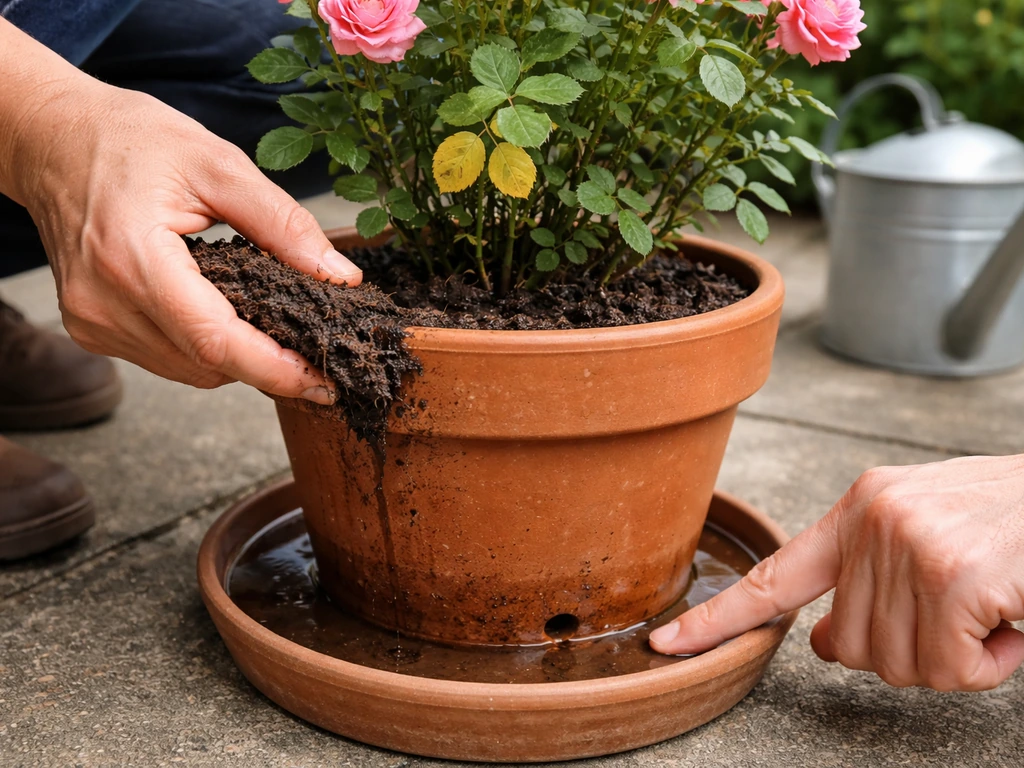
Drainage setup
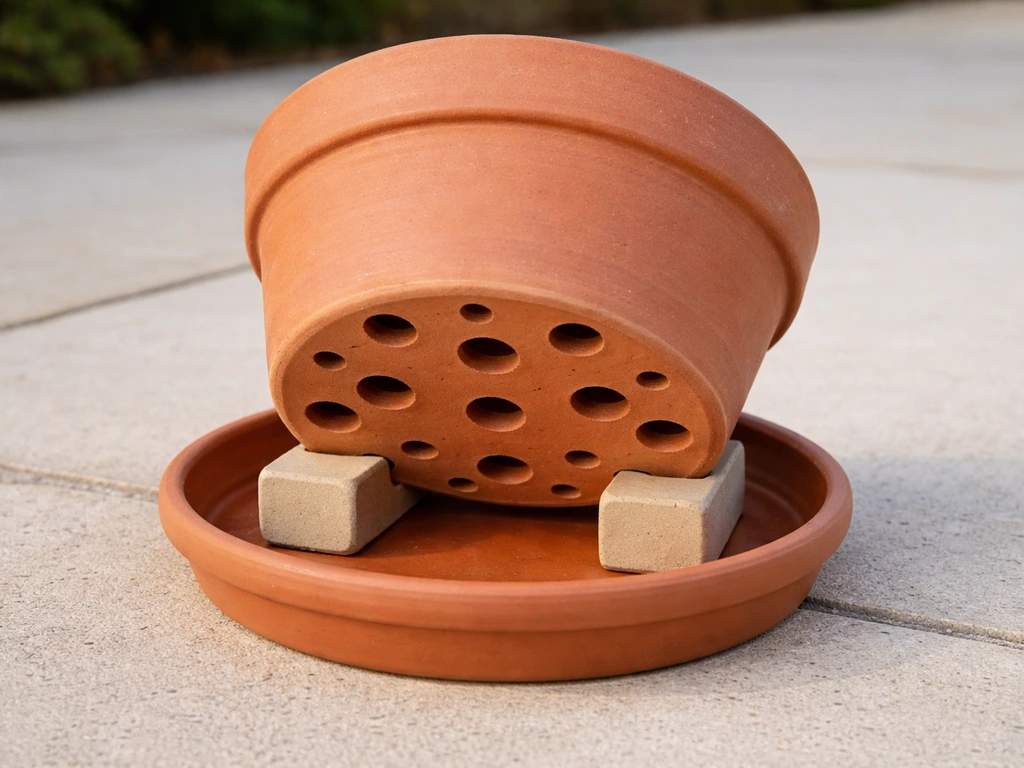
Roses hate sitting in waterlogged soil. Make sure your pot has at least one drainage hole in the base, ideally several. Place the pot on pot feet or bricks so water can escape freely. Add a 5 cm (2 inch) layer of crocks, gravel, or broken terracotta pieces at the bottom before adding compost. If you are wondering how to fill large patio pots, start with the right drainage layer, then use a moisture-retentive compost mix rather than straight garden soil. This prevents the drainage holes from getting blocked by compost and keeps the bottom of the root zone from staying saturated.
Soil mix
Do not use straight garden soil in a pot. It compacts, drains poorly, and does not have enough nutrients for a plant that is going to be actively flowering all season. A good mix for patio roses is roughly two parts loam-based compost (John Innes No. 3 works well) to one part multipurpose compost, with a handful of grit or perlite mixed in for drainage. You can also buy purpose-made rose compost, which has the right nutrient balance built in.
Step-by-step planting
- Position the empty pot in its final location before you fill it.
- Add your drainage layer (crocks or gravel) to a depth of about 5 cm.
- Fill the pot roughly halfway with your compost mix.
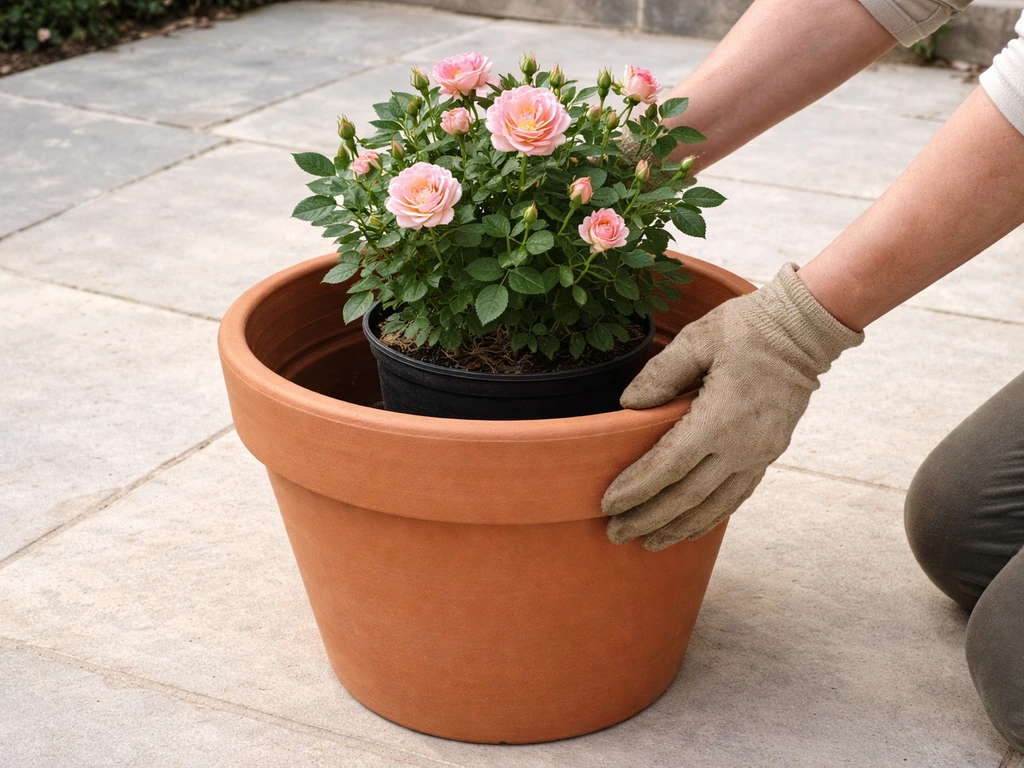
- If your rose is in a nursery pot, water it well about an hour before planting so the root ball is moist but not dripping.
- Gently remove the rose from its nursery pot and tease out the roots with your fingers so they spread outward rather than staying in a tight ball. The RHS specifically recommends this to prevent root-bound drought stress later.
- Set the rose in the center of the pot. For grafted roses, the bud union (the swollen knobby bit near the base of the stems) should sit about 2 to 4 cm below the final soil surface in cool climates, or at soil level in warmer zones.
- Fill in around the roots with compost, firming it gently as you go to eliminate air pockets.
- Leave a 3 to 4 cm gap between the top of the compost and the rim of the pot so water does not run straight off.
- Water thoroughly until water flows freely from the drainage holes, then water again. David Austin Roses recommends watering thoroughly to settle everything in place.
Best planting time is spring, once the risk of heavy frost has passed, or early autumn while the soil is still warm. If you are planting bare root roses rather than container-grown ones, soak the roots in water for 12 to 24 hours before planting and expect them to need a little extra water while they establish.
Planting patio roses in the ground
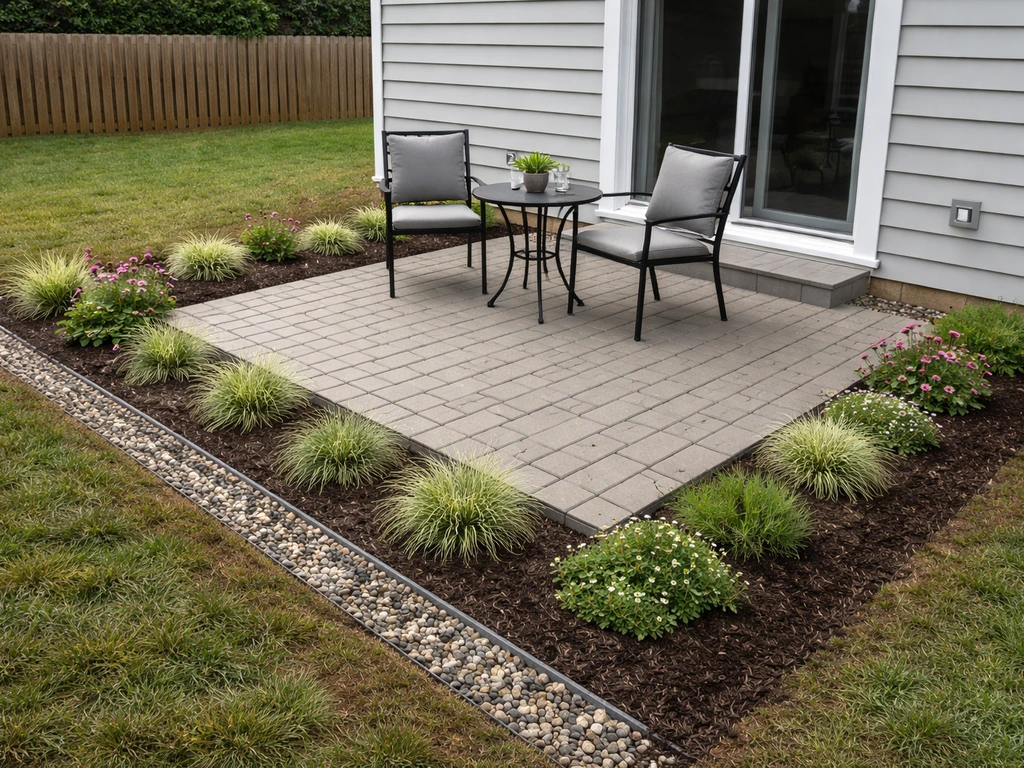
If you have a border or bed adjacent to your patio, planting directly in the ground gives your roses more stable moisture and temperature conditions than a pot does. The trade-off is less flexibility for repositioning later.
Dig a hole roughly twice the width and depth of the root ball. Before planting, improve the soil by mixing in at least one bucket of well-rotted compost or manure per square metre into the top 20 to 30 cm of soil (about 8 to 12 inches deep). This is not optional: roses are hungry plants and thin or compacted soil leads directly to poor performance. If your soil is heavy clay, also work in some grit to improve drainage.
Spacing for patio roses in a border is typically 30 to 45 cm (12 to 18 inches) apart, depending on the variety. Check the label. Plant at the same depth as the rose was growing in its nursery pot. For grafted plants, place the bud union 2 to 4 inches below the soil surface in colder climates (USDA zones 3 to 6) or at soil level in warmer regions (zones 7 and above). Illinois Extension notes the plant will settle a little after planting, so the bud union typically ends up 1 to 2 inches below soil level anyway. After filling in, firm the soil with your foot, water well, and add a 5 to 7 cm layer of mulch around the plant, keeping it a few centimetres away from the stems.
Watering and fertilizing for strong growth
Watering
Roses in pots dry out much faster than roses in the ground, especially in summer. In hot weather, daily watering is not unusual for a container rose. A good habit is to check the soil with your finger: if the top 2 to 3 cm feels dry, water it. For in-ground roses, the RHS recommends watering during dry spells using about 5 to 10 litres per plant up to once a week. Illinois Extension gives a rule of thumb of 1 inch of water per week during the growing season for in-ground plants.
Always water deeply rather than shallowly. OSU Extension advises watering early in the day and wetting the entire root ball rather than just the surface. Deep watering encourages roots to go downward rather than staying near the surface, which makes the plant much more drought-tolerant. Avoid wetting the foliage if you can, especially in the evening, as this encourages fungal disease.
Fertilizing
The RHS is direct about this: roses are hungry plants and regular feeding is essential for repeat blooms. Without it, you will get one decent flush of flowers and then a slow decline as the plant runs out of energy. There is a fair amount of conflicting advice online about how often to feed (a common thread on Reddit highlights this frustration), but the practical answer is: follow the instructions on your specific product and do not skip it.
For container roses, a liquid rose fertilizer applied every two weeks from late spring through late summer works well. For in-ground roses, you can use a granular rose fertilizer applied in spring as growth starts and again after the first flush of blooms. Slow-release fertilizers, which Illinois Extension describes as encapsulated products releasing nutrients over four, six, or eight months, are a lower-maintenance option and work well mixed into pot compost at planting time. Stop feeding in late summer so the plant can start hardening off before winter.
Sun, temperature, and seasonal care
Patio roses are not fragile, but they do have clear preferences. Six-plus hours of direct sun is the baseline for good flowering. In very hot climates, a spot with morning sun and light afternoon shade is actually better than full blazing afternoon sun all day, which can bleach flowers and stress the plant. Watch for signs of heat stress in containers: wilting in the morning (not just mid-afternoon), soil that is bone dry within hours of watering, or leaf scorch at the edges.
In spring, as temperatures rise and new growth appears, that is your cue to start regular watering and feeding. Through summer, the main jobs are watering, feeding, and deadheading (more on that below). In autumn, cut back the feeding as noted, and apply a fresh mulch layer around the base of in-ground plants to protect roots from freezing temperatures. For container roses in cold climates, move pots to a sheltered spot, wrap them in bubble wrap or hessian, or heel them into a garage or shed for the winter months. OSU Extension notes that in high-desert or dry winter conditions, roses may need watering every four to six weeks even in winter when there is no snow cover and the ground is not frozen.
Pruning, deadheading, and shaping for more blooms
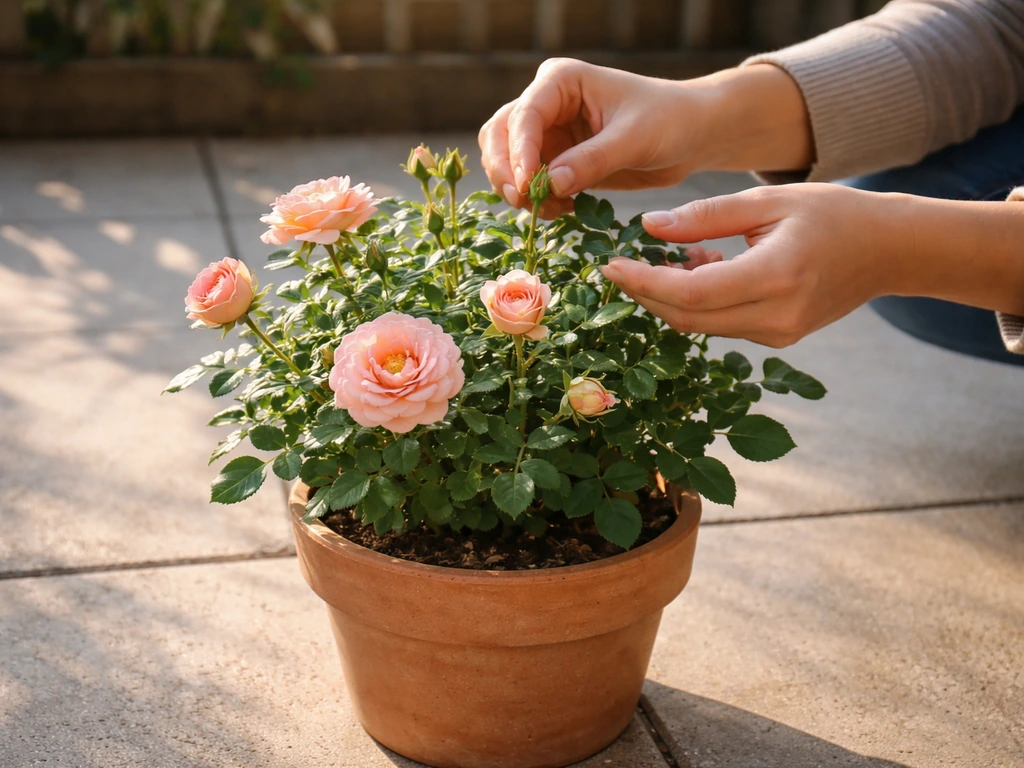
Deadheading is the single most effective thing you can do to keep a patio rose flowering all season. When a flower fades, the plant's instinct is to set seed and form a hip, which tells it to stop producing new blooms. Removing spent flowers short-circuits that signal and pushes the plant to keep flowering.
To deadhead properly, do not just pull off the petals. Cut the entire flower stem back to an outward-facing bud above the first or second set of five-leaflet or seven-leaflet leaves below the flower. Use clean, sharp secateurs and make the cut on a 45-degree angle, about 6 mm (roughly 1/4 inch) above the bud. The Chicago Botanic Garden recommends this angle and distance specifically: too close and you risk damaging the bud, too far and you leave a stub that can die back and invite disease.
Stop deadheading in late summer if you want the plant to form hips for autumn interest, but keep going on repeat-blooming varieties until a few weeks before your first expected frost. The Chicago Botanic Garden advises not deadheading after Labor Day in cold-climate zones to avoid encouraging soft new growth right before temperatures drop.
For general shaping, prune in early spring when you see the first buds swelling. Remove dead, damaged, or crossing stems first. Then cut remaining stems back by about one third to an outward-facing bud to encourage an open, airy shape. The RHS notes that cuts to outward-facing buds are the key to keeping the center of the plant open, which improves airflow and reduces disease risk.
Troubleshooting common patio rose problems
Even when you do everything right, patio roses occasionally throw a problem at you. Here is what to look for and what to do about it.
| Problem | Likely Cause | What to Do |
|---|---|---|
| Yellowing leaves | Overwatering, waterlogged soil, or nutrient deficiency | Check drainage holes are clear; let the top few cm dry before watering again; feed with a balanced rose fertilizer |
| Wilting despite moist soil | Root rot from poor drainage or transplant shock after recent planting | Improve pot drainage immediately; if newly planted, give the plant time and reduce watering slightly |
| Drooping after planting | Transplant shock, especially common with bare root roses | Water regularly but do not overwater; keep in a sheltered spot; new growth in a few weeks confirms recovery |
| Sparse or no flowers | Insufficient sun, over-feeding with nitrogen, or skipping deadheading | Move to a sunnier spot; switch to a low-nitrogen rose fertilizer; deadhead spent blooms consistently |
| Black spots on leaves | Black spot fungal disease, often from wet foliage or poor airflow | Remove affected leaves; water at the base not overhead; improve air circulation; apply a fungicide if severe |
| White powdery coating on leaves | Powdery mildew, typically from dry roots combined with humid air | Water consistently; improve airflow; treat with a fungicide if needed |
| Leggy, weak stems | Not enough light or over-feeding with nitrogen | Relocate to a sunnier spot; cut back weak stems in spring; balance fertilizer use |
| Pot drying out within hours | Pot too small, dark-colored container absorbing heat, or hot weather | Upgrade to a larger, lighter-colored pot; move out of direct afternoon sun; water more frequently |
| No growth after spring planting | Bud union planted too deep, or roots still establishing | Check planting depth; be patient for 4 to 6 weeks; new shoots from below soil level are a good sign |
The most common beginner mistake with patio roses in containers is poor drainage combined with overwatering. If you are wondering how to plant a patio rose in a container and want fewer problems, focus on drainage and a right-sized pot. It feels counterintuitive because the plant looks stressed and you water more, but waterlogged roots cannot absorb oxygen and the plant continues to decline. If the soil smells sour or the base of the stems looks dark and soft, that is root rot and you need to act fast: repot into fresh, well-draining compost and cut away any black or mushy roots before replanting.
If you are building out your patio planting and want to go deeper on container technique, the basics here apply just as much when you are planting a patio container with mixed plants or filling large pots. The core principles of drainage, soil quality, and regular feeding are the same regardless of what you are growing. And if you are at the stage of building the patio itself and thinking about where to integrate permanent planters, a built-in patio planter can be a beautiful long-term home for roses without the pot management overhead. If you also want a more polished look, learn how to arrange potted plants on a patio so your containers feel cohesive and balanced.
FAQ
Can I move a patio rose from its nursery pot straight into a bigger container? Then when should I start feeding?
Yes, but treat it as a two-step job. Water the nursery pot well first, then slip the rose into the larger container without disturbing the root mass too aggressively. Top up with fresh rose compost mix, keep the crown at the same height as before, and avoid feeding for about two weeks so you do not stress new roots.
How often should I refresh or repot a patio rose in a pot?
For containers, aim for a lighter potting mix every year rather than reusing the same compost indefinitely. Empty the container at the end of winter or early spring, remove the top 5 to 8 cm, replace it with fresh rose compost, and check roots for circling. If roots are tightly packed and filling every corner, upsize the pot instead of only topping up.
How can I tell whether my patio rose is grafted, and does that change how deep I should plant it?
If you do not have a bud union on the label, follow the planting depth the nursery says, because not all patio roses are grafted. If you do have a grafted rose, planting too deep can encourage weak growth, and planting too shallow can expose the union to cold. In colder climates, prioritize protecting the bud union to the depth guidance given for zones 3 to 6.
What should I do if my patio rose is still producing lots of new growth late in the season?
Feed schedules can vary with your fertilizer type, but stop feeding in late summer as described, then switch to watering only. A useful check is to look at new growth, if it stays soft and keeps pushing after late summer, you fed too late or used a fertilizer that is too high in nitrogen.
Can I mulch a patio rose, and should the mulch touch the stems?
Mulch is beneficial, but in containers it can trap too much moisture against the stems. Use a thin layer (about 2 to 3 cm) and keep it a few centimeters away from the canes. In ground beds, a thicker layer is fine, but still avoid piling mulch directly on the plant base.
What is the best way to prevent or manage black spot and powdery mildew on patio roses?
Yes. If you see persistent black spot, powdery mildew, or repeated leaf yellowing, first adjust care: more airflow (avoid overcrowding), water early and at soil level, remove infected leaves, and avoid late evening watering. Then consider a targeted fungicide, but timing matters most when fresh growth is just emerging.
How do I water correctly when hot weather dries the pot out fast or the compost repels water?
In containers, do not rely on a fixed watering calendar. Instead, water when the top 2 to 3 cm is dry, and in heat waves check at least once in the morning and once in the afternoon. If water runs straight through, your compost may be hydrophobic, soak the pot thoroughly and let excess drain fully, then loosen the top layer next time you check moisture.
Is it okay to prune my patio rose in summer to keep it neat, or should I wait until spring?
You can prune lightly any time to remove dead or damaged stems, but do the main shaping in early spring when buds begin to swell. If you prune hard in mid-summer, you may reduce flowering because you are removing the current set of bloom stems. For repeat bloomers, keep up deadheading and only do structural cuts if necessary.
What is the safest winter protection for patio roses growing in pots in cold climates?
For frost protection in containers, move the pot closer to the house, then insulate the sides and keep the root zone from cycling between thawing and freezing. Bubble wrap or hessian wrapping is helpful, but also ensure drainage holes are not blocked so water does not freeze inside the pot. In very windy sites, add a windbreak and avoid leaving pots exposed on cold, exposed patios without insulation.
Can I propagate a patio rose from my plant, and will it be the same variety as the parent?
Yes, but choose an approach that matches your rose type. Cuttings can work, but patio roses are often grafted, and grafted plants will not always come true from stem cuttings. The more reliable method is to take semi-hardwood cuttings from healthy, non-flowering shoots, and be prepared for variable success rates.