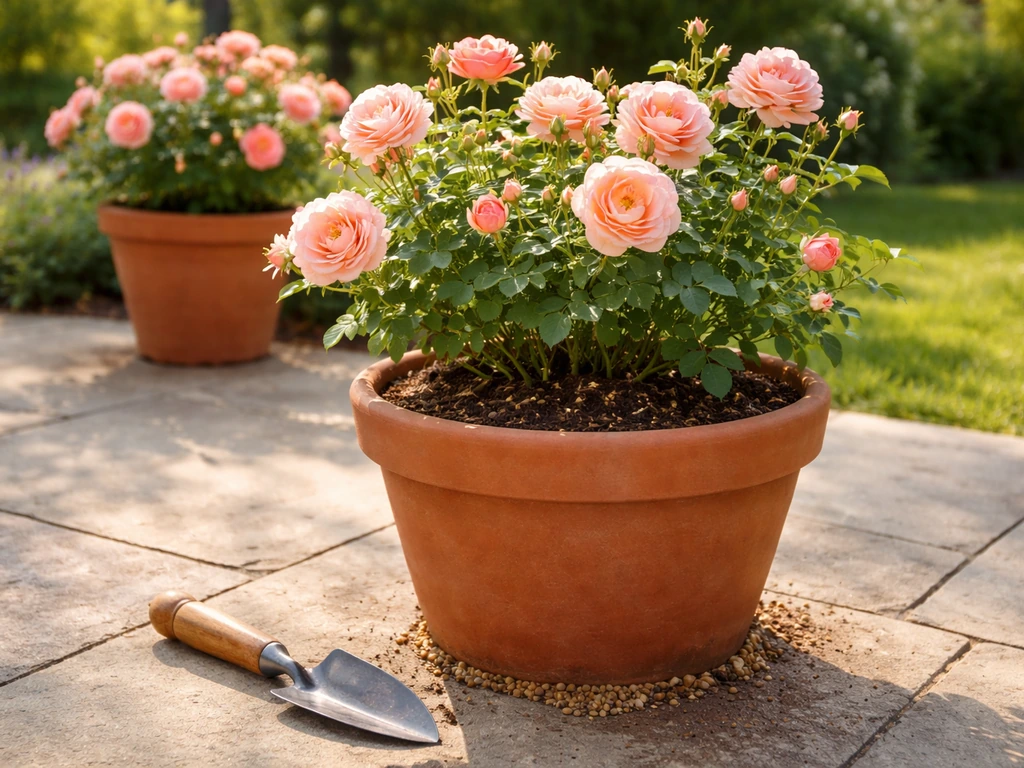
You can absolutely grow potatoes on a patio, and they do surprisingly well in containers. Pick an early or second-early variety, grab a 10- to 15-gallon container with drainage holes, fill it with a quality soilless potting mix, plant your seed potatoes about 4 inches deep, and keep adding soil as the stems grow. That's the whole cycle. The rest of this guide walks you through each step in detail so you get an actual harvest instead of a pot full of rotted seed and disappointment. To learn the container-specific steps for roses, see our guide on how to plant patio roses.
How to Grow Potatoes on a Patio: Step-by-Step Guide

Nolan Carver
6 Jul 2026
Choosing the right potato variety and timing
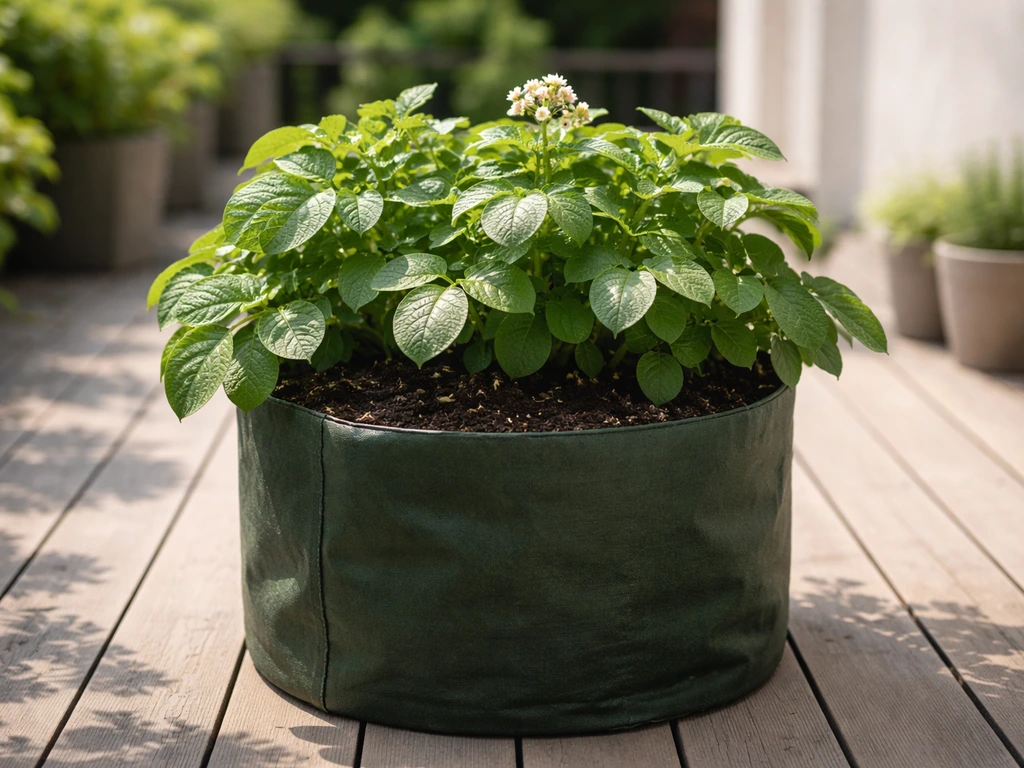
Variety choice matters more in containers than it does in the ground, mostly because space is your biggest constraint. Early and second-early varieties (sometimes called first earlies and second earlies) are the best fit for patio growing. They mature faster, meaning you spend less time managing a pot that's sitting on your patio taking up space, and they tend to do better in the shallower root environment of a container. Maincrop varieties can work, but they stay in the ground well into late summer or early autumn and require more sustained management. For most patio gardeners, earlies give you that satisfying harvest faster and free up your container for something else.
Timing depends on your last frost date. Potatoes don't like cold, wet soil, and planting too early into a cold container dramatically increases the chance that your seed potato will rot before it ever sprouts. Wait until nighttime temps are consistently above about 45°F and the soil in your container feels workable, not waterlogged. If you want a head start, try chitting your seed potatoes a few weeks before your planting date. Chitting is preparing seed potatoes for planting by keeping them in a light, cool place so they develop sprouts before going into the ground or container chitting your seed potatoes. Chitting just means placing your seed potatoes in a light, cool spot (a windowsill or egg cartons in a cool room work perfectly) so they develop short, sturdy sprouts before going into the container. It's a simple trick that can push your harvest earlier and improve yield, especially in a short growing season.
One more thing on seed potatoes: always buy certified seed potatoes rather than sprouting potatoes from the grocery store. Disease spores from blight and other pathogens are almost impossible to eliminate once they get into your growing medium, and certified seed stock drastically reduces that risk from the start.
Containers, drainage, and how much space you actually need
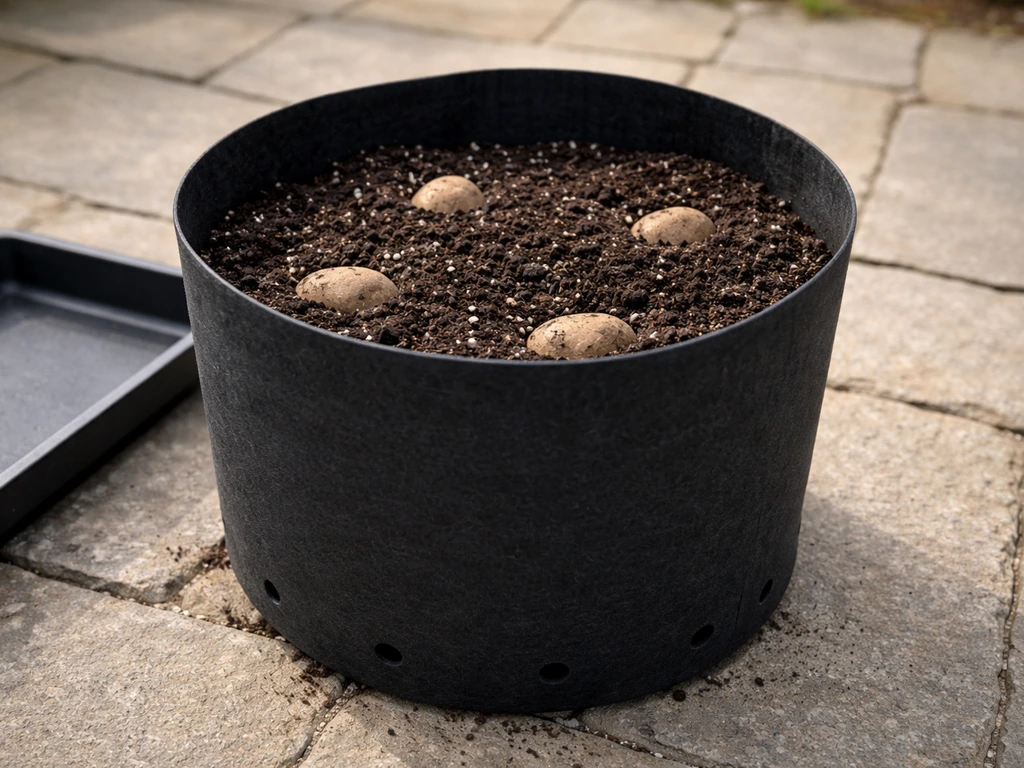
The container is the foundation of this whole setup, so get it right. You want something opaque (to block light from reaching tubers and prevent greening), food-safe, and with drainage holes in the bottom. For large patio pots, start by choosing a roomy container with drainage holes and then fill it correctly with soilless potting mix. Aim for at least 10 to 15 gallons of capacity. A good rule of thumb is roughly 5 gallons of soil volume per plant, so a 10-gallon container handles one to two plants comfortably and a 15-gallon container can fit two to three. Going too small is the most common mistake, and it almost always leads to a disappointing harvest.
In terms of dimensions, look for something about 2 to 3 feet tall. That depth matters because you'll be adding soil over the stems as the plant grows (more on that in the hilling section). A squat, wide container doesn't give you that vertical room to work with.
You have a lot of options when it comes to container type. Fabric grow bags are popular because they're cheap, breathable, and easy to store at the end of the season. But plastic storage tubs, large nursery pots, half-barrels, even clean garbage bins all work well. If you want something more tailored than a storage tub or grow bag, you can also check out how to build a patio planter for a long-lasting setup. Just make sure there are drainage holes at the bottom. If your container doesn't have them, drill a few yourself before you do anything else. Sitting water is the fastest way to rot a seed potato.
| Container Type | Capacity | Drainage | Best For | Notes |
|---|---|---|---|---|
| Fabric grow bag | 10–15 gal | Excellent (breathable sides) | Beginners, small patios | Lightweight, easy to store, may dry out faster in heat |
| Plastic storage tub | 15–20 gal | Drill holes yourself | Budget growers | Widely available, durable, good depth |
| Large nursery pot | 10–15 gal | Pre-drilled | Neat, tidy look | Easy to find, affordable |
| Half-barrel planter | 20+ gal | Drill holes if needed | Multiple plants | Heavy when filled, not easy to move |
| Fabric potato bag | 10 gal | Excellent | Patio-specific growing | Designed for this purpose, often has a harvest flap |
If your patio gets a lot of direct afternoon sun and heat, fabric bags and dark-colored plastic containers can heat up fast. That can stress roots. In those situations, lighter-colored containers or a spot with some afternoon shade helps. And if your patio is on a deck or elevated surface, check that your containers are in a spot that can handle the weight once they're full of wet soil.
Potting mix and how to plant your seed potatoes
Do not use garden soil in your containers. It compacts, drains poorly, and introduces pests and diseases. What you want is a quality soilless potting mix, the kind you find at any garden center. Good potting mixes contain a combination of peat moss or coconut coir, perlite or vermiculite for drainage, and composted bark or compost for nutrients. The perlite is particularly important for potatoes because it keeps the mix loose and well-aerated, which is exactly what developing tubers need.
To give your plants a nutrient boost right from the start, mix in up to about 50% compost by volume before you plant. If you want a more hands-off feeding approach, you can also incorporate a slow-release fertilizer into the potting mix at this stage. One application at the recommended rate often carries plants through most of their growing cycle without needing extra top-ups.
Here's how to actually get started. Pour about 4 inches of your potting mix into the bottom of the container. Place your seed potato (or seed pieces if they're large) directly on that layer with the sprouts pointing up, spacing them about 10 to 12 inches apart if you're fitting more than one in a larger container. Following the steps for planting patio pots helps you avoid common early problems like rot and uneven sprouting seed potato (or seed pieces if they're large). Then cover them with another 4 to 6 inches of potting mix. That puts your seed potatoes at a depth of 4 to 6 inches below the surface, which is the right starting depth. Don't fill the container all the way to the top yet. You'll need that headroom for hilling.
Sun, water, and feeding throughout the growing season
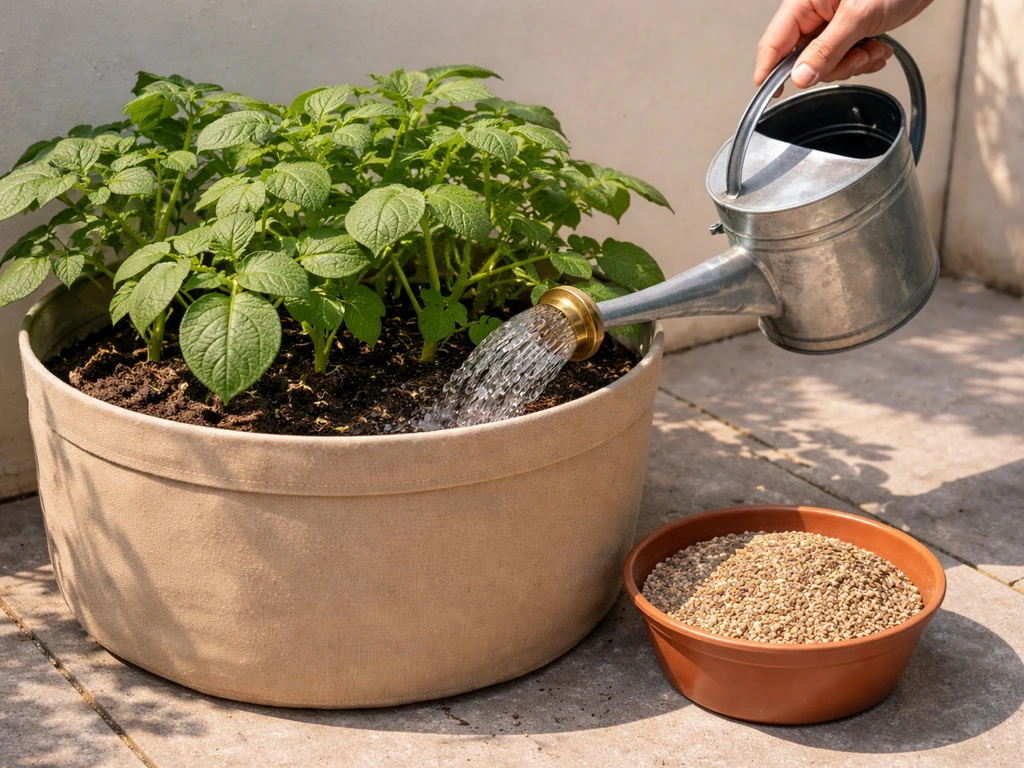
Potatoes want full sun, ideally 6 to 8 hours of direct sunlight per day. On a patio, that's usually achievable, but pay attention to how shadows fall throughout the day. Buildings, fences, and overhead structures can cut light significantly. If your patio is partly shaded, pick the sunniest corner for your potato containers. The steps and container care are similar when you switch from potatoes to planting a patio rose in a container how to plant a patio rose in a container. Wind is also worth thinking about. Exposed patios can dry out containers very quickly, so you may need to water more frequently than you'd expect.
Watering is where most patio growers either overdo it or underdo it. The goal is consistent moisture without waterlogged soil. Check the top inch or two of the potting mix daily during warm weather, and water when it starts to feel dry. In hot, dry stretches, that might mean watering every day. The key tell is the weight of the container: pick it up slightly if you can. If it feels light, it needs water. Also avoid wetting the leaves when you water, especially in the evening. Leaves that stay wet for more than 10 to 12 hours in mild temperatures are at higher risk for late blight, which is a serious fungal disease. Water at the base of the plant, not overhead.
For feeding, once your shoots emerge above the soil, switch to a balanced soluble fertilizer applied every couple of weeks. If you prefer a simpler approach, a diluted liquid fertilizer applied weekly works well too. Either way, consistent feeding through the growing season keeps the plants producing. Once you see flowers forming, you can ease off a bit on the nitrogen-heavy feeds and let the plant focus its energy on tuber development.
Hilling in containers: the patio method
Hilling is the practice of piling more soil around the base of the potato stems as they grow. In the ground, you mound up soil from the sides. In a container, you do the same thing by simply adding more potting mix to the top of the container as the plant grows taller. This does two important things: it encourages more tubers to form along the buried stem, and it keeps developing tubers covered so they don't turn green from light exposure. Green potatoes contain solanine, which is toxic, so this step genuinely matters.
Start your first hilling when the stems reach about 6 inches above the soil surface. Add a few inches of potting mix around the stems, leaving just the top few inches of growth exposed. Repeat this process once or twice more during the season as the plant keeps growing, and aim to have completed your final hilling by the time the plant flowers. Some guidance recommends starting hilling when stems hit about a foot tall, which also works well. The main point is to keep adding soil as the plant grows rather than waiting until the container is full. You'll end up with a container that's almost completely filled by the time the plant is mature, which is exactly what you want.
Troubleshooting common problems
Rotting seed potatoes
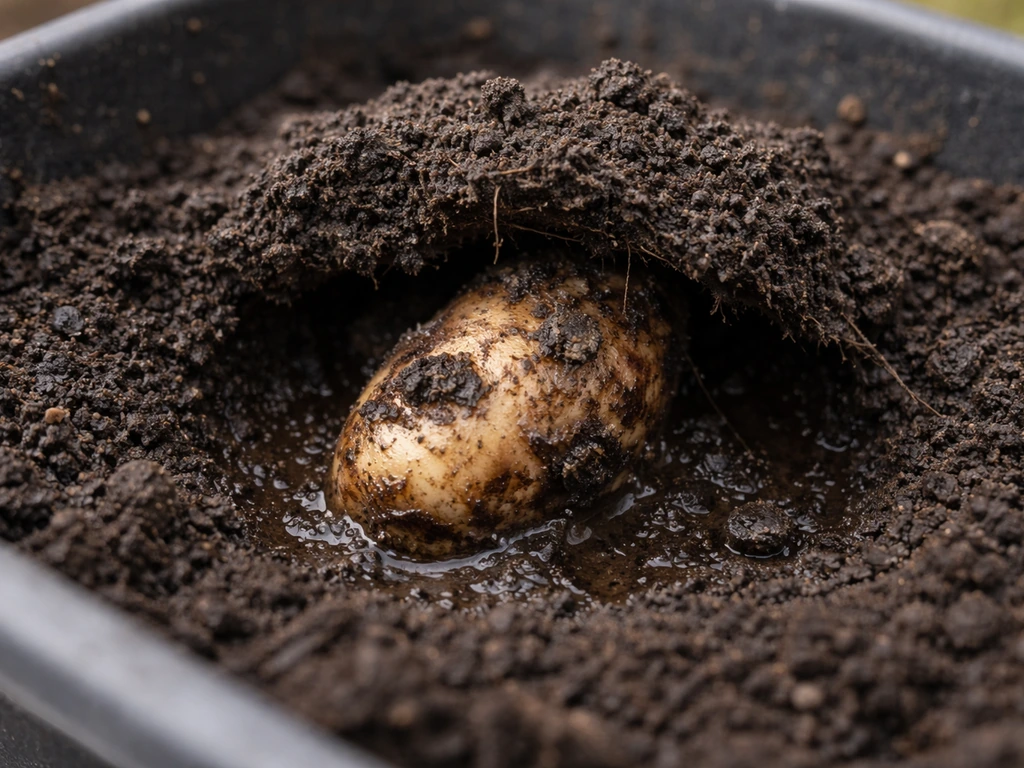
If you dig down a few weeks after planting and find a mushy, rotted seed potato, the culprit is almost always cold, wet soil at planting time. This is one of the most frustrating setbacks but also one of the most avoidable. Make sure you're planting into warm-enough conditions (above 45°F), that your container has good drainage, and that you're not overwatering in the early weeks before the plant is established. If it happens, remove the rotten material, let the mix dry out a bit, and replant with a fresh seed potato once conditions improve.
Weak, yellowing, or pale plants
Yellow leaves can signal a few different things: overwatering and poor drainage, nutrient deficiency (especially nitrogen), compacted or waterlogged roots, or high soil alkalinity. In containers, overwatering combined with inadequate drainage is the most common cause. Check that your drainage holes are clear and functioning, and let the mix dry slightly between waterings. If drainage looks fine, try a dose of balanced fertilizer to rule out a nutrient issue. Pale, leggy growth with small leaves usually means not enough light, so move the container to a sunnier spot if you can.
Late blight
Late blight is a serious fungal disease that can devastate a potato crop fast. Look for water-soaked, greasy-looking lesions on leaves and stems that spread quickly, often with a white fuzzy growth on the underside of leaves in humid conditions. The disease can also affect tubers. The best prevention is to avoid wetting leaves, make sure the foliage dries completely between waterings, and use certified seed potatoes (disease spores travel on infected plant material). If you spot blight, remove affected foliage immediately and avoid composting it. Patio growing actually helps here because containers are easy to move, so you can improve air circulation around the plant.
Slugs, aphids, and other pests
Aphids cluster on new growth and the undersides of leaves. A strong spray of water knocks most of them off, and repeating this every few days keeps populations manageable. Slugs are more of a problem in damp conditions. On a patio, copper tape around the base of the container can act as a deterrent, or use organic slug pellets. Colorado potato beetle, if it's present in your area, is identifiable by its yellow-striped body and can strip leaves quickly. Pick beetles and egg masses off by hand and drop them into soapy water.
Harvesting your patio potatoes
The classic sign that it's time to harvest is when the foliage turns yellow and starts to die back. For early varieties, this typically happens around 7 to 8 weeks after planting, often about 2 to 3 weeks after the plant finishes flowering. Don't rush it based on the calendar alone. Watch the plant. If you're growing for new potatoes (the small, tender ones), you can start harvesting earlier once the plant flowers, just by reaching into the mix and feeling around for tubers. That's one of the real pleasures of container growing.
For a full harvest, stop watering once the vines begin to die back naturally and let the soil dry out. This firms up the skins and makes the potatoes store better. Then tip the whole container out onto a tarp or into a wheelbarrow and sift through the mix by hand. It's genuinely satisfying. Rinse off the soil gently and let the potatoes air dry in a shaded spot before storing.
Curing and storing what you grow
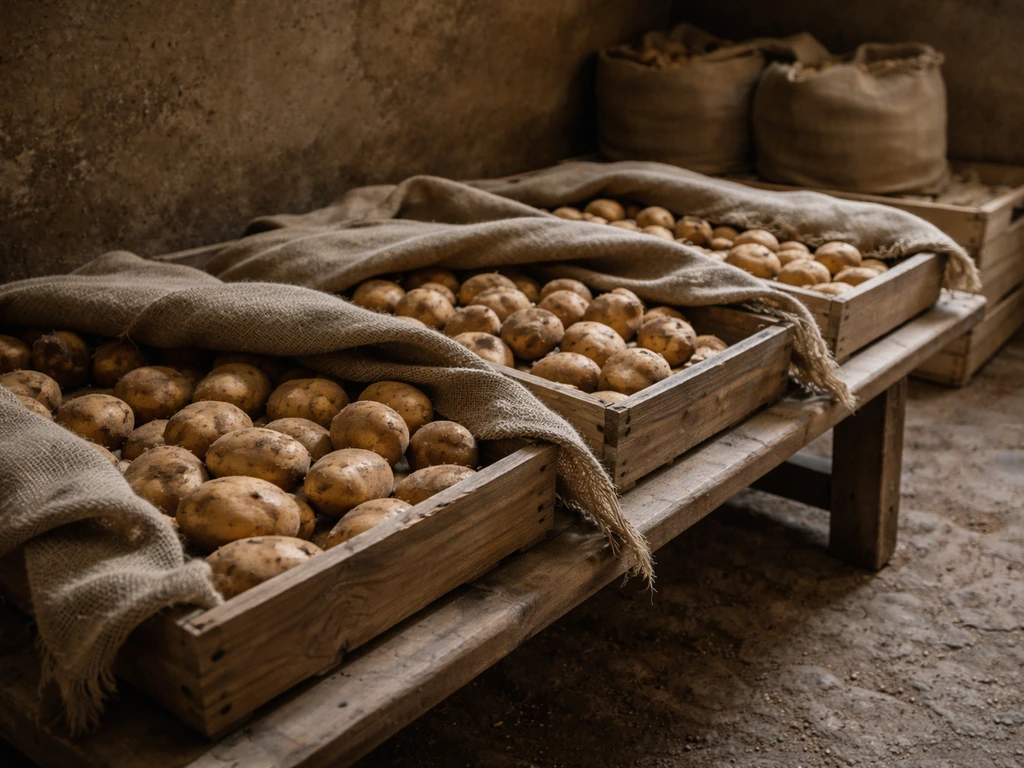
If you've grown more than you can eat in a few days, curing is worth doing. Curing allows the skins to thicken and any small cuts or bruises to heal over, which dramatically extends storage life. Spread your potatoes in a single layer in a dark, well-ventilated space at around 45 to 60°F with high humidity, around 85 to 95% if you can manage it. Leave them there for about two weeks. A cool basement, a garage in autumn, or even a large perforated plastic bag in a shaded spot works fine.
After curing, move potatoes to long-term storage at a cool, dark, and humid location. New potatoes and freshly dug earlies don't store as long as maincrop varieties and are best eaten within a few weeks. Don't store potatoes near apples or onions. Apples give off ethylene gas that causes potatoes to sprout faster, and onions and potatoes stored together cause both to deteriorate more quickly.
Make the most of your patio growing space
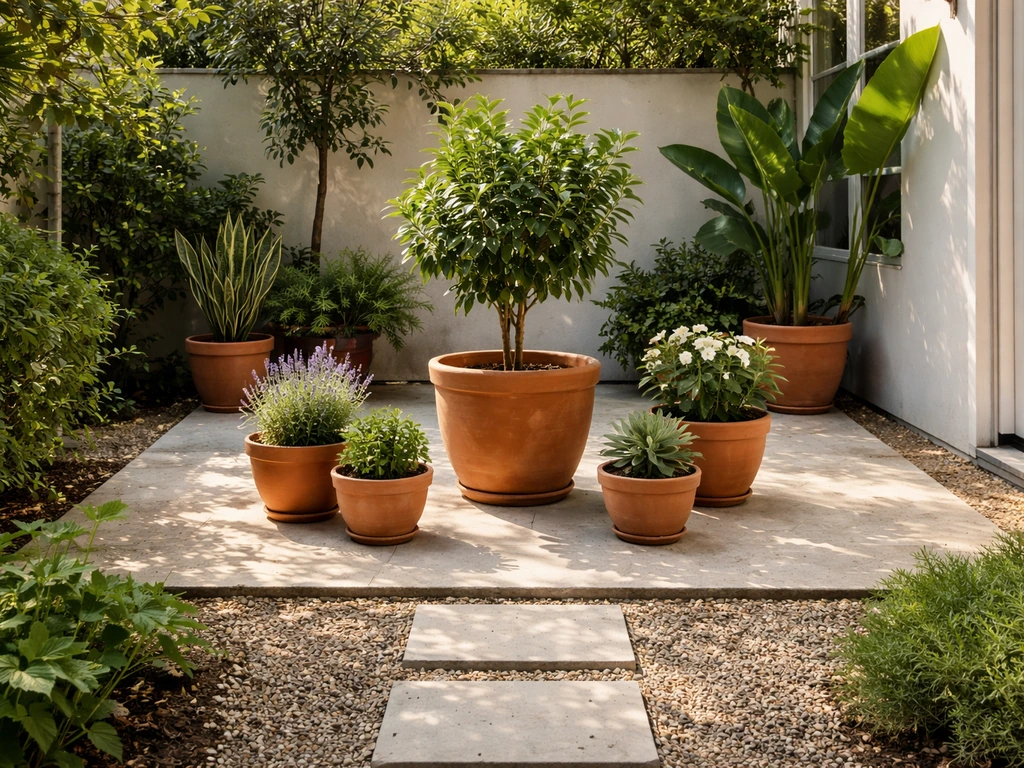
Growing potatoes is a great entry point into patio container gardening, but it's just the start of what you can do with the space. Once your potato harvest is done, that same large container can be repurposed for other crops or ornamental plants. If you're thinking about filling out your patio with more planters, building dedicated patio planters, or figuring out how to arrange different containers for a cohesive look, all of those things build on the same foundation you're setting up here. A well-designed container setup takes some planning, but once it's dialed in, your patio becomes a genuinely productive growing space, not just a place to sit.
FAQ
Can I reuse the same potting mix and container for another potato crop?
Potatoes need a rest period, so the safest approach is to harvest everything, empty the container, and either refresh with new soilless potting mix or at least remove the spent mix and compost it elsewhere. If you reuse the same mix without refreshing, disease risk rises and yields usually drop, especially if late blight showed up last season.
When should I harvest container potatoes if I want new potatoes versus storage potatoes?
Yes, but choose the type of harvest you want. For “new potatoes,” start digging a little earlier after flowering and feel for tubers, then leave the plant in place to keep bulking. If you wait for full maturity, the foliage naturally yellows and dies back, skins firm up, and the potatoes store longer.
What should I do if my seed potatoes sprout poorly or slowly?
If a seed potato sprouts weak, pale shoots that barely grow, it often means the tuber was too cold or was stored too long before planting. Chitting helps, but also make sure your patio soil warms to consistently above about 45°F and that the mix stays evenly moist, not soggy, during the first few weeks.
Can I use cut seed potatoes in containers, and how do I prevent rot?
Avoid cutting seed potatoes unless you know you can let the cut surfaces dry and callus first. Use a sharp knife, cut into pieces with at least one eye, and allow cut pieces to dry in a cool, airy spot for a day or two before planting so they are less likely to rot in cool, wet mix.
What’s the best way to handle very hot patios where containers overheat?
Try rotating containers between a sunnier and slightly more shaded position during heat waves, or switch to lighter-colored containers to reduce root stress. If your patio is scorchingly hot, a morning-sun spot with afternoon shade can outperform a full-day sun spot because overheating can slow tuber growth.
My container mix stays wet for days. How can I correct overwatering or poor drainage?
A common fix is to increase the next watering interval only after confirming drainage. Make sure water is soaking through and not pooling, clear any clogged drainage holes, and water at the base early in the day so the foliage dries quickly. If the mix is still heavy and wet days later, repotting into fresh soilless mix may be the fastest recovery.
How do I adjust fertilizer if my potato plants grow lots of leaves but not many tubers?
Keep feeding balanced once shoots emerge, but if plants look lush and leafy with few tubers, reduce nitrogen and avoid additional compost-heavy top-ups. When you see flowers, shift toward less nitrogen and more emphasis on potassium-based nutrients (follow the label) to support tuber development.
Should I remove flowers on patio potato plants to increase tubers?
You can, but manage the risk. If you remove flowers early, you may delay tuber set, while allowing flowers to form tends to align with the best tuber bulking window. If blight is present or conditions are very humid, removing badly infected foliage still matters more than flower management.
Is it better to group multiple potato containers together or space them out?
Yes, in raised containers you can reduce sun and wind extremes by placing the pot close to a wall for shelter, but keep airflow around the foliage. Containers stacked too tightly can trap humidity, which increases late blight pressure.
How can I prevent slugs in a patio container potato setup?
Slugs can be stubborn in containers because they hide in the moist mix. Use the copper tape as a barrier around the container base, and check after dark or after rain. If slugs are active, add a regular baiting routine and remove debris so they have fewer hiding spots nearby.