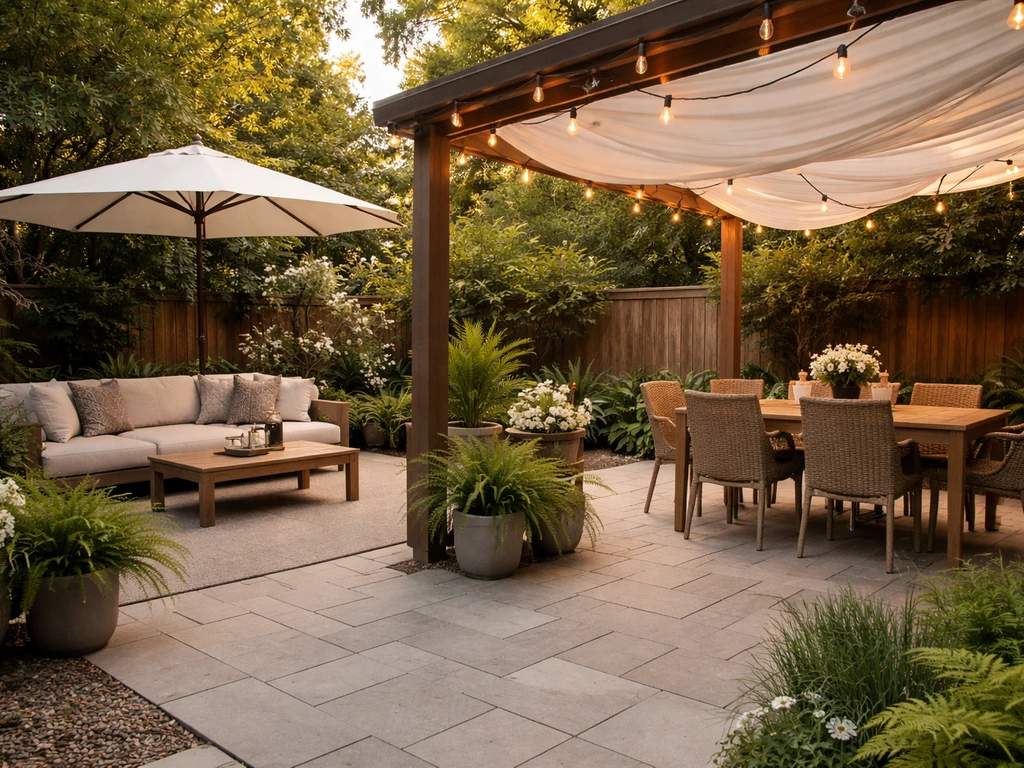
You can turn almost any existing patio into a genuine oasis by working through four things in order: assess what you have, decide how you want to use it, fix what's broken, then layer in comfort and beauty. The whole process is very DIY-friendly, and you don't need to tackle it all at once. Start with the assessment and a clear goal, then add upgrades in rounds based on budget and impact.
How to Create a Patio Oasis: DIY Steps for Comfort, Style

Nolan Carver
29 Jun 2026
Step 1: Assess your patio before you spend a dollar
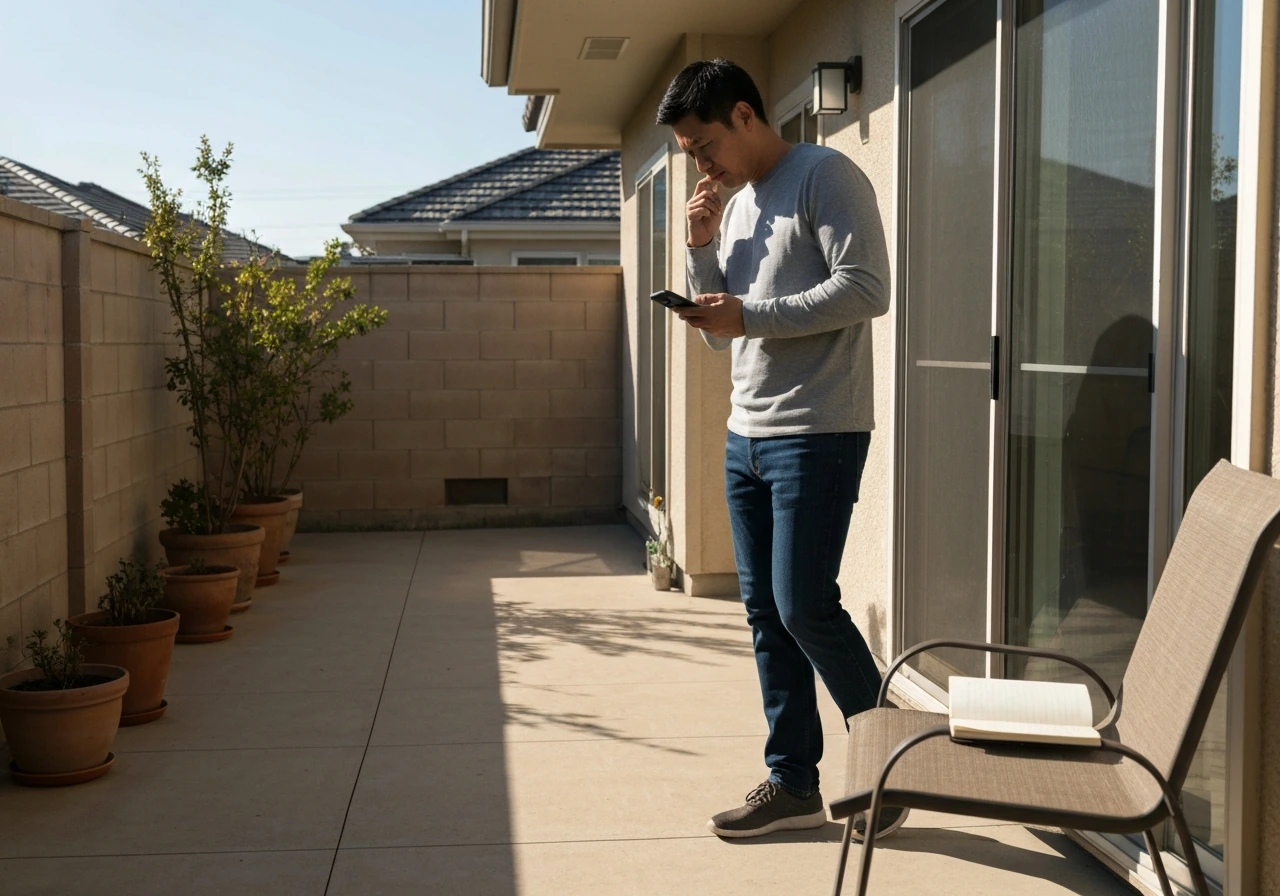
Walk your patio on a Saturday and spend about five minutes observing it at three different times: morning, midday, and late afternoon. You're tracking four things: sun, privacy, drainage, and surface condition. Write them down, even rough notes on your phone. This single hour of observation will save you hundreds of dollars in wrong purchases.
Sun and microclimate
Count how many hours of direct sunlight hit the space. Full sun is 6 or more hours of direct summer light per day. Part sun is 2 to 6 hours. Knowing this matters for both plant selection and shade planning. Also notice where the afternoon sun hits hardest, because low-angle late-afternoon light creates the worst glare, especially from the southwest corner. Concrete and stone walls actually store heat and release it in the evening, so a patio that feels fine at 2pm can feel like an oven at 6pm. That's your microclimate at work, and it directly shapes which shade and seating upgrades make the most sense.
Privacy and visibility
Stand at your main seating spot and look outward in every direction. Note where you feel exposed, whether that's a neighbor's window, a road, or just an open sightline that breaks the relaxed feeling. Also note which directions have natural screening already, like a fence, hedge, or structure. You'll use this to target privacy upgrades only where they actually matter.
Drainage and surface condition
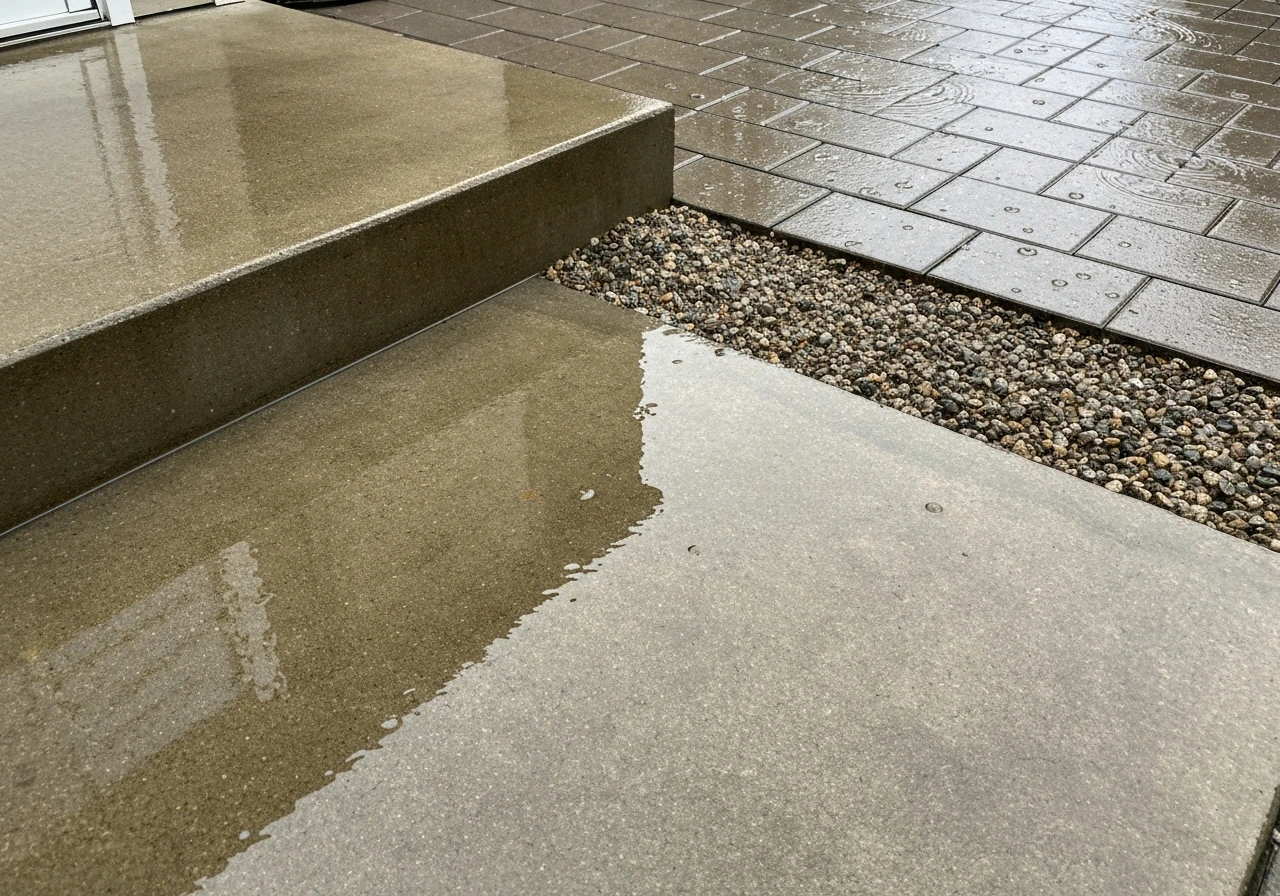
After the next rain, check whether water pools anywhere on the patio surface. A properly built patio should slope away from your house at roughly 1/8 to 1/4 inch per foot (about 1 to 2 percent grade). If water is sitting on the surface, that's a base or grading problem, not just a surface issue. Check the surface itself for cracks wider than 1/8 inch, vertical displacement between pavers or concrete slabs, or spots that rock underfoot.
Structural cracks that span across a large area, or any section with 1/4-inch vertical displacement between slabs, are worth having assessed before you spend money on decorative upgrades. Fixing drainage and tripping hazards first isn't just practical, it protects everything you install on top.
Step 2: Define what your oasis actually needs to do
The word 'oasis' means different things to different people. Before you buy anything, decide whether this space is primarily a quiet retreat, a dining area, an entertaining hub, or a mix. That decision drives every other choice from furniture size to lighting type to plant placement.
Zoning doesn't require a formal design plan. It just means deciding which corner or section of your patio serves which purpose and working outward from that. A good rule of thumb: leave at least 36 inches of clear walkway between furniture clusters so people can move around comfortably. For a dining table, chairs extend outward when people sit and push back, so plan the coverage zone to be bigger than just the tabletop. If you're designing a fire pit area, the U.S. Access Board recommends at least 48 by 48 inches of clear ground space around grills and fire features. These aren't bureaucratic rules, they're just the measurements that keep a space from feeling cramped.
- Quiet retreat: prioritize deep seating, shade, privacy screening, soft lighting, and sound-dampening plants
- Dining zone: prioritize a flat level surface, overhead shade that covers chair positions (not just the table), and weather-resistant furniture
- Entertaining space: prioritize flexible seating, durable flooring, task and ambient lighting, and clear circulation paths
- Mixed-use: zone each function into its own corner and use planters or screening to create a soft visual divide
Step 3: Choose the upgrades that actually drive comfort
Shade first
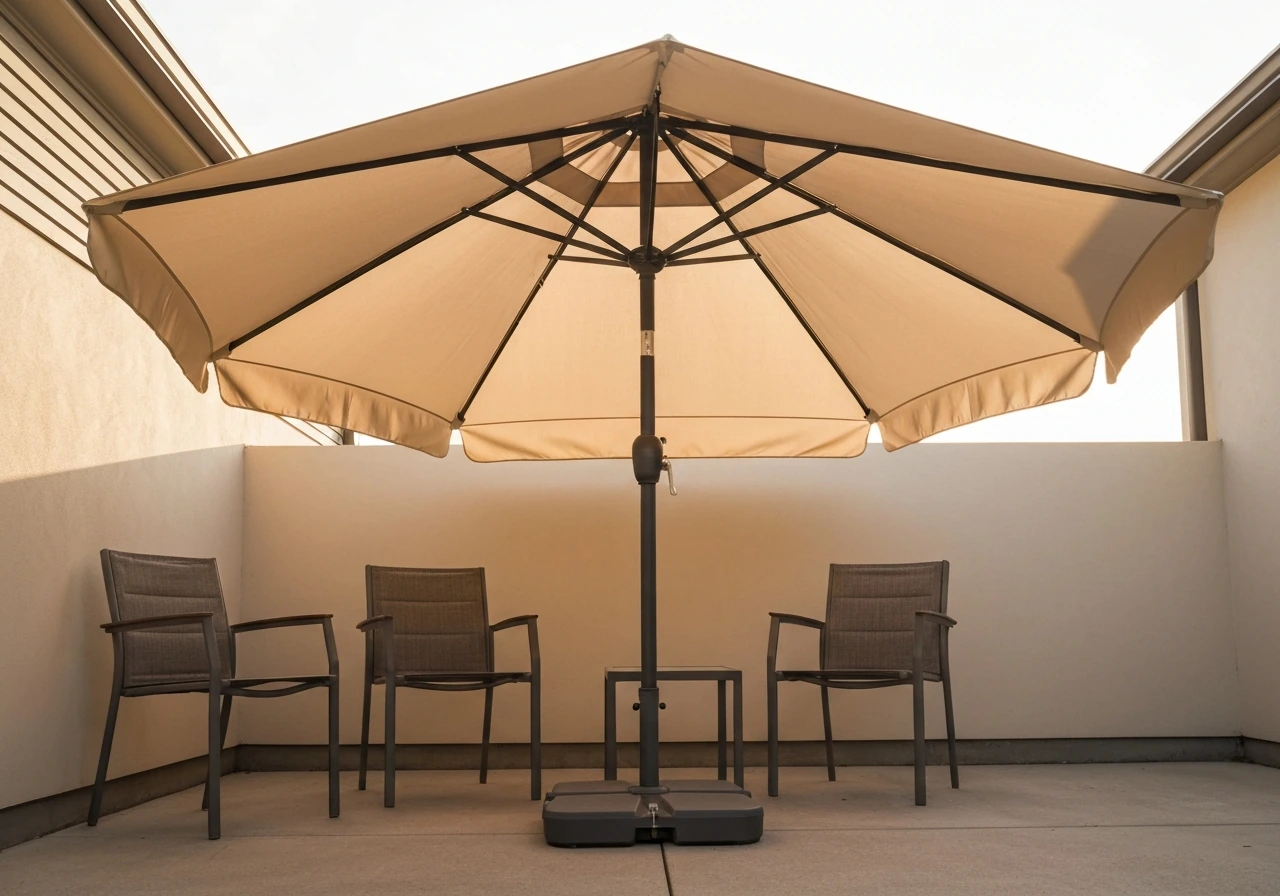
Shade is the highest-impact upgrade for almost any patio. Without it, no amount of beautiful furniture or plants will make a hot afternoon usable. Your options range from a $30 tilting umbrella to a few-thousand-dollar pergola, and the right choice depends on how permanent you want to go and how much wind your site gets.
| Shade Option | Cost Range | DIY Difficulty | Wind Risk | Best For |
|---|---|---|---|---|
| Market umbrella (tilting) | $30–$150 | Easy | Moderate (needs weighted base) | Small seating areas, renters, quick wins |
| Cantilever umbrella | $100–$400 | Easy | Higher (wide span catches wind) | Dining tables, no center-pole obstruction |
| Shade sail | $50–$300 + anchors | Moderate | High if not tensioned and anchored well | Large open areas with solid anchor points |
| Retractable awning | $300–$2,000+ | Moderate to hard | Must retract in high wind | Covered porch, permanent structure nearby |
| DIY pergola (kit or built) | $500–$3,000+ | Hard | Low if properly built | Long-term, year-round use, full outdoor room |
If you go with a shade sail, take anchor points seriously. A loose sail acts like a parachute in wind and can tear fabric, bend posts, or pull anchor hardware right out of a wall. Set anchor posts in concrete and plan your geometry so the sail sits at a slight angle, which also helps rain run off rather than pool in the center. Retractable awnings solve a lot of these problems but require you to retract before wind hits their load rating, so they work better under a covered porch than in a wide-open yard.
Seating and surface comfort
An oasis needs seating that invites you to stay, not just sit. Deep-seat lounge chairs, a sectional sofa with outdoor cushions, or a daybed with a canopy all deliver that feeling better than standard dining chairs. For surface comfort underfoot, an outdoor rug on concrete or pavers immediately changes how a space feels, adds visual warmth, and defines the seating zone. If you have bare concrete that feels industrial, an outdoor rug is a $50 to $200 upgrade that does more visual work than almost anything else you can add.
Step 4: Set the mood with lighting
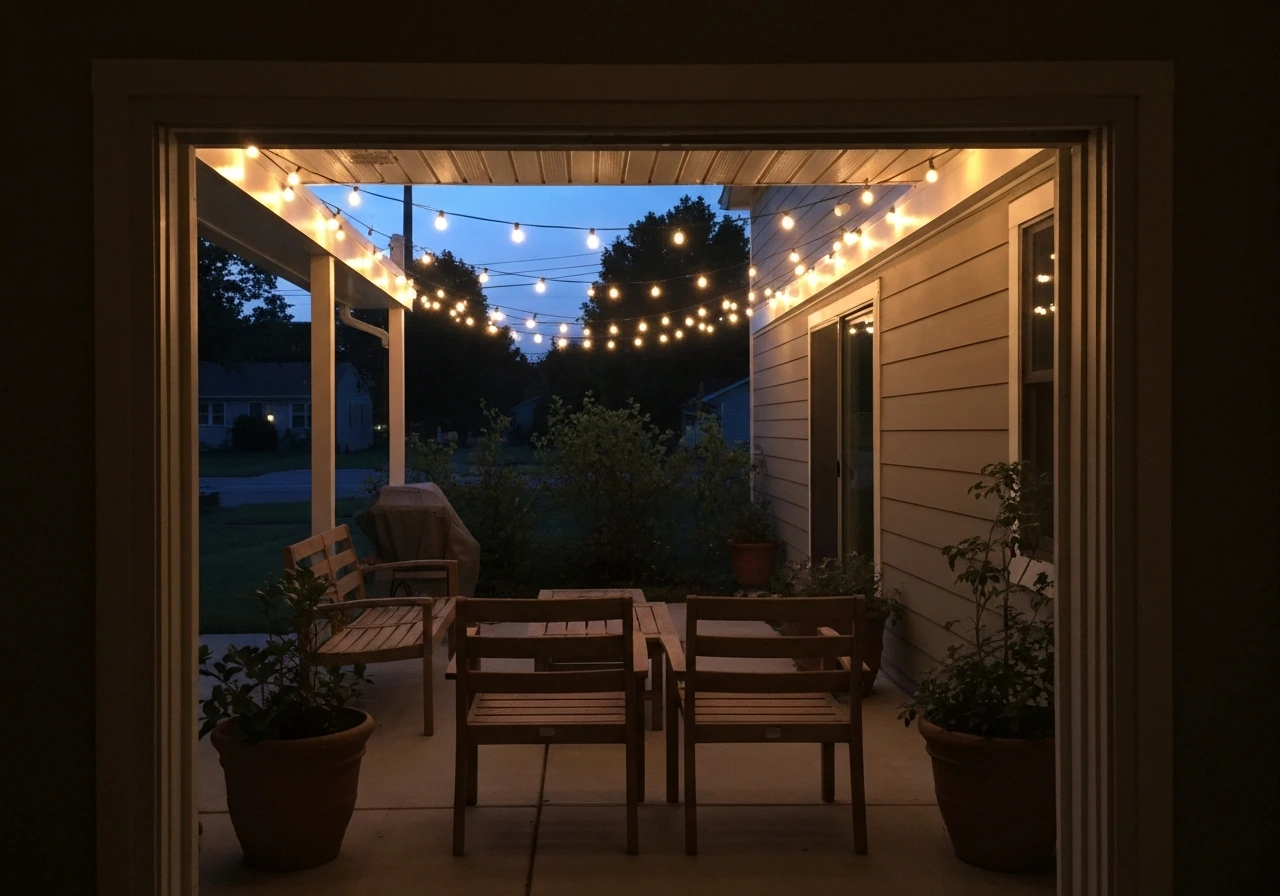
Lighting is what lets you actually use your oasis after 7pm, and it's what makes the space feel special rather than functional. The key is color temperature and placement. Stick to warm white bulbs in the 2700K to 3000K range. Anything cooler starts to feel like a parking lot, which kills the relaxed vibe you're going for. Layer your lighting across at least two levels: overhead (string lights, lanterns, or a pendant under a pergola) and low-level (path lights, planter uplights, or candles).
String lights strung across the patio at about 8 to 10 feet overhead are one of the easiest and most affordable ways to transform a space at night. When you power them, use outdoor-rated extension cords rated for the total wattage of your string lights. Using an indoor cord outside is a real fire and shock risk.
Any outlet you plug into outdoors must be GFCI-protected (that's the outlet with the test and reset button), which is required by the National Electrical Code for outdoor receptacles. Low-voltage landscape lighting kits are another great DIY option: they run off a transformer you plug into an outlet and use 12-volt wiring that's safe to bury. Keep any transformer or fixture at least 10 feet from a water source like a pond or fountain.
- Overhead string lights: warm white (2700K–3000K), rated for outdoor use, strung on guide wire or hooks for support
- Uplighting plants or architectural features: low-voltage landscape lights create dramatic shadows
- Path and step lighting: keeps people safe moving around the space after dark
- Candles and lanterns: zero wiring needed, great for ambiance in the seating zone, use citronella for a bug deterrent bonus
- Solar options: good for accents and path lights, but output is inconsistent and they dim in winter or shade
Step 5: Bring in plants without making it a full-time job
Plants are what make a patio feel like an oasis instead of a parking pad. The trick is matching plants to your actual microclimate conditions (remember that sun map you made) and choosing containers or bed sizes that support healthy roots. Containers dry out faster and experience bigger temperature swings than ground beds, so they need more frequent watering and plants that can handle that. Match your plant labels to your measured sun hours: full sun (6+ hours), part sun (2 to 6 hours), or shade (under 2 hours).
For container trees or larger shrubs, you need at least 18 to 24 inches of soil depth to support healthy root growth. Most tree and shrub roots grow in the top 2 feet of soil, so going shallower than that stunts the plant and you'll end up replacing it. For smaller perennials, herbs, and annuals, 12 inches of depth is workable. For a big visual impact on a budget, cluster three containers of different heights together rather than spreading single pots around. A tall ornamental grass or small tree in a large planter, flanked by medium-height flowering perennials and a low trailing plant at the edge, creates a lush layered look with just a few plants.
Vertical greenery for privacy and beauty
Vertical plants (climbing vines on a trellis, tall columnar shrubs, or a living wall planter) add greenery without taking up floor space, which matters on a smaller patio. A simple cedar trellis panel anchored to a fence or freestanding post can support jasmine, clematis, or climbing roses within one season. Bamboo in tall planters is popular for its fast growth and density, but use clumping varieties (not running bamboo) or you'll be managing a full-yard takeover within a few years.
Step 6: Privacy and wind control without closing everything in
A solid fence or wall blocks wind, but it also creates dead air on the sheltered side and can feel claustrophobic. Semi-privacy fencing, lattice panels, slatted wood screens, and open trellis structures do a better job of reducing wind speed while still letting air move through. Research on porous barriers shows they're actually more comfortable on the sheltered side than solid walls, because they diffuse the wind rather than creating a hard turbulence zone. Aim for a screen that blocks line-of-sight but has some visual and airflow porosity.
Whatever privacy screen you build or install, anchor it well. This is not optional. A common DIY mistake is setting a lattice or screen panel in a planter base or with light-duty hardware, and then watching it get knocked flat in the first wind event. If your screen is taller than 4 feet, set posts in concrete footings or attach them directly to an existing solid fence or structure.
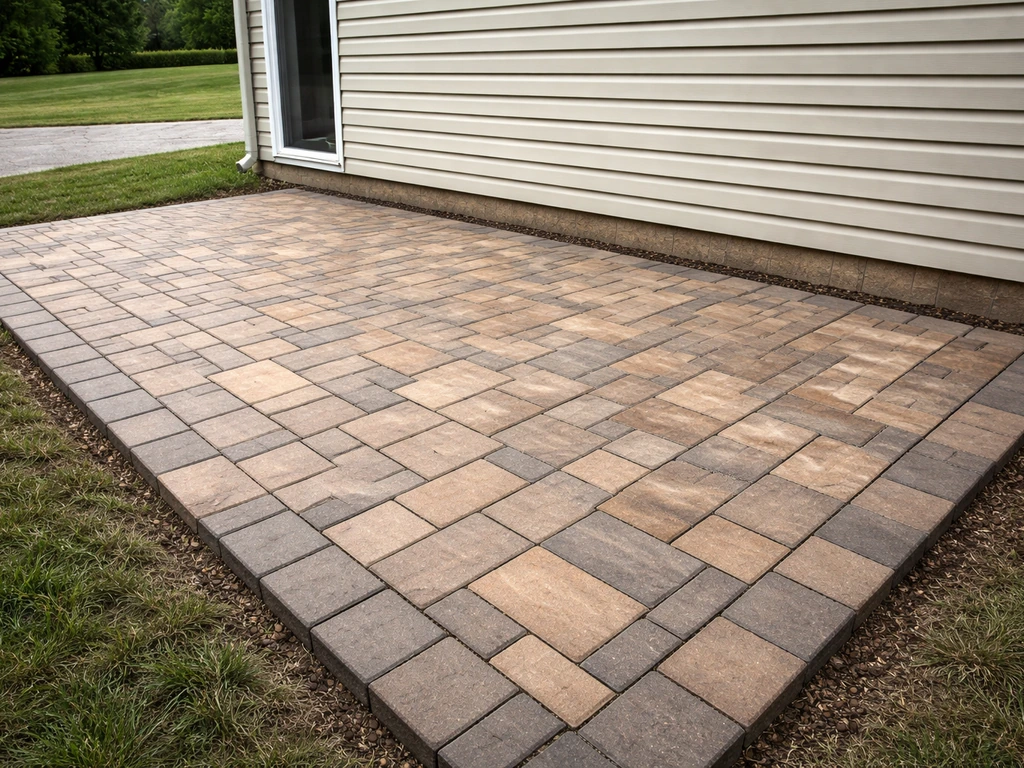
For freestanding screens in planters, use large heavy planters (think 50+ pounds of soil weight) and brace the posts at two points. If you're building something for the first time, check out guides on how to build a private patio for anchoring details. If you want a deeper walkthrough, follow this guide on how to build outdoor patio from start to finish.
Wind-smart screen options compared
| Screen Type | Privacy Level | Airflow | DIY Difficulty | Wind Resistance |
|---|---|---|---|---|
| Solid wood fence panel | High | Very low | Moderate | Good if well-anchored |
| Slatted/semi-open fence | Medium-high | Moderate | Moderate | Good |
| Lattice panel | Medium | Good | Easy | Lower (large surface area, light frame) |
| Trellis with vines | Medium (improves over time) | Good | Easy | Lower until well-secured |
| Tall potted shrubs | Low-medium | High | Easy | Flexible, low risk |
Step 7: What to buy first and how to budget it out
The biggest mistake DIYers make with patio upgrades is buying beautiful things before fixing functional problems. Here's the order that gets you the most value for money spent.
- Fix drainage and trip hazards first (nothing else matters if the surface is failing)
- Add shade (this changes usability more than anything else on a hot or sunny patio)
- Lay an outdoor rug and add seating cushions (fastest visual transformation, low cost)
- Install lighting (extends your usable hours and sets the whole atmosphere)
- Add plants and containers (brings it to life, but needs to match your assessed conditions)
- Build privacy screens (once you know exactly where you feel exposed)
For a beginner-friendly starting point, a realistic Phase 1 budget of $200 to $500 covers: a good tilting umbrella with a weighted base ($80 to $150), a 5x8 outdoor rug ($50 to $120), a string light set with outdoor-rated cord ($30 to $60), and two or three container plants in matching planters ($40 to $100). That alone transforms most patios. Phase 2 (pergola or shade sail, privacy screen, more furniture) runs $500 to $2,000 depending on what you build vs buy. Phase 3 (drainage correction, surface resurfacing, built-in features like a fire pit or water feature) is the bigger DIY construction tier, which the guides on building an outdoor patio and making an outdoor patio on this site cover in more depth.
Quick shopping list for Phase 1
- Tilting market umbrella + heavy weighted base (50 lb minimum)
- Outdoor area rug sized to contain the seating group
- Outdoor-rated string lights (warm white, 2700K–3000K) + outdoor extension cord
- Two to three large planters (12"–18" minimum depth) + matching plants for your sun level
- Outdoor throw pillows and cushions for existing furniture
- Solar or low-voltage path lights for edges and steps
Step 8: Troubleshoot the problems that stop most DIYers
Standing water and drainage problems
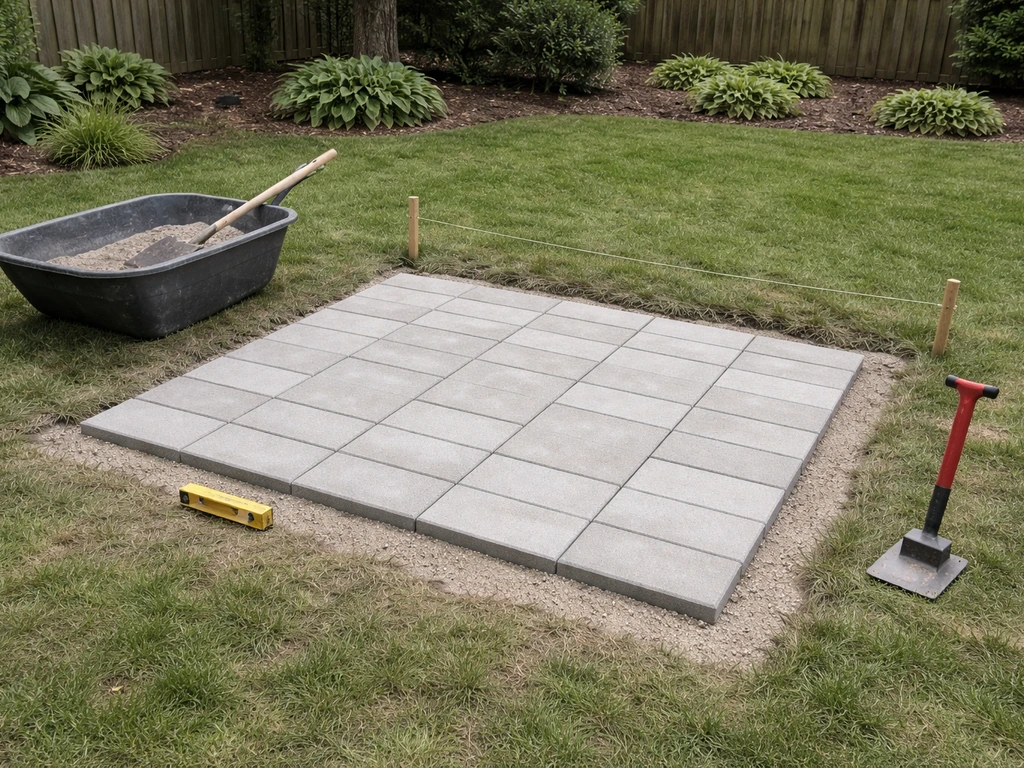
If water pools on your patio after rain, the surface isn't sloped correctly or the base underneath has settled. The target slope is 1/8 to 1/4 inch per foot, dropping away from your house. For pavers, minor low spots can sometimes be fixed by carefully lifting the affected pavers, adding or removing base material (compacted crushed stone), and relaying them. But if water is pooling in multiple spots or you see the base material washing out from under the edges, that's a deeper base problem. Patching the surface without fixing the base just kicks the problem down the road.
Uneven and settling pavers or concrete
Small unevenness (under 1/8 inch between sections) is a cosmetic issue you can live with or address by carefully re-leveling individual pavers. Once you have vertical displacement of 1/4 inch or more between adjacent sections, that's a tripping hazard and it should be addressed before guests use the space. Concrete cracks wider than 1/8 inch, especially those with one side higher than the other, often point to a settlement issue that goes deeper than the surface. At that point, the question is whether to repair or replace, and if the crack spans across the patio with movement, replacement (and fixing the base/drainage that caused the problem) is usually the better long-term call.
Too much sun and heat glare
If the patio feels unbearably hot even in the shade, the concrete or stone around you is radiating stored heat. Shade alone won't fully fix this. Layered shade (a pergola overhead plus vertical shade panels or tall plants on the southwest side) reduces both direct sun and reflected glare. Light-colored patio surfaces reflect more heat than dark ones. Adding an outdoor rug over hot concrete reduces the radiant heat you feel from below. If you're building a new surface section or resurfacing, lighter-colored pavers or pea gravel around the edges both help keep ground temperatures down.
Plants that keep dying
The most common reason container plants fail on a patio is a mismatch between actual sun exposure and the plant's needs. Your patio gets more heat than an open garden bed, containers dry out faster, and afternoon reflections off light-colored walls can effectively add 1 to 2 hours of sun intensity compared to what you measured. If a plant labeled 'part sun' keeps burning, treat your patio as full sun when shopping.
The second most common reason is containers that are too small or too shallow: less than 12 inches of soil depth for most perennials, or less than 18 inches for shrubs, means the roots overheat and dry out fast. Upsize the container or add a layer of mulch on top of the soil to hold moisture. Most 'plant failures' are really container or microclimate failures, and they're completely fixable.
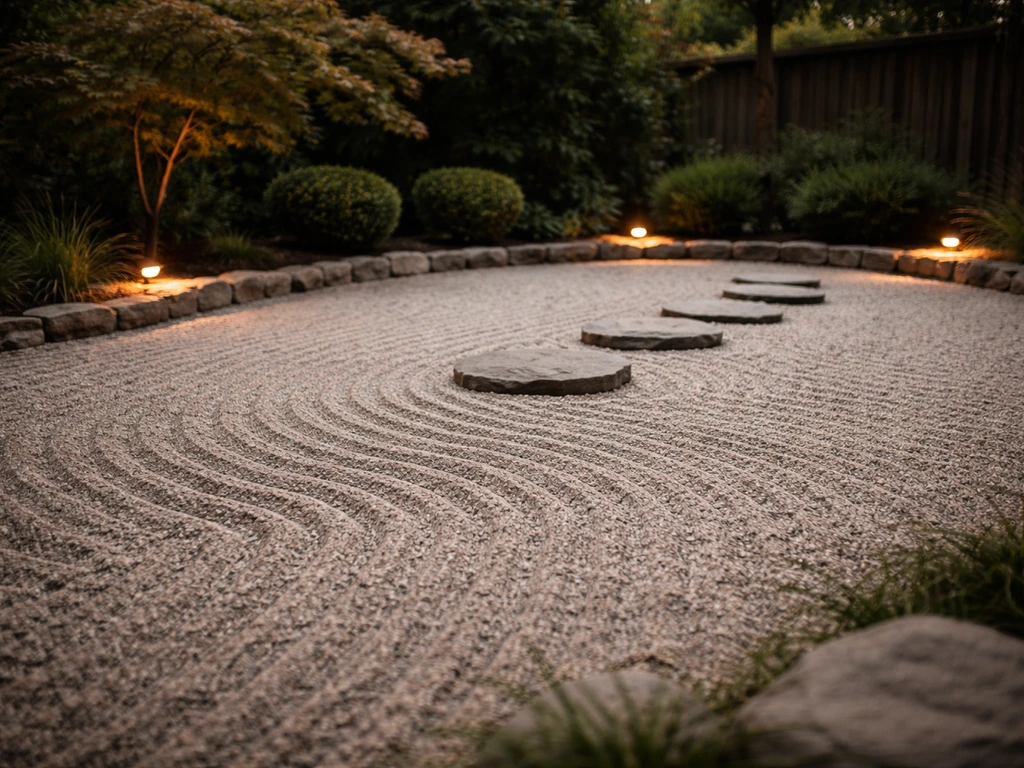
If you're inspired to take your oasis further, from adding a zen garden corner to building a fully private retreat or going deep on the construction side with a new patio surface, there's a natural next step in each direction. A beautiful patio and a private patio each have their own design logic worth exploring separately once your foundation is solid. Start with the assessment and Phase 1 upgrades today, and the rest will come together piece by piece. If you want step-by-step help, use this guide on how to make outdoor patio upgrades in the right order so you avoid costly rework.
FAQ
How do I choose between an umbrella, pergola, or shade sail for my patio oasis?
Pick based on how you use the space and how exposed you are to wind. If you need flexible coverage for dining or lounging, a weighted tilting umbrella is simplest. If you want overhead shade that also supports lighting or curtains year after year, a pergola is usually the best fit. For shade sail, only proceed if you can create solid anchor points into structural material or properly set posts, because loose anchoring is a common cause of tearing in storms.
What’s the easiest way to test whether my patio needs more privacy before I buy screens or plants?
Do a “line of sight” check on two days, one sunny and one cloudy, at the times you’ll actually be outside (often mid-afternoon and evening). Stand at your main seating spot and photograph what you can see in each direction. This helps you decide whether you need partial screening (targeted panels) or full enclosure feeling, and it prevents buying privacy items for sightlines that don’t matter.
My patio drains a little but still feels wet near the house after rain. Is that always a slope problem?
Not always. It can be a grading issue, but it can also be clogged drainage at the edge (downspouts, scupper lines, or hidden gutter outlets) or water running off a nearby roof and concentrating. Before reworking pavers, check where the downspouts discharge and whether nearby soil or mulch directs runoff toward your patio.
Can I put a heavy fire pit on pavers or concrete without additional work?
Sometimes, but don’t assume. You want a level, stable base with clearance from combustibles and a heat-tolerant surface plan. If your pavers have any vertical displacement or rocking sections, fix those first because a fire feature adds point loads and can shift a weak area faster than normal seating. Also confirm your fire pit’s required clearance to railings, walls, and plants.
What’s a safe way to handle lighting if I don’t want to use outdoor extension cords long-term?
If you want a cleaner setup, use low-voltage landscape lighting for most path and accent effects, then add string lights that are tied to a weather-protected outlet or a dedicated exterior circuit. For anything plugged into an outdoor receptacle, make sure the outlet is GFCI-protected and use only outdoor-rated cords if you must bridge from an indoor outlet.
How do I keep outdoor rugs from sliding or trapping water?
Use a breathable outdoor rug pad or non-slip rug underlay made for outdoor use, especially on smooth pavers or concrete. If your patio has any low spots, the rug can hide pooling and keep the rug damp. After rain, lift an edge and verify water is not lingering under the rug, then address drainage before the rug starts to mildew.
What should I do if my container plants keep “burning” even though they are labeled for part sun?
Treat your patio as more intense than the label implies. Afternoon reflection off walls can effectively increase intensity, and containers heat up faster than ground beds. Practical fixes include moving plants to where they get earlier light but more afternoon shade, upsizing containers to increase soil volume, and adding a fresh mulch layer to reduce evaporation.
How deep do planters really need to be if I want trees or tall shrubs on a patio?
Aim for the root depth, not just the pot size label. For many container trees and shrubs, 18 to 24 inches of soil depth is a workable target, because most fine roots occupy the upper portion of the soil profile. Also prioritize wide planters over narrow ones, wider containers stay more stable and dry out more slowly in heat.
Are solid privacy walls ever better than semi-privacy screens for a patio oasis?
Solid walls can work if your goal is maximum visual blocking and your site has limited airflow needs. However, fully solid barriers can feel heavy and can create turbulence on the windy side and stagnant “dead air” on the sheltered side. If your main problem is wind discomfort or partial visibility, semi-privacy fencing, lattice with airflow, slatted screens, or trellis structures often feel more comfortable because they reduce line-of-sight while still moving air.
What’s the most common “buying mistake” after I fix drainage on my patio?
Buying furniture and decor before you finalize your shade and layout zones. Even if the patio is level and dry, you can end up with a seating arrangement that gets unusable glare or lacks enough walking clearance when chairs pull out. A quick workaround is to mock up furniture positions with tape or temporary boards, then confirm walkway clearances and sun exposure before purchasing expensive pieces.
How can I avoid overbuilding later if I want to expand my patio oasis in phases?
Plan for future anchors and electrical points now. Place string light poles, outlet locations, and any pergola or trellis support considerations early, even if you install them in later phases. Also keep the surface plan in mind, if you might add built-ins or a fire feature later, don’t rely on temporary fixes to weak or settling areas.