To design a patio layout, start by measuring your yard and marking any constraints (doors, utilities, slopes), then decide how many zones you need (dining, lounging, grilling), rough out dimensions with furniture in mind, pick a shape and paving pattern that fits the space, make sure the whole surface slopes away from the house at least 1/4 inch per foot, and sketch it to scale before you buy a single paver. If you want a simple way to put it all on paper, follow a step-by-step approach for how to draw a patio plan from measurements through layout zones. That process sounds like a lot, but each step is straightforward once you know what you're solving for.
How to Design a Patio Layout Step by Step Guide

Nolan Carver
6 Jun 2026
Start with site measurements and constraints
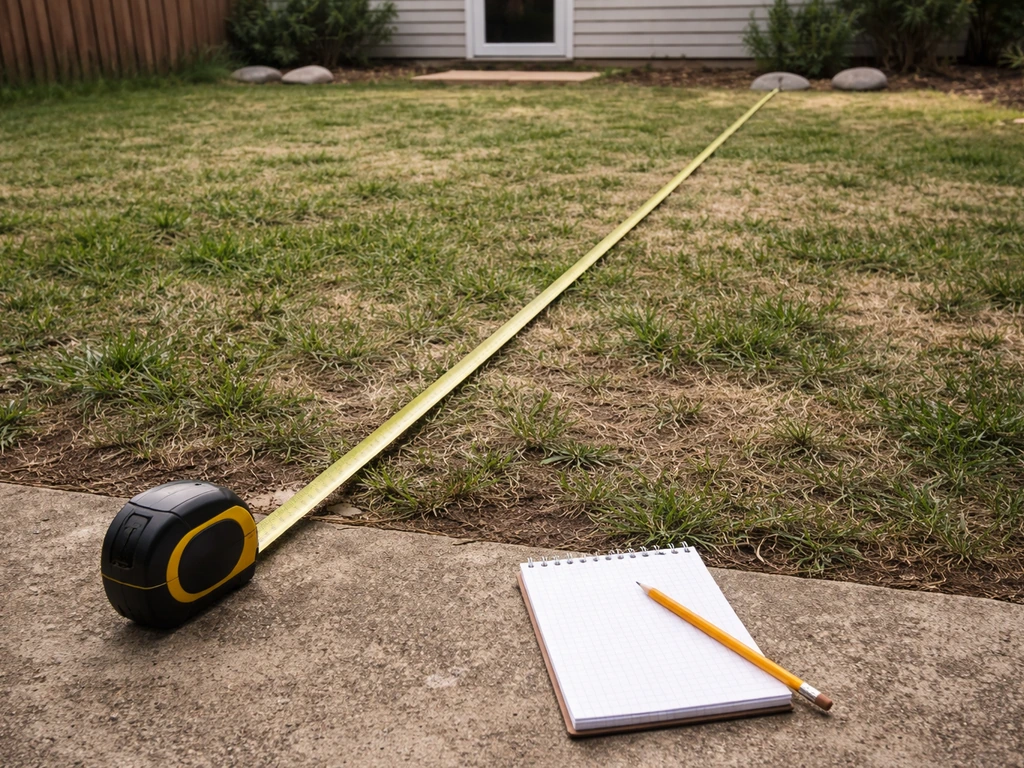
Before you draw anything, go outside with a tape measure and a notepad. Measure the full width and depth of your yard, the distance from your back door to the property line, and the width of any gate or side passage that materials need to pass through. Note the location of every door, window, spigot, downspout, AC unit, gas meter, and buried utility line (call 811 first). These aren't optional to work around later, they're the boundary conditions your layout has to respect from minute one.
Walk the yard and look at how the ground sits. Does it drain toward the house or away? Is there a significant drop from one corner to another? Even a yard that looks flat is often anything but. Lay a long level or use a line level with string across the space and measure the drop. You'll need this information to plan your base and make sure water ends up going the right direction. Also pay attention to sun and shade at different times of day, prevailing wind direction, and any privacy concerns from neighboring windows or fences. These influence where a patio actually wants to live in your yard.
- Measure the yard perimeter and note all fixed obstacles (doors, windows, downspouts, utility meters, trees)
- Call 811 and mark buried utilities before doing any digging or staking
- Check the grade with a line level and string — measure the drop over 10 feet in multiple directions
- Note sun exposure at morning, midday, and late afternoon
- Identify privacy gaps you may want the patio layout to account for
- Measure gate and side-yard access widths so you know how large materials can enter the space
Decide on goals and layout concept
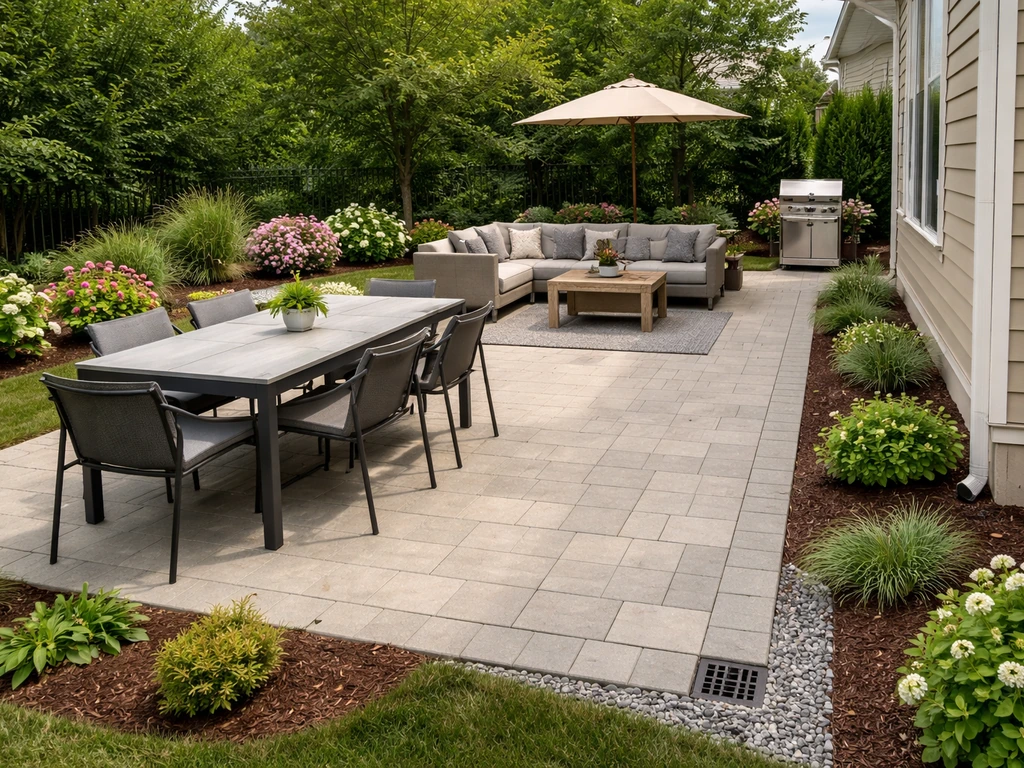
The most useful thing you can do before committing to dimensions is decide what actually happens on this patio. A patio used primarily for a dining table and six chairs has completely different space requirements than one built around a sectional sofa and a fire pit. Write it down: what furniture goes out there, how many people do you typically host, do you want a grill station, a fire element, a hot tub, or just a place to have morning coffee? Once you’ve defined your goals, the next step is to convert them into a practical patio layout by deciding the zones, measurements, and flow. Each of those is a zone, and each zone has a footprint.
Think in zones rather than in one big slab. A dining zone typically needs at least a 12x12-foot area to fit a table with chairs pulled out comfortably. A lounge zone with a sofa and two chairs needs something similar. A grill station can be as compact as 4x6 feet if it's a standalone zone at the edge. Once you know your zones, think about how people move between them and between the house and yard. That circulation path needs to be at least 3 feet wide, and ideally 4 feet if two people will pass each other regularly. Focal points like a fire pit or an outdoor kitchen anchor the layout and tend to work best when they're at a natural visual center or slightly offset from the house wall rather than pushed into a corner.
Plan dimensions, clearances, and circulation paths
Once you know your zones, translate them into actual square footage. A common mistake is designing a patio around the slab size and then trying to fit furniture afterward. Do it the other way: place your furniture on graph paper first, add clearances around each piece, then draw the patio edge. Here are the clearances that actually matter in practice.
| Situation | Minimum clearance | Comfortable clearance |
|---|---|---|
| Chair pull-out from table edge to wall or edge | 30 inches | 36 inches |
| Walkway between zones or past furniture | 36 inches | 48 inches |
| Clearance around a fire pit | 36 inches | 60 inches |
| Grill clearance from wall or structure | 24 inches | 36 inches |
| Door swing clearance from patio surface | Full door width + 6 inches | Full door width + 12 inches |
| Step tread depth (if steps lead to patio) | 11 inches minimum | 12–14 inches |
Pay particular attention to the door that opens onto the patio. If it swings outward, you need to set your patio surface a few inches below the door threshold anyway (more on that in the drainage section), and you need to make sure the door can open fully without scraping across the surface or an edge restraint. This is one of those things that seems obvious but gets skipped constantly in the excitement of planning.
Circulation paths deserve a dedicated line on your plan, not just an afterthought. Sketch the main path from the door to the yard, from the dining zone to the grill, and from the patio to any garden gate. If those paths cut across a seating zone, you'll either be rearranging furniture constantly or your guests will be walking behind chairs mid-meal. Plan circulation as its own zone from the start.
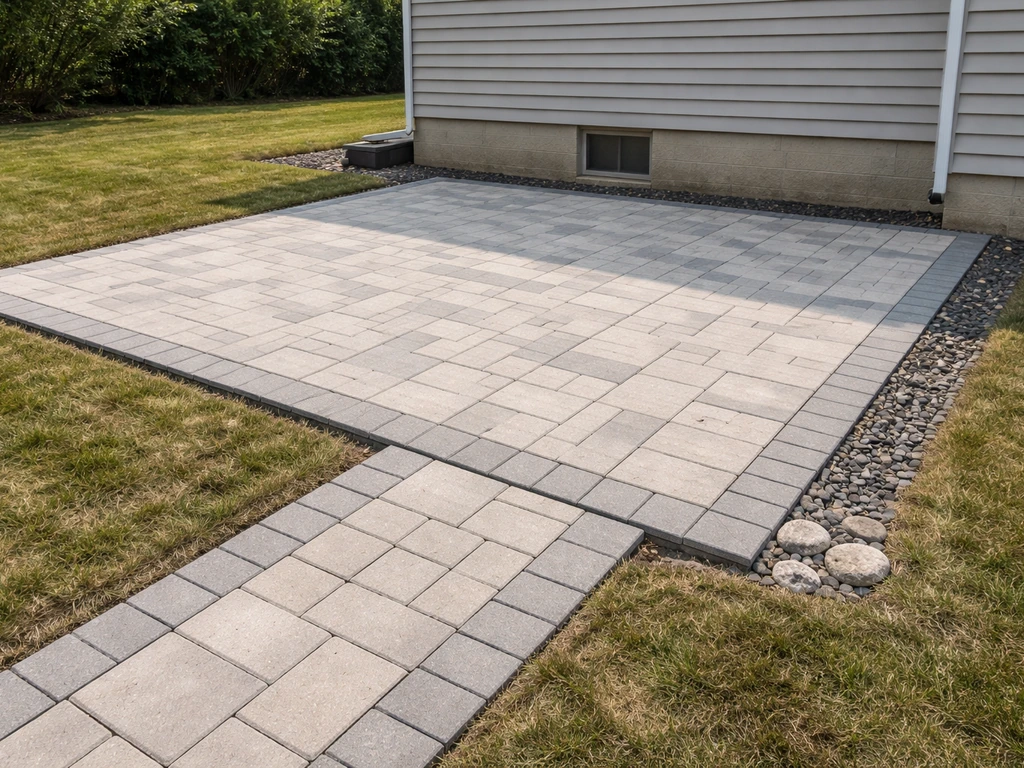
Choose patio shape and paving pattern
Shape and pattern are more connected than most people realize. A rectangular patio is the easiest to build and the easiest to pattern efficiently, because most pavers are rectangular and waste is minimal. L-shaped, curved, or irregular patios can look great and fit awkward yards well, but they add cutting labor and material waste, especially with certain patterns. If you're a first-time builder, a clean rectangle or slight offset rectangle will save you a lot of headache. Circular patios are beautiful around a fire pit, but they require significant cutting and are best approached as an accent element within a larger rectangular field.
The paving pattern also affects how the layout feels visually and how complex the install gets. A running bond (like standard brick) is the easiest to lay and creates a clean, elongated look. Herringbone locks together exceptionally well and is very stable underfoot, especially in a 45-degree angle. Basketweave is classic and works well in square formats. Random or ashlar patterns using multiple paver sizes look natural and informal but require more planning and cutting. If your patio is long and narrow, running the pavers perpendicular to the long axis can make the space feel wider. If you want to visually expand a small square patio, a diagonal herringbone can do that job well.
| Pattern | Difficulty | Best for | Waste/cutting |
|---|---|---|---|
| Running bond | Easy | Rectangular patios, beginners | Low |
| Herringbone (90°) | Moderate | High-traffic areas, stability | Moderate |
| Herringbone (45°) | Harder | Expanding small square spaces | Higher |
| Basketweave | Easy–Moderate | Traditional or square formats | Low |
| Ashlar/random | Moderate–Hard | Natural, informal looks | Moderate–High |
| Circular | Hard | Fire pit accent, focal points | High |
Borders and edging are part of the design too, not just structural necessities. A contrasting border in a different color or size paver defines the patio edge cleanly, hides cut ends, and gives the whole layout a finished look. Plan the border into your layout from the start so you're not improvising at the edges. The border also influences how your field pattern runs, it's much easier to cut pavers to fit inside a defined border than to make clean cuts along an irregular grass edge.
Account for slope, drainage, and base alignment
This is the part that separates a patio that lasts from one that turns into a pond or shifts after two winters. Every patio surface needs to slope away from the house. This Old House notes poor drainage as a common patio problem and recommends sloping away from the home plus permeable materials or drainage solutions blank" rel="noopener noreferrer">Every patio surface needs to slope away from the house.. The Building America Solution Center specifies blank" rel="noopener noreferrer">a minimum of 1/4 inch per foot for the first 10 feet away from the foundation, and that slope should be carried all the way to the patio's outer edge if the patio is within that 10-foot zone. In practice, 1/4 inch per foot is the minimum you want to hit, and it's not much. Over a 10-foot patio, that's a 2.5-inch total drop from house to outer edge. You build this slope into your base and subgrade, not by fiddling with the sand layer.
This is critical: do not try to create slope by varying sand depth across the patio. Thicker sand in one spot compresses more than thin sand elsewhere, which creates dips and settling over time. The slope needs to be in the compacted base layer and the graded subgrade beneath it. Excavate with the slope built in from the start.
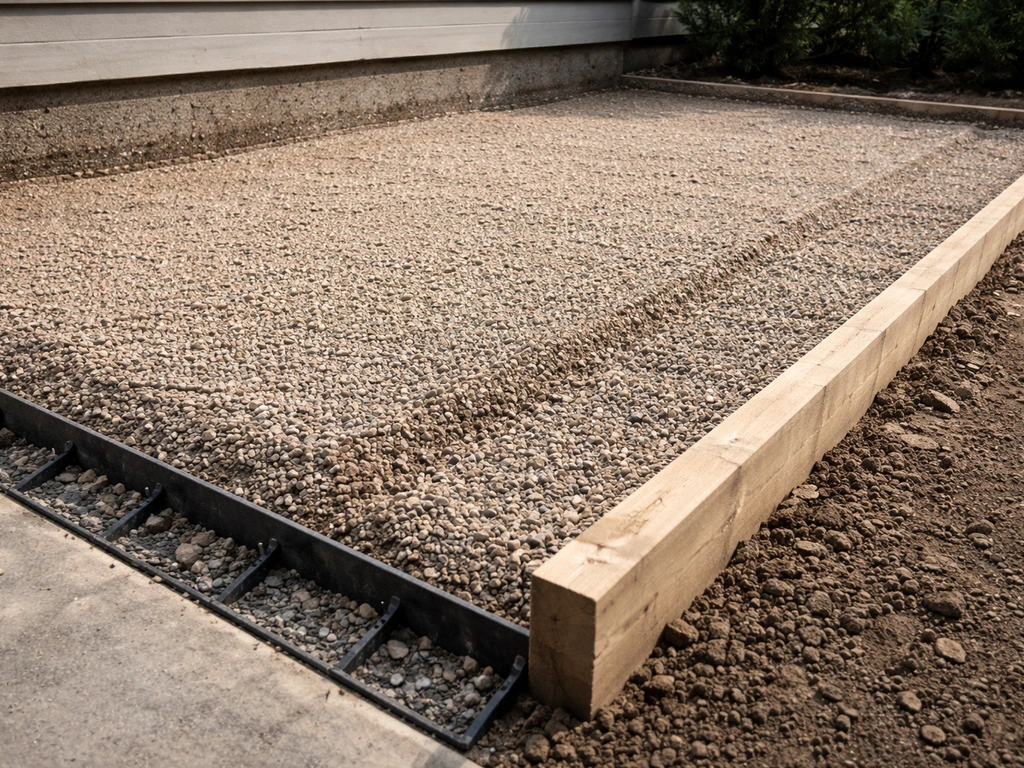
For the base itself, a typical residential patio on reasonably stable soil needs about 4 to 6 inches of compacted gravel base, topped with 1 inch of bedding sand, topped with your pavers. Belgard recommends at least 1 inch of bedding sand spread evenly across the base material. If you're in a freeze-thaw climate or have clay-heavy soil that holds water, lean toward 6 inches of base rather than 4. The base is the most important part of the whole build. Get it right and your patio stays level for decades. Skimp on it and you're releveling pavers every spring.
Set your finished patio surface about 1 to 2 inches below the door threshold. This keeps water from flowing back under the door during heavy rain and gives you room for the edge restraint. Use the house foundation as your primary reference point when setting string lines and stakes, as it's the most stable and square reference you have on site.
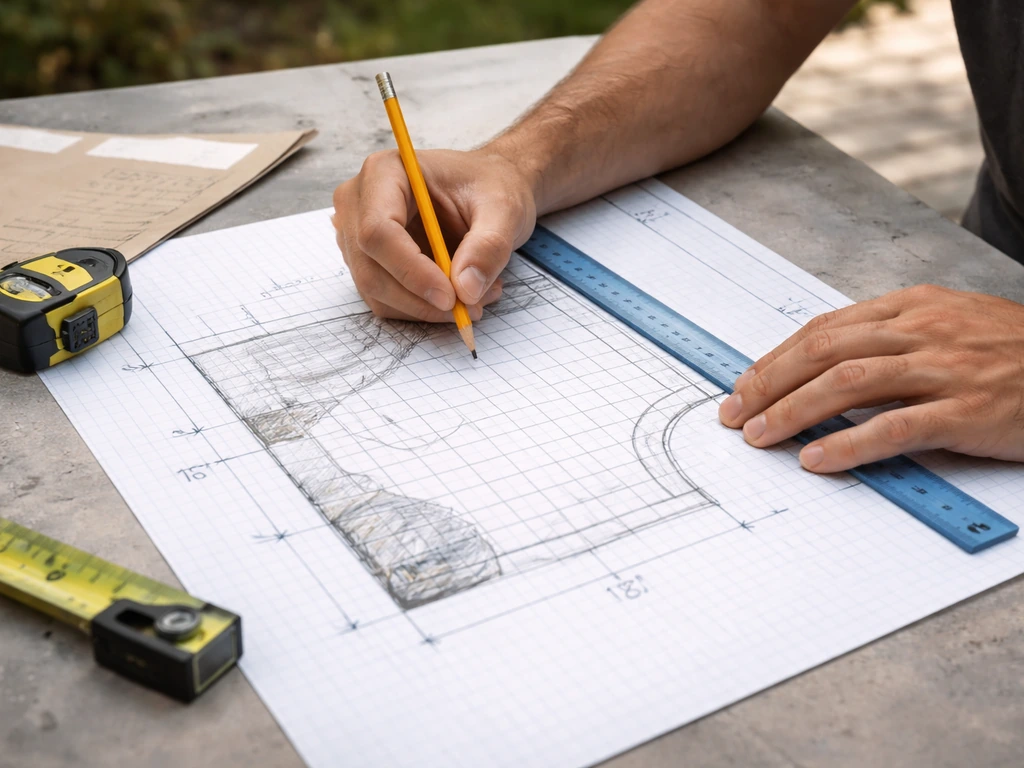
Create a scaled sketch and sanity-check the plan
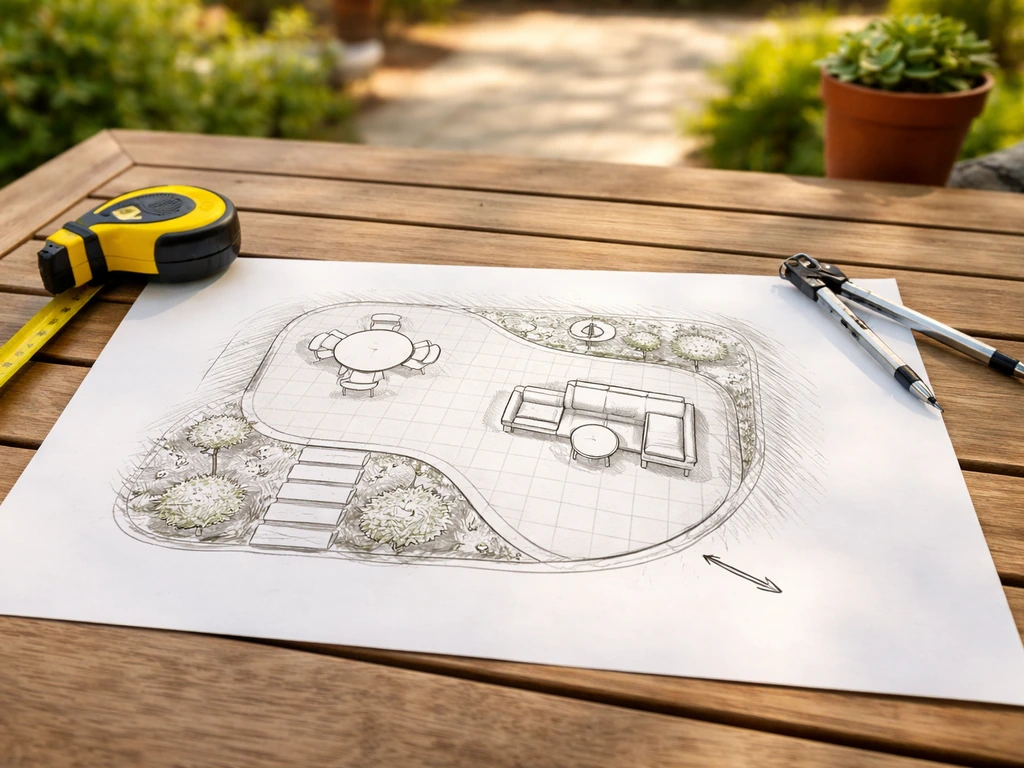
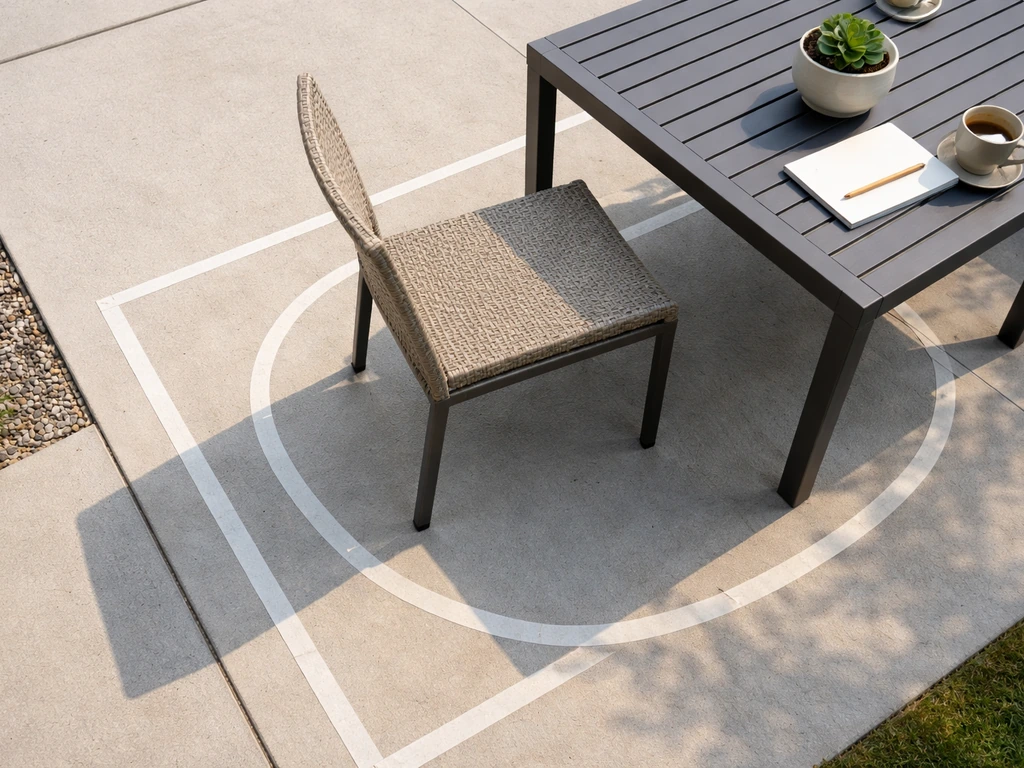
You don't need special software for this. Graph paper where each square equals 1 foot works perfectly. Draw your yard boundary, mark the house wall, and then place your patio shape to scale. Draw each furniture zone inside the patio, mark your circulation paths, and then step back and look at it critically. Does the dining table have 36 inches of clearance behind each chair? If you want to go deeper into the landscaping side, use these same measurements and zoning ideas to shape patio landscaping that fits your yard. Can you walk from the door to the yard without passing behind the grill? Is the fire pit far enough from the house wall and the wood fence? Is there a clear path from the patio edge to where water needs to go?
One of the best sanity checks you can do is take your sketch outside and walk the space. Use garden hoses, stakes, or spray paint to mark the patio outline on the actual ground. Sit in a lawn chair in your dining zone. Stand where the grill will be. Walk the circulation path. It's remarkable how many layout problems you'll catch just by standing in the space with the outline marked. This is also the moment to check that the slope you need is achievable given your existing grade. If the yard drops toward the house, you have more excavation and fill work to plan for.
- Draw yard boundary and house wall on graph paper at 1 foot per square
- Place patio outline to scale and mark zones (dining, lounge, grill, circulation)
- Check all clearances on paper against the table above
- Mark the slope direction and calculate the total drop (feet x 0.25 inch per foot)
- Confirm the patio surface will sit 1–2 inches below the door threshold
- Transfer the outline to the ground with stakes and spray paint or hoses
- Walk the space, sit in it, and adjust anything that feels wrong before you excavate
If something doesn't look right during this phase, it's the easiest possible time to fix it. Moving a stake costs nothing. Moving laid pavers costs a full afternoon. Take your time here and don't commit to excavation until the layout feels right both on paper and on the ground.
Estimate materials and prep for DIY installation
With a finalized scaled plan, material estimation is straightforward math. Calculate your patio square footage (length x width for a rectangle, or break an L-shape into two rectangles). Add 10 percent overage for cuts and breakage on a standard rectangular layout, or bump that to 15 percent for a diagonal pattern, curves, or lots of corners. For your base gravel, use a depth of 4 inches minimum (6 inches for freeze-thaw climates), and remember that gravel compacts by roughly 20 to 25 percent, so order more than the raw volume calculation suggests. One inch of bedding sand across the full patio area gives you the sand quantity. Edge restraints run the full perimeter of the patio, plus a little extra for corners.
| Material | Quantity formula | Notes |
|---|---|---|
| Pavers | Square footage x 1.10 (or x 1.15 for complex patterns) | Always round up to nearest full unit of sale |
| Compacted gravel base | (Square footage x depth in feet) x 1.25 for compaction factor | 4 in. minimum; 6 in. in freeze-thaw climates |
| Bedding sand | Square footage x 0.083 (= 1 inch depth in cubic feet) | Spread evenly; do not vary depth to create slope |
| Polymeric joint sand | Per manufacturer calculator based on paver size and joint width | Typically 50–60 lb per 100 sq ft |
| Edge restraint | Full perimeter in linear feet + 10% | Plastic snap-lock or aluminum spike restraint |
Before you order materials, double-check your access. Can a dump truck or pallet delivery reach close enough to the work area? If not, factor in the labor of moving base gravel by wheelbarrow across your yard, which adds real time and effort to the project. Schedule material delivery after you've completed your staking and layout, but before you excavate, so you're not working around a gravel pile sitting on your finished patio area.
If you're weighing how much to tackle in one phase, designing the layout and building the patio are naturally connected but separable. With those layout and planning steps in place, you can move on to the practical parts of how to design and build a patio designing the layout and building the patio. If you want the full walkthrough, this guide on how to plan a patio walks through each step before you start cutting or ordering materials designing the layout and building the patio. Nail the layout plan completely before you start building anything. A well-thought-out layout plan makes the actual construction, excavation, base prep, paver installation, dramatically more predictable and faster. The planning steps covered here feed directly into questions you'll work through when you get into the build itself, from choosing between concrete pavers and natural stone to deciding whether you need steps or a retaining wall to handle grade changes at the patio edge.
The layout plan you create now is the single document that drives every other decision. Get it on paper, sanity-check it on the ground, confirm your slope, verify your clearances, and calculate your materials from it. That's the whole process, and none of it requires professional design software or a contractor. If you follow these steps, you'll be able to design outdoor patio zones that fit your yard, budget, and daily use. If you're aiming for the overall look and structure of a cement patio, use these planning steps to guide your measurements, layout, and drainage setup before you start building. A tape measure, some graph paper, and an afternoon of honest yard observation will get you further than you'd expect.
FAQ
How much seating clearance do I need to make a dining patio feel comfortable, not cramped?
Beyond chair pull-out space, plan for a clear path behind chairs to the grill or entry. As a rule of thumb, aim for about 36 inches of walkway width behind chair backs when people may pass during meals, and ensure the table edge does not land directly on a circulation line.
What if my yard slopes toward the house instead of away from it?
You can’t fix drainage by only adjusting the pavers. If the existing grade drains toward the foundation, you typically need more excavation and fill to create the required slope, or you may need an added drainage system (like a properly placed edge drain or swale) before building the base.
Do I really need to set the finished patio 1 to 2 inches below the door threshold?
You generally should, because it prevents rainwater from flowing back under the door during storms and allows room for edge restraint. If your threshold is unusually low or the door has clearance constraints, verify with a test measurement using the edge restraint thickness plus bedding sand and paver thickness.
Can I create the patio slope by changing the sand depth instead of grading the base?
Avoid it. Varying sand thickness creates uneven compression, which leads to dips and rocking pavers. Keep the slope in the compacted base and subgrade, then spread bedding sand evenly at about 1 inch.
How do I decide between a single large patio and separate zones?
If activities overlap often (dining users passing by a grill area, for example), zones reduce friction because you can dedicate circulation space. If your yard is small, fewer zones can work, but you still need to keep at least one unobstructed route from the door to the yard and between the main functions.
What should I do if my patio blocks access to a gate, spigot, or utility line?
Build access into the plan before you finalize the outline. Create a clear, maintainable working path and consider whether you need a removable section, utility-safe setbacks, or an access panel area, rather than assuming you can move pavers later.
How wide should my walkway or circulation path be if I expect people to pass each other?
Plan at least 3 feet for general movement, and closer to 4 feet if two people will routinely pass. Also keep that width continuous around furniture, not just at the patio edge, because chair arms and grill enclosures can narrow the effective passage.
What paving pattern choices make installation easiest for a first-time builder?
Rectangular layouts with running bond are usually the easiest because cuts are simpler and waste is minimal. If you want a diagonal or herringbone look, commit to a more detailed layout and anticipate extra time for cutting, especially near borders and irregular edges.
How do I estimate material more accurately for complex patio shapes?
For L-shapes and other irregular outlines, break the surface into rectangles and add the full perimeter border area as separate allowances. Use higher overage for diagonals, curves, and multiple corners, and confirm that your calculation includes the area under any edging and seat wall footprint.
How close can a delivery truck or dump trailer get, and what if it cannot reach?
If a pallet or trailer cannot be positioned near the excavated area, plan for wheelbarrow hauling of gravel and sand, which can significantly increase labor time. Confirm access with the delivery vehicle dimensions, turning radius, and whether your yard surface can support the weight before scheduling.
Should I build steps or ramps if my patio edge is far from the door height?
Don’t assume you can “hide” grade differences with thinner bedding sand. If the height change is more than minor transitions, plan for steps or a ramp approach as part of the layout, and re-check door clearance, slope requirements, and where water will go after each elevation change.
What’s the best way to sanity-check the layout before excavation?
Do a full walk-through with the patio outline marked on the ground (hoses or spray paint), then simulate furniture placement by sitting where chairs would be and standing where the grill and fire feature would sit. This lets you verify clearances, the door swing behavior, and whether the slope seems achievable given the current grade.