You can absolutely build a masonry patio fireplace yourself, and the process breaks down into seven manageable stages: picking the right type and location, pulling permits, prepping the foundation, gathering materials, building the firebox and hearth, raising the chimney and weatherproofing it, then curing and testing it before your first real fire. Budget somewhere between $1,500 and $5,000 for a solid DIY masonry build depending on size and finish, and plan for a weekend of prep work followed by two to four build weekends.
How to Build a Patio Fireplace: DIY Step-by-Step Guide

Nolan Carver
8 Jun 2026
Choosing the Right Patio Fireplace Type and Design
The first real decision is whether you want a full masonry fireplace, a prefab insert set into a masonry surround, or a modular refractory block system. Each has a different skill ceiling and cost profile.
| Type | DIY Difficulty | Approx. Material Cost | Best For |
|---|---|---|---|
| Full custom masonry (brick/block/stone) | High | $2,000 – $5,000+ | Experienced DIYers, permanent installs |
| Modular refractory block system (e.g., Isokern) | Medium | $1,500 – $3,500 | Most DIYers wanting a code-ready firebox core |
| Prefab steel insert in masonry surround | Medium-Low | $1,200 – $2,800 | Beginners who still want a stone or brick look |
For most DIYers, a modular refractory system or a UL-listed prefab insert surrounded by masonry is the smartest starting point. You still get the full brick-and-stone look, but the firebox geometry is engineered for you, which solves the hardest part of masonry fireplace design: getting the firebox proportions right so the thing actually drafts well. If you go full custom, you'll need to proportion the firebox opening to match the flue size, and the IRC requires a rectangular flue cross-sectional area of at least 1/10 of the fireplace opening area, so that math has to be right before you lay a single brick.
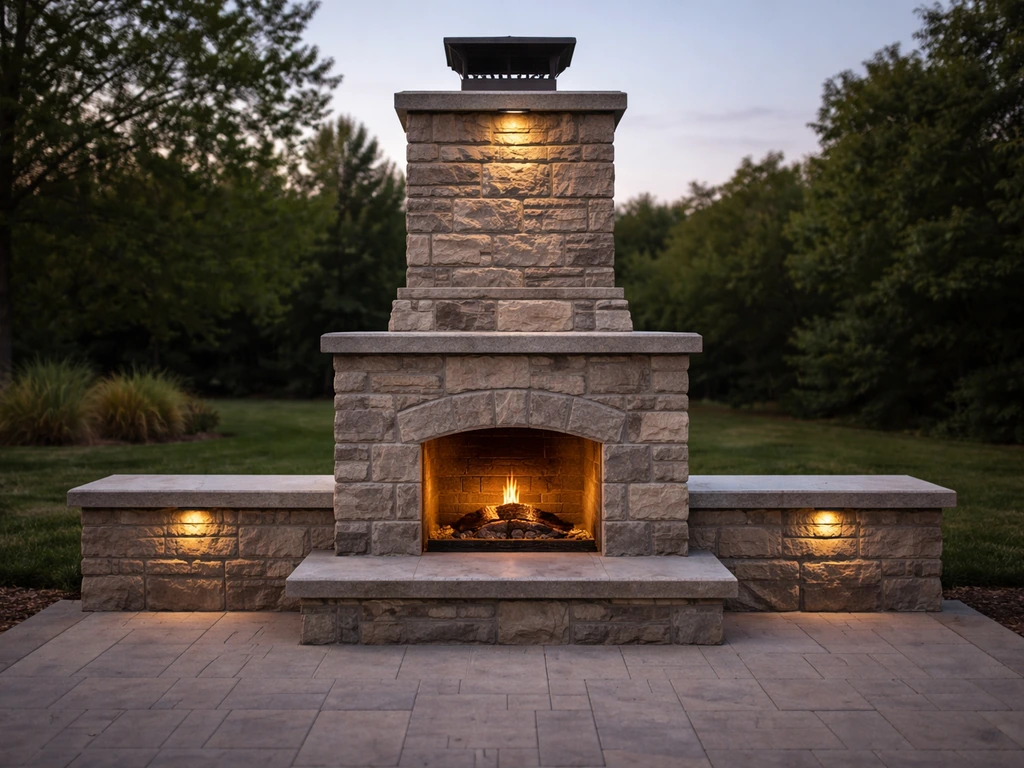
For design, think about function first. A three-sided open fireplace is more dramatic but harder to draft well. A standard single-opening design with an angled back wall (Rumford-style or traditional) is the most forgiving for outdoor use. Decide on your finish material now too, because that affects foundation load calculations. A full stone veneer fireplace can easily weigh 3,000 to 5,000 pounds, and your foundation has to be sized for that from the start.
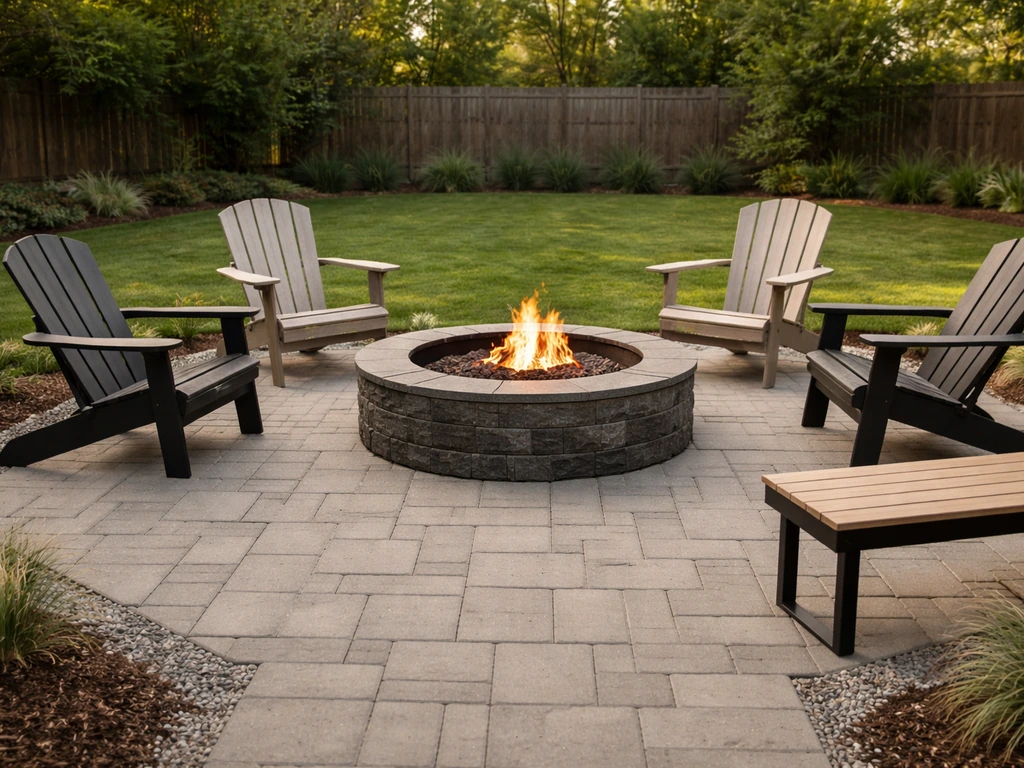
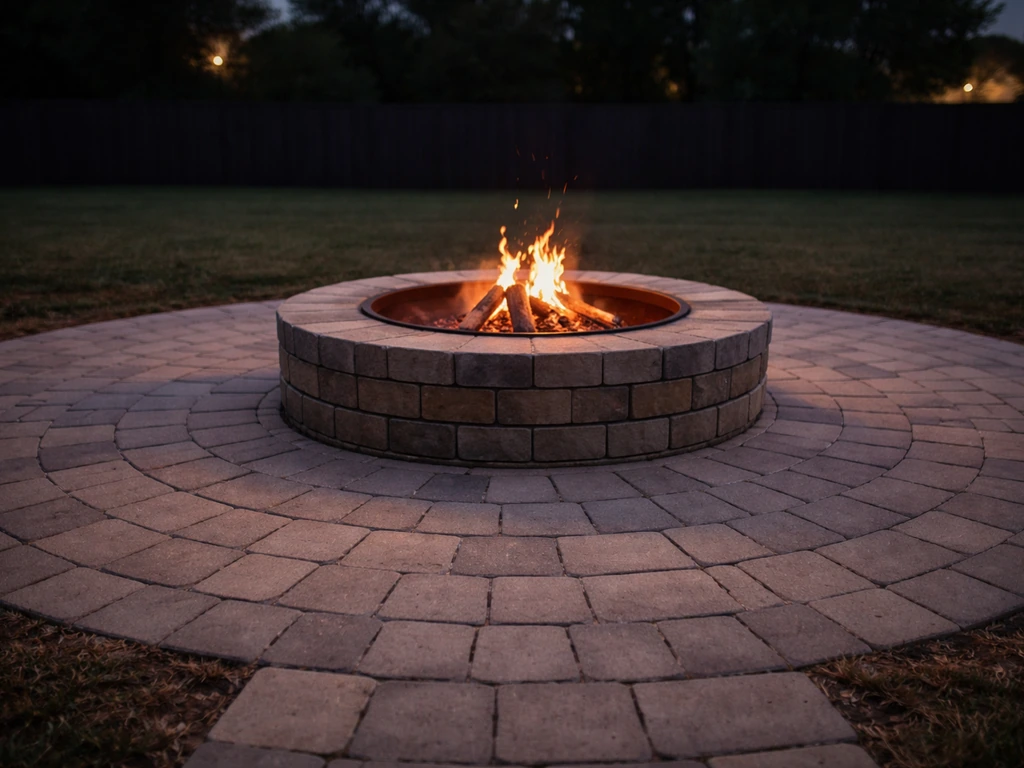
It's also worth thinking about how a fireplace differs from a fire pit or fire table in terms of scope and permanence. A fire pit is lower-commitment and easier to build, and a fire table is even simpler. If you want something lower complexity than a full patio fireplace, do it yourself fire pit patio projects are a practical adjacent option before you commit to masonry.
If you are not set on a full masonry fireplace, you can also learn how to build a fire pit patio instead for a simpler, lower-commitment build. A patio fireplace is a full masonry structure, more like an outdoor room feature, so make sure that's genuinely what you want before committing the time and money.
If you're specifically looking for a patio fire pit, the approach is a bit simpler than a full patio fireplace, so you can move faster once you pick the right size and materials.
Permits, Safety, and Setback/Clearance Planning
Do not skip this step. In most jurisdictions, building an outdoor masonry fireplace requires a building permit, and some areas also require Fire Authority approval before construction starts. If your fireplace will be taller than 6 feet, many local codes require structural calculations as part of the permit application. This is not optional, and building without a permit can mean demolition orders and serious problems at resale.
Here's what to check before you break ground:
- Call your local building department and ask specifically about outdoor masonry fireplaces. Ask whether a permit is required, whether Fire Authority approval is a separate step, and what inspections are required during construction.
- Check setback rules from your property lines and from the house. One common local requirement is a minimum 7-foot chimney setback, but your jurisdiction may differ.
- Ask whether a spark arrestor is required on the chimney cap. Many outdoor fireplace codes explicitly require one.
- If your HOA has rules, check those too. Some HOAs prohibit wood-burning fireplaces entirely.
- Confirm whether your area has seasonal burn restrictions or air quality rules that limit when you can use a wood-burning outdoor fireplace.
The two primary national standards guiding outdoor fireplace construction are the International Residential Code (IRC) Chapter 10 and NFPA 211. The IRC specifies clearances to combustibles: exposed combustible trim or sheathing must be at least 12 inches from the inside surface of the firebox lining, and at least 8 inches from the inside surface of the nearest flue lining. Your local code may adopt the IRC directly or may add stricter requirements on top of it. When in doubt, go with the more conservative number.
Sketch your placement on paper before you talk to the building department. Know your intended location, approximate footprint dimensions, and height. That makes the permit conversation much faster and shows you've done the homework.
Site Prep: Layout, Base/Foundation, and Drainage
A patio fireplace is only as solid as what it's sitting on. The most common DIY failure point is an inadequate foundation, which causes settling, cracking, and eventually a fireplace that's structurally unsafe. Don't rush this part.
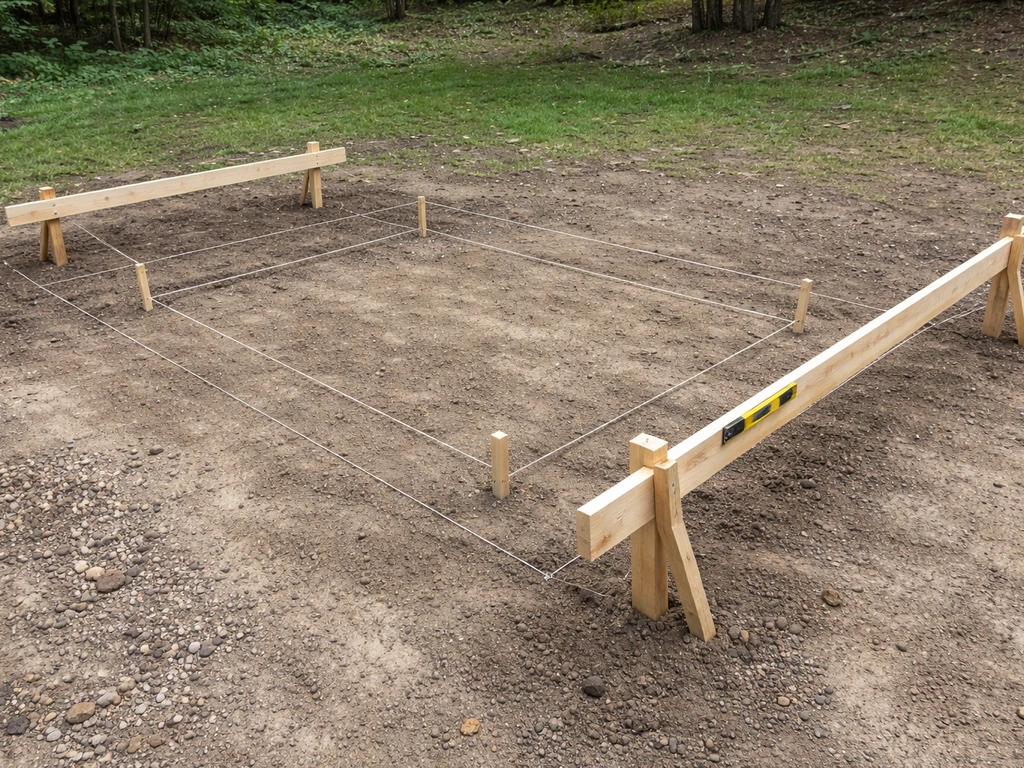
Layout and positioning
Mark out the full footprint of the fireplace using stakes and batter boards. The foundation slab should extend at least 6 inches beyond the fireplace footprint on all sides. Double-check that your placement respects all setback requirements from your permit research. Use a level and string lines to verify the ground is reasonably flat, and check that you're not positioning the fireplace in a low spot where water pools.
Excavation and drainage
Excavate to a depth of at least 12 inches below grade for the footing, more if you're in a frost-prone climate where the frost line is deeper. Check your local frost depth map and make sure your footing extends below it, otherwise freeze-thaw cycles will heave and crack your entire structure over time. Add 4 to 6 inches of compacted gravel at the bottom of the excavation before pouring concrete. This gravel layer is your drainage buffer, and it's critical.
If water sits under the slab and freezes, the expansion forces are enough to crack a concrete pad. Slope the surrounding grade away from the fireplace base at a minimum of 1 inch per 8 feet to direct surface water away.
Pouring the concrete foundation

Pour a reinforced concrete slab or footing that's at least 12 inches thick for a full masonry fireplace. Use 3,000 PSI concrete minimum and include rebar on a 12-inch grid. For a fireplace over 6 feet tall, you may need engineered footing specs as part of your permit, so check before you pour. Let the concrete cure for a full 28 days before loading it with masonry weight. I know that feels like forever, but starting too early is how you get diagonal cracks in your base that travel straight up through your firebox.
Materials, Tools, and Cost/Budget Planning
Get your material list locked down before you start building. Running to the hardware store mid-project because you're short on firebrick or mortar wastes a full day and breaks the momentum of a good pour or lay.
Key materials
- Concrete and rebar for the foundation footing
- Concrete block (CMU) for the structural fireplace body and chimney chase
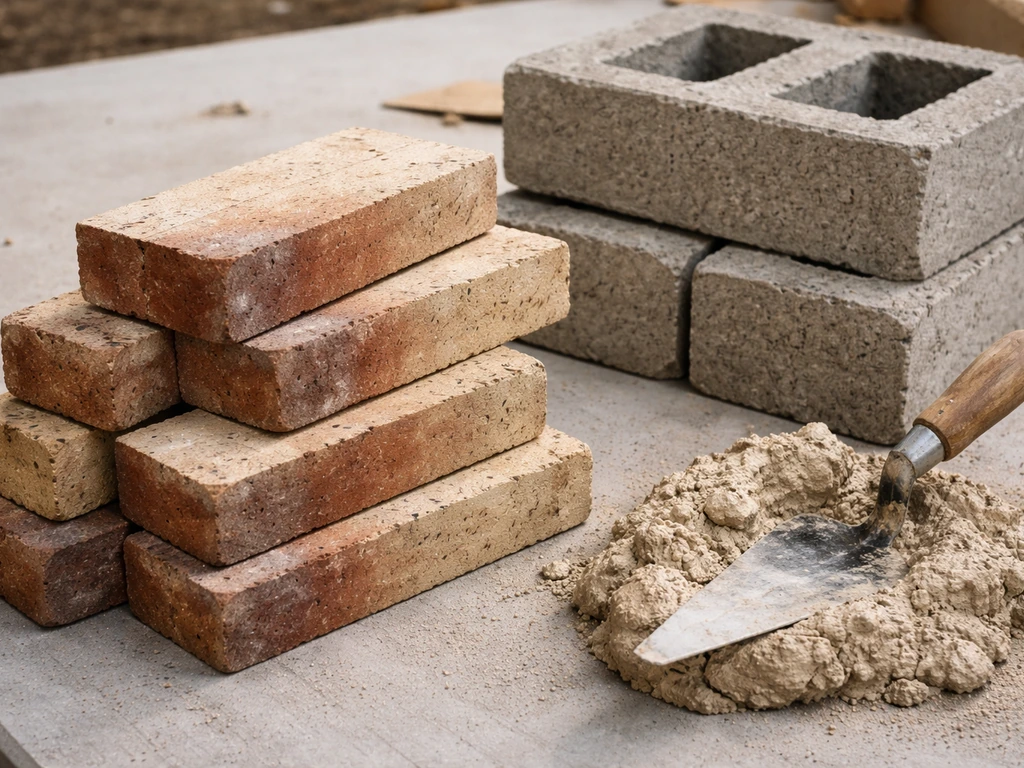
- Firebrick (refractory brick) for the firebox interior: these must be rated for high-heat applications, not standard clay brick
- Refractory mortar (also called fire-clay mortar) for all firebox interior joints, regular Type S mortar for exterior masonry
- Capstones or cast concrete crown for the chimney top
- A stainless steel or galvanized chimney cap with spark arrestor
- Flashing (galvanized or copper) for the chimney/structure transition
- Masonry waterproofer/sealer rated for outdoor use
- Veneer stone, brick, or stucco for the exterior finish if desired
- Steel lintel for spanning the firebox opening
Tools you'll need
- Masonry trowels (margin trowel and standard brick trowel)
- Level (4-foot and torpedo)
- Brick/masonry saw or angle grinder with diamond blade
- Rubber mallet
- Mason's line and corner blocks
- Mixing trough or mortar mixer
- Tape measure, framing square
- Safety glasses, dust mask rated for masonry dust, work gloves
- Scaffolding or a solid work platform once the chimney rises above 5 feet
Budget breakdown
| Item | Budget Build | Mid-Range Build | Premium Build |
|---|---|---|---|
| Foundation/footing concrete | $150 – $250 | $250 – $400 | $400 – $600 |
| CMU block structure | $200 – $400 | $400 – $600 | $600 – $900 |
| Firebrick and refractory mortar | $300 – $500 | $500 – $800 | $800 – $1,200 |
| Exterior finish (stucco/veneer/brick) | $200 – $500 | $500 – $1,200 | $1,200 – $2,500 |
| Chimney cap, flashing, sealer | $100 – $200 | $200 – $400 | $400 – $700 |
| Miscellaneous (mortar, tools, rebar) | $150 – $300 | $300 – $500 | $500 – $800 |
| Total estimated range | $1,100 – $2,150 | $2,150 – $3,900 | $3,900 – $6,700 |
The biggest variable is your exterior finish. Plain stucco over CMU block is cheap and looks great painted. Full natural stone veneer is the most expensive option but adds serious curb appeal. If budget is a concern, spend your money on quality refractory materials inside the firebox and save on the exterior finish.
Building the Firebox, Hearth, and Fire-Rated Assembly
This is the heart of the project and the part that most directly affects safety and performance. Take your time here.
Hearth extension
Before building up, construct the hearth extension on top of the foundation slab. Per NFPA 211 and IRC guidance, the hearth extension must project at least 16 inches in front of the fireplace opening and at least 8 inches beyond each side. Use non-combustible materials: concrete pavers, natural stone, or firebrick all work well. The hearth extension must be continuous and flush with no gaps or trip hazards.
Building the firebox walls
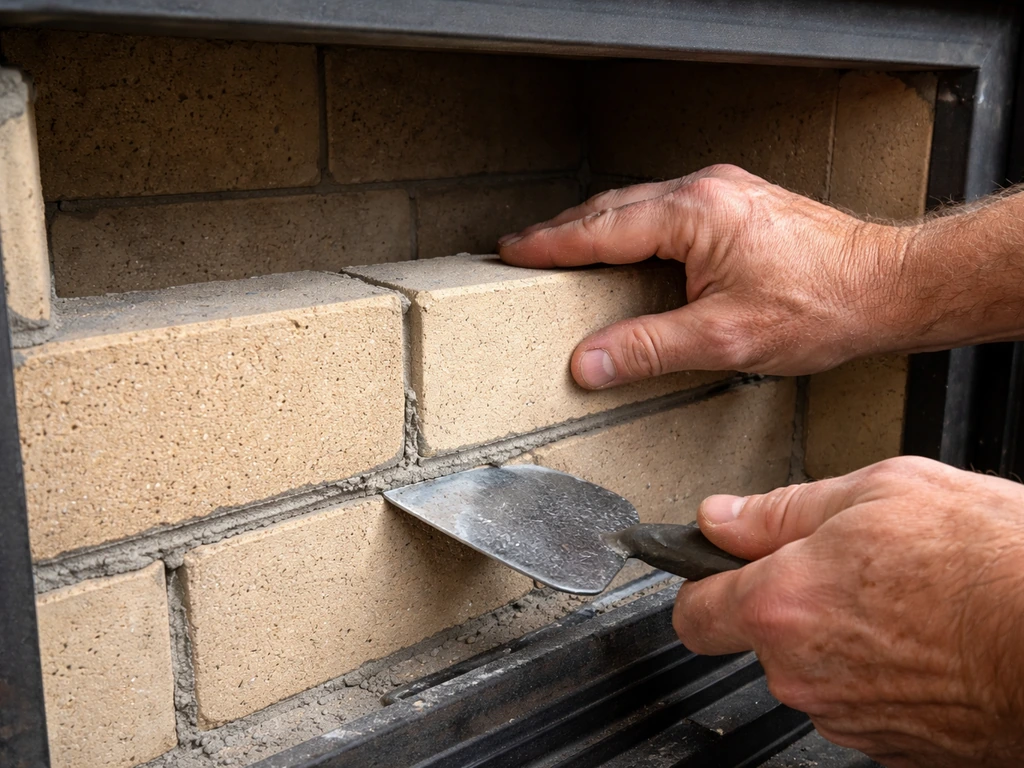
Start the firebox walls using firebrick laid in refractory mortar. Keep mortar joints thin, around 3/8 inch, and make sure every joint is fully packed with no voids. The back wall of the firebox should be plumb for the lower two-thirds, then begin to angle forward toward the smoke shelf. This angled back wall (sometimes called a corbeled back) is what helps direct smoke up and out rather than into your face. A common angle is roughly 14 degrees off vertical, though many modular systems have this built in.
The firebox opening dimensions matter a lot for drafting. As a starting reference, the opening width should be roughly 2 to 4 times the depth of the firebox. A typical outdoor fireplace might have an opening of 36 inches wide by 28 inches tall with a firebox depth of around 20 inches. These proportions aren't arbitrary, they directly determine the flue size you'll need, so don't change them without recalculating your flue cross-section.
Smoke shelf and throat/damper
At the top of the firebox, you need a smoke shelf (a horizontal ledge behind the damper) and a throat (the narrowed passage that connects the firebox to the flue). The smoke shelf catches rain and debris that falls down the chimney and also helps cold air from outside reverse direction rather than flowing into your face as a down-draft. Install a damper plate at the throat, either a cast iron throat damper or a top-mounted damper on a chain. The throat opening should be narrower than the firebox opening to accelerate smoke flow upward.
Clearances to combustibles
If any part of your patio structure, pergola posts, or trim is made of wood or another combustible material, it must be kept at least 12 inches from the inside surface of the firebox lining and at least 8 inches from the inside surface of the flue lining. These are IRC minimums. If you have any doubt about a specific condition, increase the clearance. This is one of those areas where being conservative costs almost nothing and being wrong is dangerous.
Building the CMU structural surround
The outer structure around and above the firebox is typically built with concrete block (CMU) for cost and structural efficiency, then finished with your chosen veneer on the outside. Lay CMU courses in a running bond pattern with Type S mortar, checking plumb and level on every third course at minimum. Fill the cores of CMU blocks around structural corners and at the chimney with concrete grout and rebar for added rigidity. A steel lintel (angle iron or a welded steel header) spans the firebox opening and supports the masonry above it.
Constructing the Chimney/Flue and Weatherproofing the Exterior
Flue sizing

Flue sizing is directly tied to draft performance. The IRC requires the net cross-sectional area of a rectangular flue to be at least 1/10 of the fireplace opening area. So if your fireplace opening is 36 inches wide by 28 inches tall, that's 1,008 square inches of opening area, meaning your flue needs at least 100.8 square inches of net cross-sectional area. A standard 13x13 inch flue tile gives you about 130 square inches, which works well for that opening size. Going too big on the flue is actually a problem: an oversized flue cools exhaust gases too quickly, which reduces draft and increases creosote formation. Stick close to the 1/10 ratio rather than dramatically exceeding it.
Building the chimney
Stack flue tiles inside the chimney chase as you build up the CMU block courses. Keep flue tiles aligned vertically with tight, smoke-sealed joints using refractory mortar. The chimney should extend at least 2 feet above any roof or overhang within 10 feet horizontally. For a fully open patio with no overhead structure, your local code may specify a minimum chimney height, often in the range of 10 to 14 feet total above grade for a full masonry fireplace, but verify this with your permit. A taller chimney generally drafts better, especially for outdoor fireplaces that deal with variable wind conditions.
Flashing and water management
Flashing is the number one spot where outdoor fireplaces fail long-term. Water follows every gap and joint, and masonry is more porous than it looks. At every horizontal ledge and transition between the chimney and any adjacent structure or cap, install galvanized or copper counter-flashing and base flashing, bedded in roofing mastic, with the top edge tucked into a mortar joint and sealed. Use a stepped flashing approach if the chimney is adjacent to a sloped roof or cover. Even on a purely freestanding outdoor fireplace with no adjacent roof, install flashing under the chimney cap and at any horizontal masonry ledges to direct water outward and away.
Chimney crown
Cast a concrete chimney crown (also called a chimney cap or wash) at the top of the masonry chimney. The crown should slope downward from the flue tile outward toward the chimney edge, and it must have a drip edge groove cut into the underside of the overhang so water drips clear of the masonry below rather than running back down the chimney face. A missing or cracked crown is the most common cause of chimney deterioration. Make the crown at least 2 inches thick at its thinnest point and use a 4,000 PSI mix for durability.
Chimney cap and spark arrestor
Install a stainless steel chimney cap over the flue opening. Most local codes for outdoor fireplaces require a spark arrestor screen, typically with 5/8-inch mesh openings, and many explicitly state this requirement. The cap also keeps rain, animals, and debris out of the flue, so don't skip it even if it weren't required.
Exterior weatherproofing
Once all masonry is laid and mortar has cured for at least 28 days, apply a penetrating masonry waterproofer rated for exterior use to all exposed masonry surfaces including the chimney crown. Look for products specifically labeled as vapor-permeable or breathable, because a non-breathable sealer traps moisture inside the masonry and actually accelerates freeze-thaw damage. Apply two coats per the product instructions. Reapply every 3 to 5 years as part of your maintenance routine.
Curing, Finishing, and Initial Testing Plus Ongoing Maintenance
The curing process
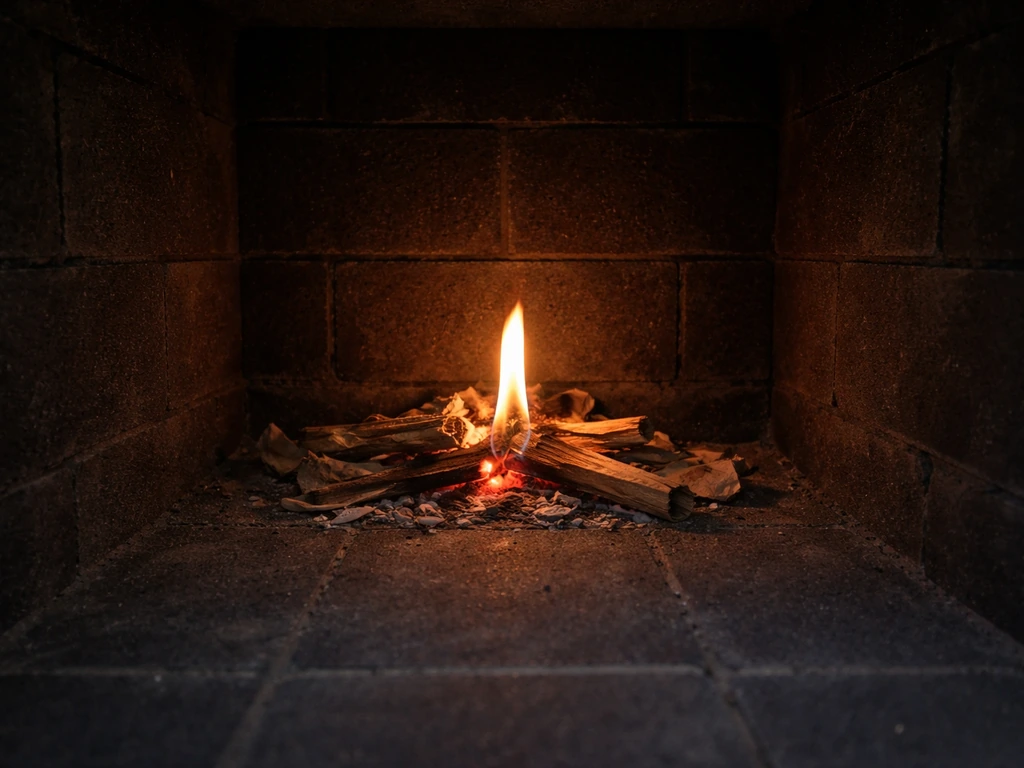
Before you build your first full fire, you need to cure the refractory materials with a series of small break-in fires. This removes moisture trapped in the firebrick, refractory mortar, and the concrete crown. If you skip this and go straight to a roaring fire, the steam generated inside the masonry can cause cracking and spalling, sometimes severe enough to require rebuilding sections of the firebox.
- Day 1 – Fire 1: Build a very small fire using only newspaper and a few pieces of kindling. Keep it burning for 30 to 45 minutes, then let it die out naturally. Open the damper fully.
- Day 2 – Fire 2: Repeat with a slightly larger fire, adding 2 or 3 small split logs once the kindling is established. Burn for 45 to 60 minutes.
- Day 3 – Fire 3: Build a moderate fire with 4 to 6 small split logs. Burn for 1 to 1.5 hours.
- Day 4 – Fire 4: Build a normal-sized fire and let it burn for a full 2 hours.
- After this sequence, the fireplace is fully cured and ready for normal use.
During all curing fires, stay nearby and keep the area well-ventilated. You may notice steam or a mild odor as moisture releases. That's normal. What's not normal is visible cracking during the fire or mortar joint separation. If you see that, stop firing and contact a masonry professional before continuing.
Initial inspection and smoke test
After the curing sequence, do a proper smoke test before you invite anyone over for a fire. Build a moderate fire and watch where the smoke goes for the first 5 to 10 minutes. Ideally, the smoke rises directly into the firebox throat, disappears up the flue, and exits cleanly from the chimney cap above. If smoke spills into the patio space, you have a draft issue. Common causes include a flue that's too large relative to the opening (an oversized flue cools gases too quickly and loses draft), a chimney that's too short, or a damper that's only partially open. Start troubleshooting by verifying the damper is fully open and the flue is unobstructed.
Troubleshooting poor draft
- Check that the damper is fully open before lighting any fire.
- Prime the flue first on cold days: hold a burning piece of newspaper near the throat for 30 to 60 seconds to warm the air column before lighting the main fire.
- If the chimney is short and there's a prevailing wind issue, adding height with chimney extension sections can help significantly.
- If the flue is significantly oversized for the opening, a top-mounted damper can reduce the effective flue area slightly and improve draft.
- Persistent smoke back-puffing despite correct sizing usually points to a blockage or debris in the flue: inspect with a flashlight before the next fire.
Seasonal maintenance and long-term care
Outdoor fireplaces take a beating from weather, and the freeze-thaw cycle is the biggest long-term threat. Water that gets into even hairline cracks in mortar joints or the chimney crown freezes in winter and expands, widening those cracks season after season until you have serious structural problems. Catch this early and it's a 30-minute mortar joint tuckpointing job. Ignore it and you're relooking at a partial rebuild in 5 years.
- Every spring: inspect all mortar joints for cracking or gaps, especially around the chimney crown and flashing. Tuckpoint any damaged joints with matching mortar.
- Every fall: clean the firebox and flue of ash and creosote buildup. A wire brush on a flexible rod handles most of this from above.
- Every fall: inspect the chimney cap for damage, make sure the spark arrestor screen is intact and not clogged with debris.
- Every 3 to 5 years: reapply penetrating masonry waterproofer to all exterior masonry surfaces.
- After any major storm: check for loose cap, damaged flashing, or debris in the flue before your next fire.
- If you see white efflorescence staining (white chalky deposits) on the masonry face, that's a sign water is moving through your masonry and the waterproofing needs attention.
A well-built and properly maintained patio fireplace should last decades without major structural issues. The homeowners who run into problems almost always skipped either the foundation drainage work, the curing sequence, or the annual mortar inspection. None of those things are complicated or time-consuming, they just have to actually happen. Start there, and you'll have a fireplace that becomes the centerpiece of your outdoor space for years to come.
FAQ
Can I mix a modular firebox system with a custom CMU chimney and still have it draft well?
If you can, match the chimney type and flue material system to your chosen firebox (modular refractory or insert spec). Mixing a refractory-lined firebox with a chimney built from the wrong flue tile, mortar type, or joint detailing is a common cause of poor draft and cracking. Before you lay block, confirm the flue tile size and mortar/refractory requirements called for by your firebox or insert manufacturer and your local inspector.
What’s the correct way to use a damper for preventing smoke in the patio area?
For outdoor fireplaces, you generally want a damper that can be fully opened during burning and is closed when not in use to reduce downdrafts, debris entry, and moisture cycling. If your damper is only partially open by design, you may get smoke spill and faster creosote buildup. Test draft with a moderate fire after curing, and do not adjust flue size to compensate for a damper that was installed incorrectly.
Which mortar types should I use in different parts of a patio fireplace, and what goes wrong if I choose wrong?
Do not rely on decorative mortar for joints that see high heat or moisture cycling. Your firebox joints should use refractory mortar and your CMU outer structure should use Type S mortar as part of the structural system. Using the wrong mortar inside the firebox can lead to joint cracking and spalling, then water intrusion through gaps into the chimney structure.
How do I adjust the foundation plan for freeze-thaw climates to reduce cracking?
If you are building in a cold climate, footing depth should be planned around your local frost line, not just a minimum rule of thumb. Even if your excavation goes deep enough, you also need the gravel drainage layer and proper slope so water does not pool under the slab. Freeze-thaw damage accelerates when water is trapped near the foundation edge.
What signs during curing fires mean I should stop and call a professional?
A small amount of hairline checking in mortar during the first break-in phase can be normal, but sharp cracking during firing, visible joint separation, or any shifting of masonry is not. Stop the curing fires, let everything cool, and have a masonry professional evaluate before you continue, because you cannot safely “burn in” a structural issue.
What’s the best way to troubleshoot smoke spill before using the fireplace regularly?
Plan for ventilation and consider wind direction. Outdoor chimneys can underperform in certain gust patterns even with correct sizing, so try a smoke test on a calm day and again when wind is present. If smoke repeatedly rolls into the patio, prioritize troubleshooting the damper position, chimney height, obstructions, and flue tile alignment before making any changes to the firebox opening.
If I start with a fire pit, will I be able to upgrade to a full patio fireplace later without rebuilding everything?
Yes, and it’s a smart option for first-time builders, but you must keep the clearance and hearth requirements of the full patio fireplace concept. A fire pit can be easier because it is shorter and often has simpler thermal geometry, but you still need a stable base, proper drainage, and clear separation from combustibles. If you later upgrade to a full fireplace, your original foundation and utility planning might not support the heavier masonry structure.
What typically triggers extra permit requirements or structural calculations for patio fireplaces?
Most jurisdictions require a permit because inspectors want to verify setbacks, hearth projection, structural footing, and flue/combustible clearances. If you are over 6 feet tall or close to a property line or roofline, expect additional scrutiny and sometimes engineered documentation. Get the permit approved before pouring the foundation, because changing height, location, or flue path after inspection can trigger rework.
How often should I inspect and maintain the chimney crown and mortar joints, and what should I look for?
Even if you waterproof the chimney, you still need periodic inspection because water entry often starts at joints, caps, and the chimney crown. Plan an annual visual check of mortar joints, especially horizontal ledges and the crown edge, and do touch-up tuckpointing quickly. Small repairs that catch widening cracks early are far cheaper than waiting until the masonry is loose.
How do I choose between waterproofers that are breathable versus non-breathable for outdoor masonry?
If a product is labeled as breathable or vapor-permeable, that means it should let moisture escape while still reducing liquid water uptake, which helps prevent freeze-thaw stress. If you apply a fully non-breathable coating, trapped moisture can increase cracking risk in freezing weather. Follow recoat timing (commonly several years) based on local climate and product labeling, not on appearance alone.