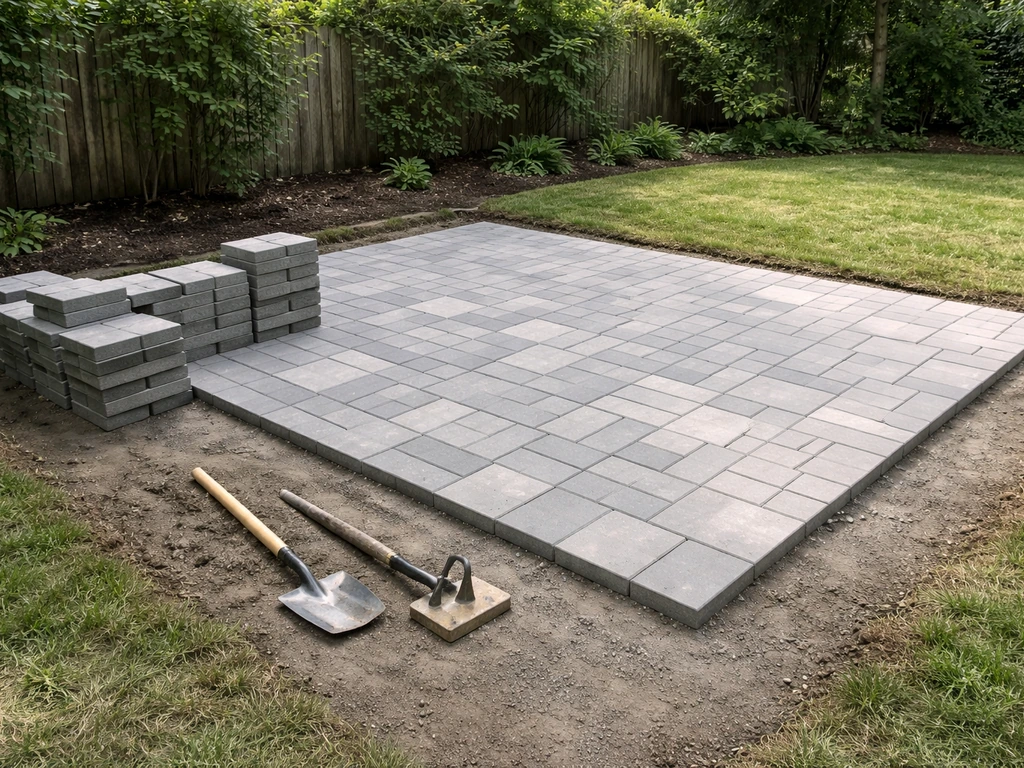
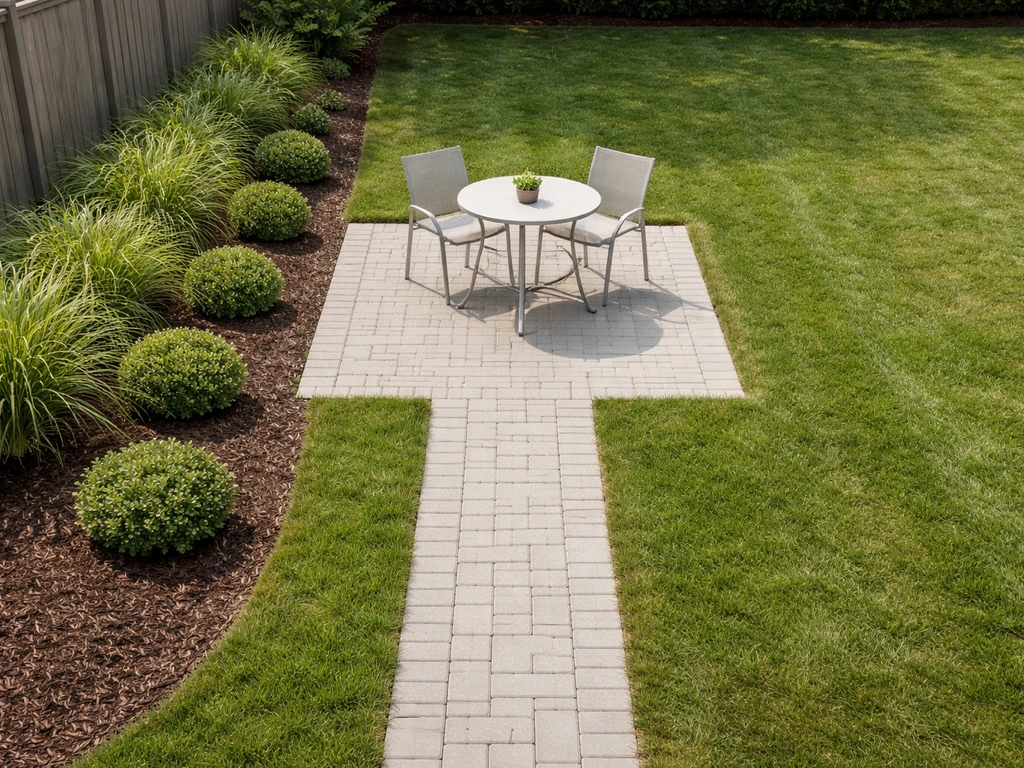
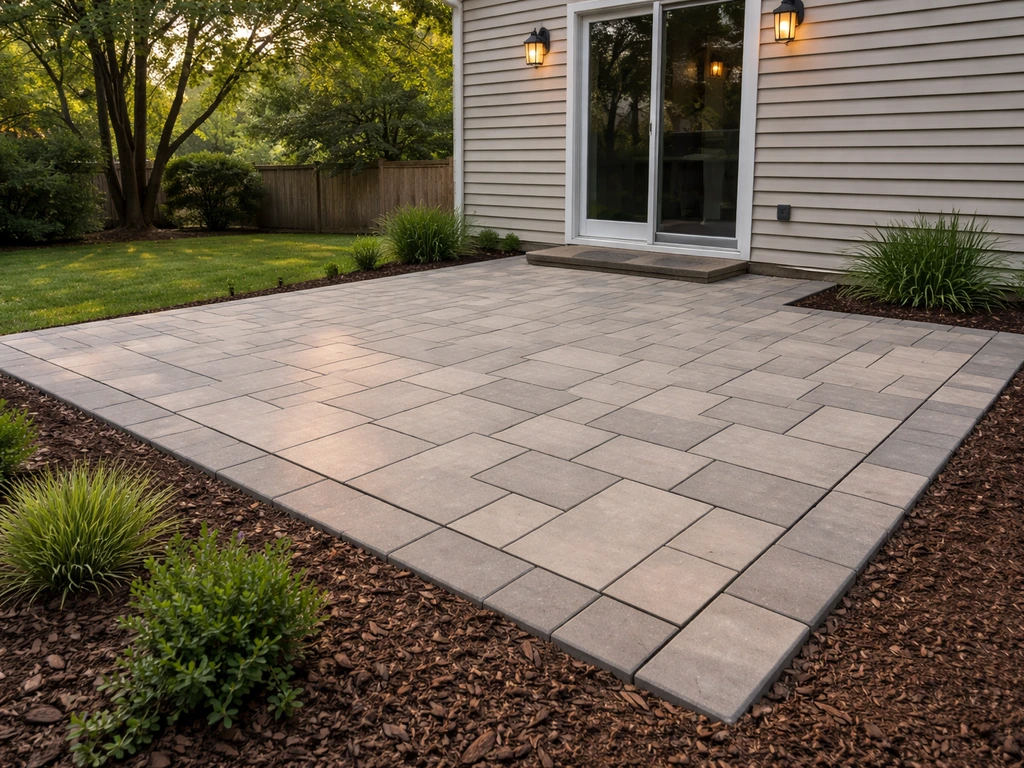
Designing a backyard covered patio comes down to six decisions made in the right order: where it sits, how big it is, what kind of roof covers it, how water drains off it, whether it needs a permit, and what materials you build it from. Get those six things right on paper before you touch a shovel, and the actual build becomes a checklist. Skip any of them and you'll end up retrofitting fixes that cost more than doing it correctly the first time.
How to Design a Backyard Covered Patio: Step by Step

Nolan Carver
7 Jul 2026
Start with your goals, layout, and real measurements
Before you draw anything, be honest about why you want a covered patio. Shade from afternoon sun is a different design problem than full rain protection. Shade means you can get away with a pergola-style roof with gaps. Rain and year-round use mean you need a solid or near-solid roof with real drainage slope built in. Write down your primary goal because it drives almost every other choice.
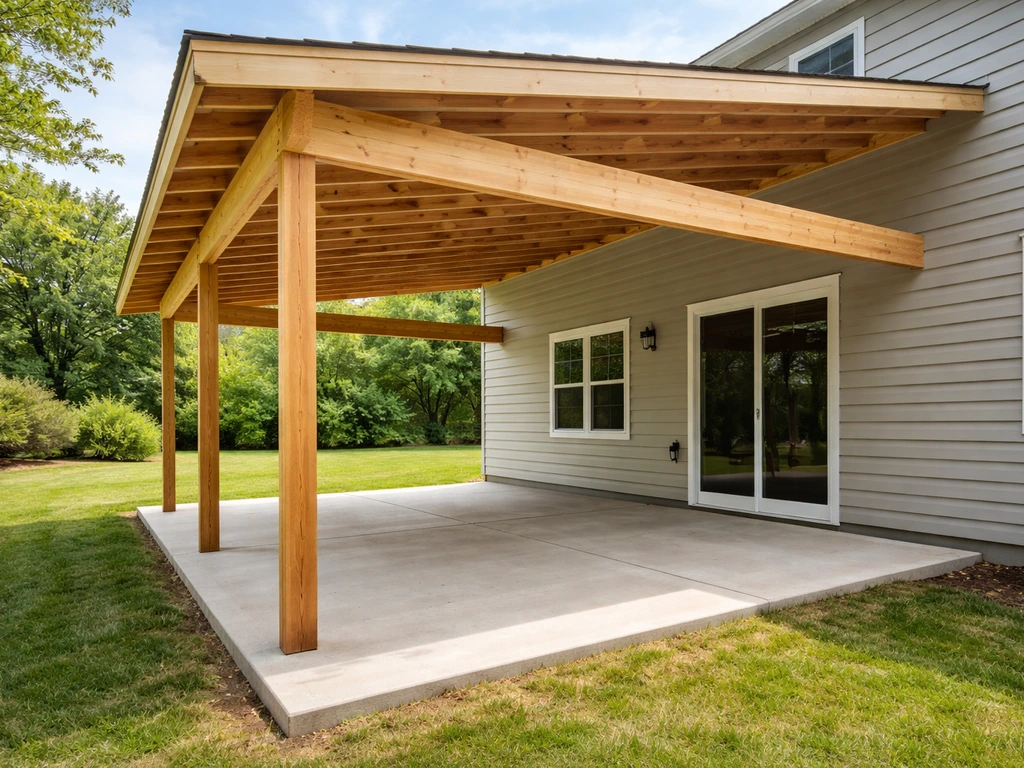
Then figure out placement. Most covered patios attach directly to the back of the house because it's cheaper (you share one wall), more convenient to access, and easier to run electrical. A freestanding structure gives you more flexibility in placement and avoids any structural connection to the house, but it needs four full sides of framing and independent footings all around. If you're a first-timer, an attached structure attached to the house's ledger or rim board is usually the more straightforward build.
For measurements, don't just eyeball it. Grab a 25-foot tape and measure the exterior wall of your house where the patio will attach. Then measure how far out from the house you want the patio to extend. A common starting point is 12 feet deep by 16 feet wide, which gives a usable 192 square feet and fits most outdoor dining and lounge setups.
If you want a full walkthrough on the process, this guide on how to make a back patio can help you plan every step from layout to finishing details. Go wider rather than deeper if you have to choose: a 20x10 patio feels more open than a 12x16 patio even though it's smaller. Mark the corners with stakes and string lines so you can walk around the actual footprint before committing.
- Measure the attachment wall and note any windows, doors, or hose bibs that affect ledger placement
- Mark post locations with stakes: typical column spacing runs 8 to 12 feet on center
- Check for underground utilities before you plan any footing locations (call 811 in the US)
- Note which direction the sun tracks across your yard so you can orient the roof overhang for maximum shade
- Measure existing grade slope with a long level and a tape: you need to know if the ground drops away from or toward the house
That last point about grade is critical and something a lot of people skip. If the ground slopes toward the house, you have a drainage problem baked into the site before you've built a thing. You'll need to either regrade, add a French drain, or plan your patio surface with a deliberate slope away from the foundation. More on that in the drainage section below.
Roof and coverage design options
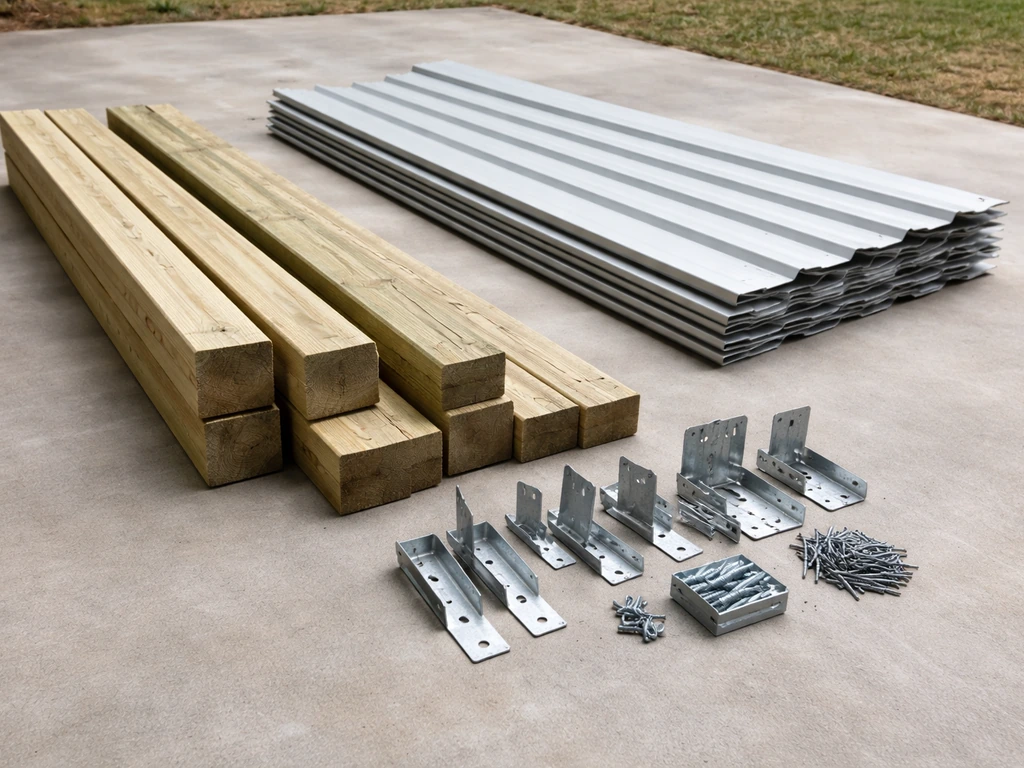
The roof is the part that makes a covered patio different from a plain patio slab, and it's where most of the structural and cost decisions live. You have four main options: a solid attached lean-to roof, a gable roof (freestanding or attached), a pergola-style open-slat roof, and a polycarbonate or aluminum panel roof system. If you are still deciding between a pergola-style roof and full coverage, the next step is choosing the exact roof option that fits how you want to use your outdoor space how to build a back patio. Each has a different look, cost, and performance profile.
| Roof Type | Weather Protection | Typical DIY Difficulty | Relative Cost | Best For |
|---|---|---|---|---|
| Lean-to (shed) roof | Excellent | Moderate | $$ | Attached patios, rain-heavy climates |
| Gable roof | Excellent | Hard | $$$ | Freestanding structures, curb appeal |
| Pergola / open slat | Shade only | Easy–Moderate | $ | Hot dry climates, shade-focused use |
| Polycarbonate / aluminum panels | Good | Easy | $$ | DIY-friendly, light and modular |
For an attached lean-to roof, a ledger board bolts to your house's rim joist or wall framing, and rafters run from that ledger out to a beam carried by your posts. The roof pitches away from the house, which naturally sheds water in the right direction. Minimum pitch for most roofing materials is 1/4 inch per foot (2% slope), but 1/2 inch to 1 inch per foot gives you better drainage and less chance of water sitting on the roof surface. If you're using polycarbonate panels, 1 inch per foot is a good target.
Beam and column spacing matters a lot structurally. A common rule of thumb for rough planning is that a doubled 2x10 beam can span about 10 feet between posts under typical residential loads, and a doubled 2x12 can get you to around 12 feet. But actual spans depend on lumber species, load, and your local code, so verify with your building department or a span table before you finalize. Posts are typically 4x4 for spans up to 8 feet and 6x6 for anything taller or heavier. Overhang beyond the outer beam: 12 to 18 inches is typical and functional for rain protection. Going beyond 24 inches starts adding uplift load and usually needs engineer sign-off.
If you want a pergola-style roof rather than full coverage, 2x6 rafters spaced 16 inches apart with 1x4 or 2x4 purlins running perpendicular on top gives you around 50% coverage. That's enough for filtered shade but won't keep you dry in rain. Some people add a retractable shade sail or polycarbonate panels later, which works well as a two-phase approach if budget is tight right now.
Drainage, water management, and slope
Water is the biggest enemy of a covered patio, and the two places it causes the most damage are the patio surface itself and the roof-to-house connection. Both need deliberate planning up front.
Slope on the patio surface
Your patio surface needs to slope away from the house at a minimum of 1/8 inch per foot, and 1/4 inch per foot is better. Over a 12-foot-deep patio, that's 1.5 to 3 inches of total drop. If you're pouring a concrete slab, you build this slope into your form boards and screeding. If you're laying pavers, you grade the base and let the paver surface follow. Never slope toward the house: water running toward your foundation is how you get basement moisture, cracked footings, and siding rot.
At the edges of the patio, water needs somewhere to go. If your yard is relatively flat, that means adding a simple swale (a shallow channel graded away from the patio) or a strip of gravel and a perforated pipe to move water laterally. If your site has a natural grade running away from the house, you're in good shape. If it slopes toward the house, plan for a catch basin or French drain on the uphill side of the patio before the slab goes in.
Roof water and the house connection
Where the roof meets the house wall is the most common leak point in attached covered patios. This joint needs flashing, done correctly, or you will get water intrusion into the wall cavity within a season or two. The standard approach is step flashing and a continuous piece of counter flashing tucked under the house siding and lapped over the roofing material. If you're attaching to stucco or brick, you need to cut a saw kerf into the wall and slide the flashing into it before sealing with elastomeric caulk. This is not optional and it's not something to improvise. Look up the flashing detail for your specific wall material and roofing type before you start framing.
Gutters on the outer edge of the patio roof are a good idea even if the rest of your house doesn't have them. Without a gutter, rain comes off the roof edge and splashes onto the patio surface right at the perimeter, which is where you end up with puddles and erosion. A simple K-style gutter with a downspout directed to a splash block or drain pipe solves this cleanly. Keep the downspout at least 6 feet away from the house footings.
Codes, permits, and what you actually need to know structurally
Most jurisdictions require a building permit for any covered patio structure, and skipping this is one of the most common DIY mistakes. An unpermitted structure can create real problems when you sell your house, file an insurance claim, or try to refinance. The good news is that patio cover permits are typically straightforward and inexpensive, and many building departments have pre-approved plan sets or simplified submittal requirements for standard sizes.
Under the International Building Code, patio covers are defined as one-story structures no more than 12 feet in height and must be designed to handle a minimum vertical live load of 10 pounds per square foot (psf), plus dead load from the roofing material itself.
In snow country, that live load goes up to match whatever the local ground snow load is, and you have to use the ASCE 7 snow load calculations to figure out what your roof needs to carry. Wind and seismic loads are also in play depending on where you live: lateral-force-resisting systems must meet seismic detailing requirements even if wind ends up governing the design.
The IBC Chapter 16 requires that lateral-force-resisting systems comply with seismic detailing requirements, and it also includes design snow load and minimum roof live load references tied to ASCE 7 and IBC Section 1607 seismic detailing requirements even if wind ends up governing the design. This is why your permit submittal will likely need a simple framing plan and footing sizes.
For attached structures, how you connect to the house is critically important for preventing collapse. Local building guides consistently emphasize that attachment to the house framing must transfer roof loads properly to the supporting structure and foundation, not just rely on lag screws into siding or sheathing. The ledger must connect to the rim joist or wall framing, and footings under posts must be sized for the tributary load they carry and must extend below the local frost depth. The mean roof height at the attachment point for an attached patio cover also can't exceed 30 feet, which is a non-issue for single-story homes but matters if you're attaching to a tall two-story wall.
Call or visit your local building department early. Tell them what you're building, the rough dimensions, and whether it's attached or freestanding. They'll tell you exactly what they need for the permit. In many areas, a simple dimensioned sketch, a footing detail, and a description of materials is all that's required for a standard residential patio cover.
Materials, finishes, and how to budget this thing
Your three biggest material decisions are the framing lumber and posts, the roofing surface, and the fasteners and connectors. Each one has budget and maintenance implications.
Framing, posts, and treated lumber
Posts and any framing in contact with concrete or within 6 inches of grade must be pressure-treated lumber rated for ground contact (UC4A or UC4B). For above-ground framing like beams and rafters, UC3B above-ground rated treated lumber is sufficient. Here's the catch that trips up a lot of DIYers: modern ACQ (alkaline copper quaternate) treated lumber is highly corrosive to standard galvanized fasteners. For typical above-ground treated lumber, hot-dipped galvanized connectors and fasteners are the minimum.
For ground-contact lumber with higher copper retention levels, stainless steel hardware from Simpson Strong-Tie or equivalent is the right call. This is not a place to substitute cheap zinc-plated hardware from the bargain bin: the connectors will fail in a few years and you'll be retrofitting the whole structure.
Roofing surface options
Asphalt shingles matched to your house roof are the most common choice for attached lean-to roofs: they look good, they're cheap (roughly $1 to $2 per square foot for materials), and every roofer and building department is familiar with them. Metal roofing (corrugated or standing seam) costs a bit more ($2 to $5 per square foot) but lasts longer and is easier for a DIYer to install on a simple lean-to. Polycarbonate panels let in light, which is nice if the patio would otherwise feel like a cave, and they run $3 to $6 per square foot for twin-wall panels. Whatever you choose, match the minimum slope requirement for that material.
Realistic budget ranges
For a 12x16 attached covered patio (192 square feet), a realistic DIY materials budget breaks down roughly like this: concrete for footings and slab ($800 to $1,500 depending on thickness and finish), framing lumber including posts, beam, ledger, and rafters ($600 to $1,200), roofing material ($200 to $1,100 depending on type), hardware and connectors ($150 to $300), and miscellaneous items like flashing, gutters, fasteners, and concrete forms ($200 to $400). Total DIY materials cost typically lands between $2,000 and $4,500 for a basic but solid structure. A freestanding structure adds another $500 to $1,000 for the extra posts and footings. Decorative columns, ceiling fans, and lighting add cost but aren't structural and can be done in a second phase.
Step-by-step build outline
This is a general build sequence for an attached lean-to covered patio. If you want the full process, focus on the key design steps for a backyard patio from layout and measurements to roof coverage and drainage. The order matters: each step creates the reference point for the next one.
- Lay out the patio footprint with batter boards and string lines, confirm square by checking diagonals (they should be equal), and mark footing locations
- Dig and pour concrete footings at post locations, sized to your local frost depth and load requirements (a common starting point is 12-inch diameter by 18-inch deep, but verify locally); set post base hardware in wet concrete and let cure 48 hours minimum
- Set posts plumb in the post bases and brace them temporarily with diagonal 2x4 bracing staked to the ground
- Install the ledger board on the house wall: remove siding in that area, attach the ledger to rim joist framing with structural lag screws or through-bolts (minimum 1/2-inch diameter, 3-inch penetration into framing), and install ledger flashing before re-siding
- Set the beam on top of the posts using post cap connectors, level it, and confirm all post heights are consistent
- Install rafters from the ledger to the beam using rafter tie connectors at both ends, maintaining consistent spacing (typically 16 or 24 inches on center)
- Add blocking between the first and last rafter at the ledger and beam ends for lateral stability
- Install roof decking (if using shingles or metal panels over decking): 1/2-inch OSB or plywood, then roofing felt or synthetic underlayment, then roofing material
- Install step flashing and counter flashing at the wall-to-roof junction before completing roofing
- Install fascia on the outer rafter ends, then gutters with downspouts directed away from the foundation
- Pour or lay the patio surface (concrete slab, pavers, or flagstone) with a minimum 1/4-inch-per-foot slope away from the house; keep the slab surface at least 4 inches below the house door threshold and 6 inches below any wood siding
- Complete electrical, ceiling fans, or lighting as a final phase after structural inspection
Troubleshooting the common problems
Uneven or sloped site
If your yard isn't level, your post heights will be different from one another: that's expected and fine. Set your ledger height first, then use a string line and level to find the correct height for each post based on your intended roof pitch. Cut posts to length before setting them in post bases, or use adjustable post bases and cut in place. Don't try to level the site by piling dirt against posts: buried wood rot is the number one structural failure in DIY patio covers.
Water pooling on the patio surface
If you end up with low spots that collect water after the slab is poured, you have a few options. A thin concrete overlay resurfaced with the correct slope can fix small areas. For pavers, it's easier: pull the problem pavers, regrade the base with additional sand or compactable gravel, and relay them. For larger areas, a channel drain set into the surface and directed to a downslope outlet is the most reliable long-term fix. Prevention is much easier than repair, so check your slope with a level and a tape before the concrete truck arrives.
Water intrusion at the house wall
If water is getting into the wall where the roof meets the house, the most likely cause is improper flashing: either it's missing, was installed over the siding instead of under it, or the seams weren't sealed. Fix this by carefully removing the lower course of siding above the roof line, reinstalling step flashing with the upper leg behind the siding and the lower leg over the roofing felt, capping with counter flashing, and sealing with a good elastomeric caulk. Don't just caulk over the problem without fixing the underlying flashing: the caulk will crack within a season.
Gaps and movement at roof panel edges
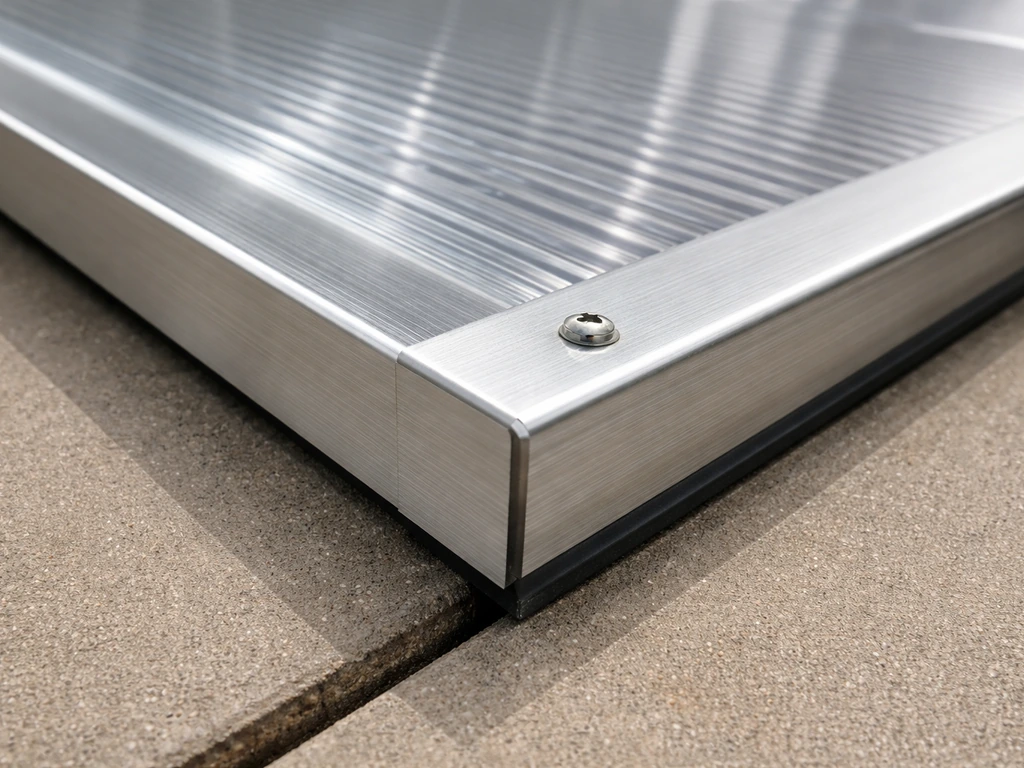
Polycarbonate and metal panel edges are a common spot for leaks and wind infiltration if they're not properly terminated. Use the manufacturer's end-closure foam or aluminum closure strips at the eave and ridge ends of each panel. These profiles are shaped to match the panel profile and keep insects, water, and wind out. Skipping them because they seem optional is a mistake you'll notice during the first hard rain.
If you're still in the early stages and haven't settled on whether you want a fully covered structure or an open patio first, it's worth reading up on how to design a basic backyard patio as a starting point for the layout and surface decisions, since those principles carry directly into a covered version. And if you want to get into the actual construction sequence in more depth, a step-by-step guide to building a back patio will complement the structural design decisions covered here.
FAQ
How do I choose between a pergola-style roof and a fully covered roof for real rain protection?
Before you finalize the roof type, decide whether you need year-round usability. If you want protection from rain plus evening comfort, plan for gutters plus a ceiling that can handle moisture (and consider an enclosed, solid ceiling layer), while a pergola-style design is usually fine for shade but will still leave you getting hit by wind-driven rain.
What’s the biggest mistake people make when setting the roof pitch on an attached patio?
For an attached patio, the ledger height you choose affects how much clearance you get at the house wall and what pitch you can maintain. If you pick a very low pitch just to “make it flatter,” you can end up with poor roof runoff and constant pooling at the back edge, which then stresses flashing joints.
Can I retrofit a covered patio to a house without reworking the existing siding and water barrier?
Yes, you can attach roofing to an existing house without a new weather barrier, but only if you follow the correct flashing sequence and keep water out of the wall cavity. If your house already has siding details that conflict with where the flashing will sit, you may need to modify the siding cut line rather than forcing flashing over it.
How should I think about drainage if I live in a freeze-thaw climate?
If the patio surface will be exposed in winter, treat drainage as a freeze-prevention task. Use a slope that stays true after construction, avoid low “valleys” that collect puddles, and ensure your drainage outlet is not blocked by soil. Standing water that refreezes can lift pavers or crack concrete even if your slope was correct initially.
What should I check for during formwork so my concrete patio slope stays correct after the pour?
For concrete slabs, verify the slope is set relative to the final finished surface, not just the base. Forms that look “close enough” often create localized flat spots, so check with a level and straightedge at multiple points before pouring. Also confirm control joints placement so shrink cracking does not create new water pathways.
How do I make sure my roof framing is designed for snow load, not just stronger materials?
Snow loading is not just about adding stronger rafters, it is about verifying the entire load path. A common oversight is undersized beams or post spacing, where the roof looks fine on paper but the supports do not transfer the calculated load to footings.
How do I plan gutters and overhang so runoff does not create new problems?
Use the deck or patio cover area to estimate livable clearance around doors and windows, but also account for overhang. If the roof extends too close to the house openings, water runback can stain siding and gutters can dump too close to entry paths. Plan overhang so gutter downspouts end at least 6 feet from footings and avoid directing runoff toward walkways that will heave or wash out.
What information should I bring to the building department to speed up my covered patio permit approval?
Often, yes. Many permits require a footing plan and framing layout even for “standard” sizes, and the fastest way to get it right is to bring your exact attached point details (ledger connection, roof height, and proposed roof type). If you do not have a clear design, the inspector may require changes before you can close framing.
What’s the safest way to confirm my ledger attachment is actually hitting structural framing?
Don’t rely on lag screws into siding or sheathing for the ledger connection, even if it feels solid during installation. The ledger needs structural attachment to rim joist or wall framing so roof loads transfer into the foundation. If you can’t locate framing reliably, plan for a proper framing inspection or use the correct hardware after confirming member locations.
If my lumber is pressure-treated, how do I make sure the fasteners I buy are compatible?
For treated lumber, the fastener choice should match the treatment type and copper content. If you accidentally use standard galvanized screws with higher-copper treated lumber, corrosion can happen faster than expected, especially at cut ends and in wet zones near grade, which leads to loose connections and long-term sag.
Can I add a ceiling fan under a covered patio without reinforcing the structure?
If your patio will include a ceiling fan or heavy lights, verify you have a structural support point (blocking or proper framing members), not just the roof sheathing. Fans add dynamic load and vibration, and mounting to roof panels can loosen connections over time.
What changes most for structural stability if my patio cover is freestanding instead of attached?
If the patio is freestanding, you must consider lateral movement and the stability of all four sides, especially under wind. Many DIY attempts focus on roof stability but under-design base connections, bracing, or footing depth, then wind or uneven ground causes racking.
Can I design for future drainage upgrades, like adding a channel drain later?
Yes, but decide early because it affects slope and drainage. If you plan to add a channel drain later, your current slab or paver layout might trap water under the new component. A staged approach works best when the future drain location is included in the initial grading.