To patio your garden, you excavate the area to about 10 inches deep, compact the subgrade, lay 4 inches of compacted gravel base, add 1 inch of bedding sand, then install your chosen surface (pavers, concrete slabs, or gravel) with edge restraints holding everything in place. Slope the whole surface 1/8 to 1/4 inch per foot away from your house so water drains off cleanly. Done right, this is a very achievable weekend-to-two-weekend DIY project that most homeowners can tackle without hiring anyone.
How to Patio Your Garden: DIY Planning to Build Guide

Nolan Carver
20 Jun 2026
Plan your patio space before you touch a shovel
The most common DIY patio mistake is starting to dig before thinking through placement, size, and how people will actually move around the space. Spend an hour or two on planning and you'll avoid a lot of rework later.
Pick the right location
Walk your garden at different times of day before committing to a spot. Afternoon sun is one of the top reasons patios go unused, a south or west-facing slab with no shade overhead becomes unbearable by 2pm in summer. Think about sightlines too: where do the neighbors sit? Is there a fence, hedge, or structure you can build toward for privacy? Also map your door access, you want a direct, logical route from the house to the patio without doubling back through a garden bed or across a path.
Size it properly
A patio that feels roomy in an empty garden suddenly feels cramped once furniture is in place. As a practical sizing guide: allow at least 42 to 48 inches of clearance behind dining chairs so people can push back from the table without hitting a wall or stepping into a planted bed. Keep any main walking lane through or around the patio at least 36 inches wide, 30 inches is the absolute minimum but 36 is much more comfortable for everyday traffic. For a standard four-person dining set plus a small seating area, you're typically looking at a minimum of 12 x 14 feet, and 16 x 16 feet starts to feel genuinely spacious.
Sketch the layout
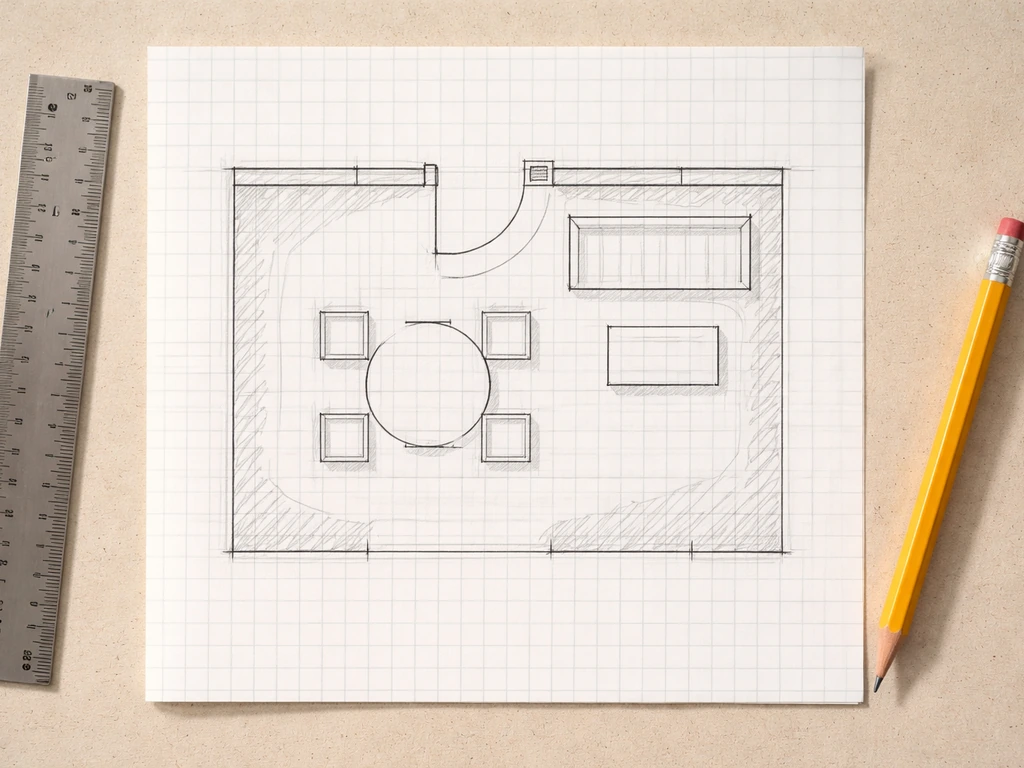
You don't need design software. A pencil sketch on graph paper (1 square = 1 foot) is enough to check that your layout works. Mark where the door exits, which direction is the house wall, where any existing structures or garden beds sit, and where you want the main seating zone versus any secondary zones like a fire pit area or a BBQ corner. If you're planning a fire pit, factor in at least 7 to 10 feet of clearance between the pit center and any structure or overhanging tree. Mark this on your sketch now rather than figuring it out after the base is poured.
Get the base and drainage right, this is the most important part
The surface material gets all the attention, but the base beneath it determines whether your patio lasts 5 years or 25. Poor base prep leads to settling, cracking, and water pooling. Get this stage right and everything else follows.
Establish your drainage slope first
Every patio must slope away from your house. The target is 1/8 inch to 1/4 inch of drop per foot of horizontal distance. So across a 12-foot-wide patio, you want between 1.5 inches and 3 inches of total drop from the house-side edge to the garden-side edge. This 1% to 2% slope is enough to move water off without being noticeable when you're walking or sitting on it. Set this slope during your excavation phase, not as an afterthought at the end.
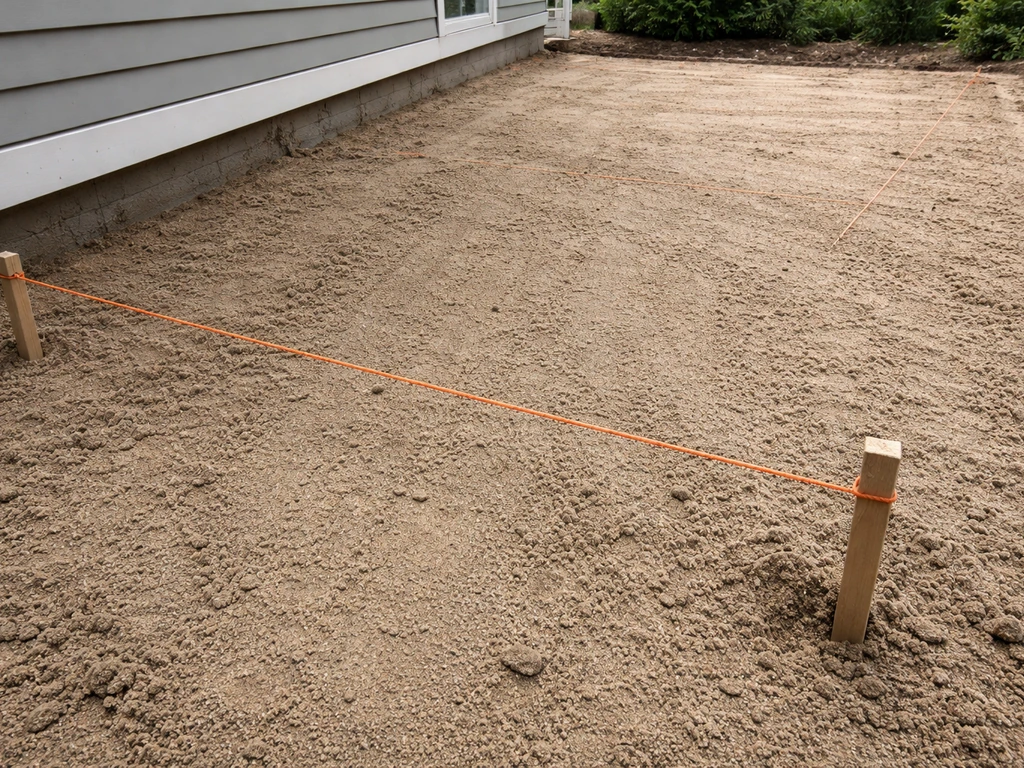
Excavate and compact the subgrade
Mark out your patio boundary with stakes and string or spray paint, then add 6 inches on all sides for your working edge. Excavate to about 10 inches deep total, this gives you room for the gravel base, bedding layer, and surface material. Once you've dug down, don't skip compacting the exposed soil (the subgrade). Rent a plate compactor from your local tool hire shop (look for one rated at least 5,000 lbf for residential work) and make two or three passes across the exposed soil. If you can still push a stick into the soil easily or it feels spongy, compact it more or replace soft/wet sections with compacted fill. You're aiming for a firm, stable surface that won't shift under load.
Lay the gravel base and weed barrier
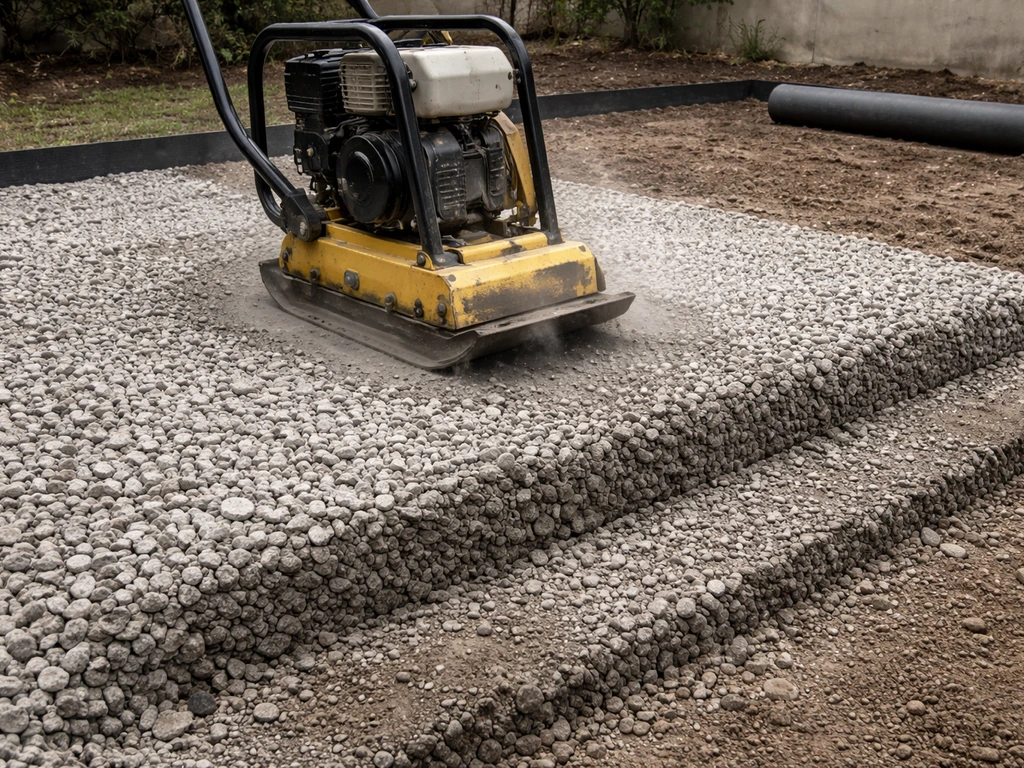
Add your compacted aggregate base in two or three layers rather than all at once, each layer around 2 inches thick, compacted before adding the next. Your finished compacted gravel base should be 4 inches deep. Use crushed stone or crushed rock (sometimes called road base or hardcore), not pea gravel, you need angular material that locks together when compacted, not rounded material that shifts. For weed control, lay a landscape fabric weed barrier directly on top of the compacted subgrade before your gravel goes in. It won't stop everything forever, but it dramatically slows down weed growth pushing up from below. Note: if you're going with an open-graded drainage base (which allows water to pass straight through rather than running off the surface), skip the weed barrier, it will block drainage. Open-graded bases suit permeable paver systems and very wet sites.
Add 1 inch of bedding sand
On top of your compacted gravel base, spread a 1-inch layer of coarse bedding sand (also called concrete sand or sharp sand, not fine play sand). This layer is what you'll screed level before laying your pavers. Use two lengths of conduit pipe or wooden rails set to the right height as screed guides, then drag a straight board across them to create a perfectly flat, 1-inch-deep sand surface. Do not compact the bedding sand, it needs to stay loose so the pavers can bed into it evenly.
Choosing your patio surface material
The right material depends on your budget, how much DIY confidence you have, your local climate, and how you want the finished patio to look and feel. Here's a practical comparison of the four most common options for garden patios.
| Material | Approx. Cost (per sq ft) | DIY Difficulty | Best For | Durability & Maintenance |
|---|---|---|---|---|
| Concrete pavers | $8–$20+ | Moderate | Most garden patios — versatile, repairable, great drainage options | Very durable; refill joints every few years with polymeric sand; individual pavers replaceable |
| Poured concrete | $4–$10 | Higher (forming & finishing skills needed) | Large flat areas where you want a seamless look | Long-lasting but cracks are hard to fix; reseal every 2–5 years |
| Natural stone slabs | $15–$30+ | Moderate | Premium look, cottage gardens, irregular shapes | Extremely durable; may need re-leveling over time; seal porous stones |
| Gravel/loose fill | $1–$4 | Easy | Budget patios, informal spaces, areas needing drainage | Needs occasional top-up and raking; not ideal for tables/chairs on soft ground |
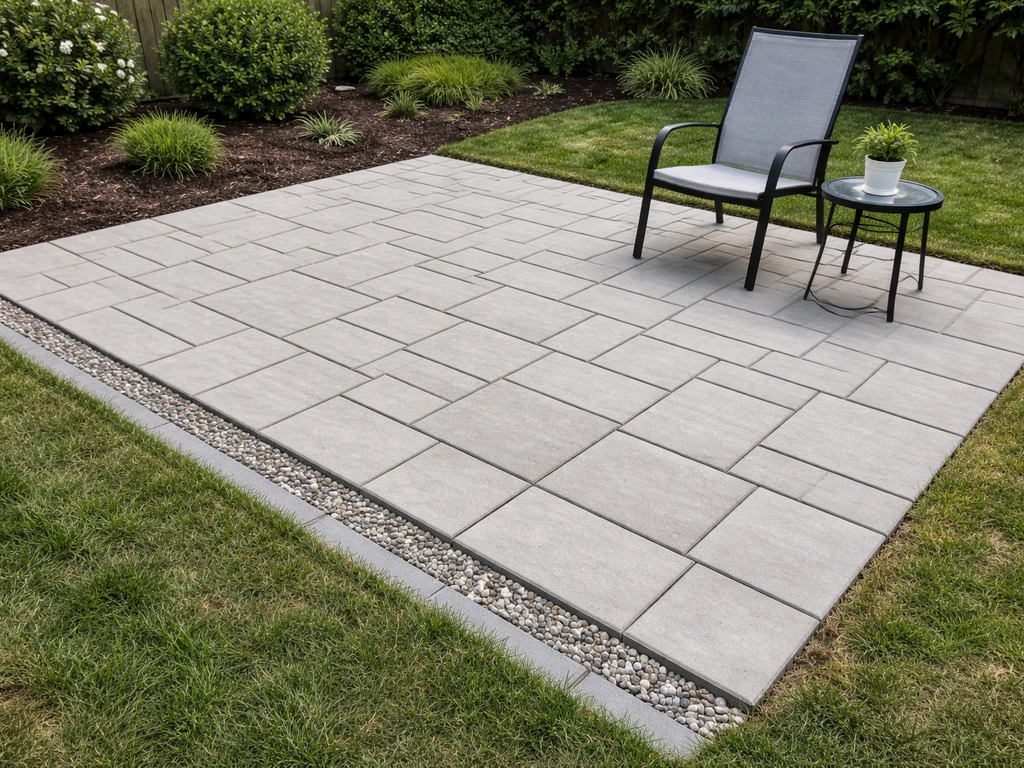
Concrete pavers: the best all-round choice for most DIYers
Interlocking concrete pavers are the most forgiving material for a first-time patio builder. They're modular, so you can adjust as you go, and if one paver cracks or settles unevenly in five years, you lift just that piece and re-level. The system relies heavily on proper base and drainage conditions, freeze-thaw cycles will push pavers out of alignment if the base isn't compacted and draining well, but get the prep right and they're nearly bulletproof. Pavers do cost roughly double what plain poured concrete costs per square foot, but the repairability and DIY-friendliness make up for it for most homeowners.
Poured concrete: cheaper upfront, harder to DIY
Poured concrete is less expensive on materials but demands more skill, you need to set forms correctly, pour and finish the surface before it sets, and get the slope right in one shot. Cracks are inevitable in most climates and are much harder to fix invisibly than replacing a single paver. If you go this route, slope the slab at 1/8 inch per running foot away from the house (this matches guidance from concrete mix manufacturers), and seal the surface once cured to protect it. Reseal every 2 to 5 years depending on your climate and foot traffic.
Gravel: the budget-friendly starting point
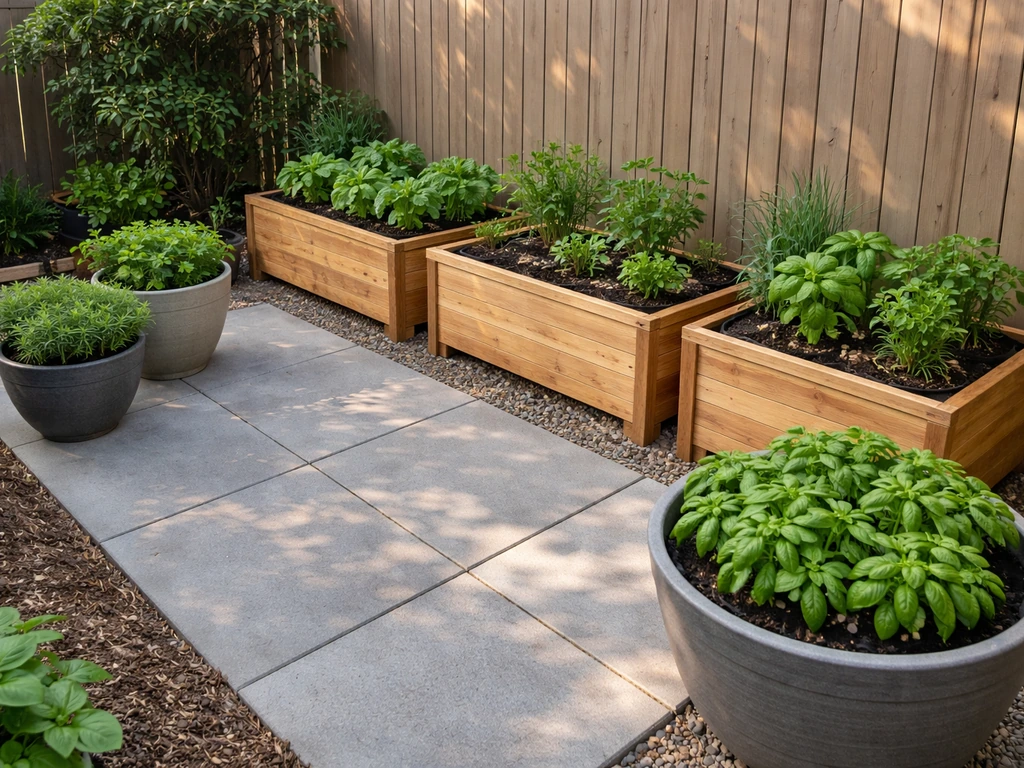
Pea gravel or crushed stone patios are the fastest and cheapest option, and they drain naturally so pooling isn't really a concern. The downsides: chairs and tables sink into them slightly, gravel migrates onto lawns and paths over time, and they feel less 'finished' than a solid surface. They work well as a temporary solution or for casual outdoor spaces. If you want more than a place to sit, you can also learn how to grow a patio vegetable garden by choosing the right containers, soil, and sun exposure for your space. Combine gravel infill with larger stepping stones or slab squares and you get a much more practical surface for furniture.
How to build your patio step by step
These steps are written for a concrete paver patio, which is the most common DIY choice. If you want a patio garden that looks good from the start, follow these steps and plan what you will plant around the finished patio. If you're pouring concrete instead, the excavation and base prep steps are identical, you skip the sand bedding and go straight to setting forms and pouring.
- Mark out your patio boundary with stakes and string line. Double-check your corners are square (use the 3-4-5 triangle method: measure 3 feet along one edge, 4 feet along the adjacent edge — the diagonal between those two points should be exactly 5 feet if the corner is 90 degrees).
- Excavate to 10 inches below your finished surface level, sloping the subgrade 1/8 to 1/4 inch per foot away from the house. Remove all grass, roots, and organic material.
- Compact the exposed subgrade soil with a plate compactor. Make 2 to 3 passes, then test that it feels solid and firm underfoot.
- Lay your landscape fabric weed barrier over the compacted subgrade, overlapping edges by at least 12 inches. Pin it at the edges.
- Add 4 inches of compacted crushed stone base in 2-inch layers, compacting each layer before adding the next. Check your slope is maintained throughout.
- Install edge restraints on all sides that don't already have a solid boundary (like a house wall or existing kerb). Plastic paver edging pinned with 10-inch spikes works well. Set the top of the edging to your planned finished patio height.
- Set up screed rails (conduit pipe works perfectly) on top of the compacted gravel, 1 inch below your finished surface height, and fill with bedding sand. Screed the sand level between the rails, then carefully remove the rails and fill those channels.
- Lay your pavers starting from a fixed corner (usually the house wall). Work outward in rows, keeping joints tight and consistent. Use a string line across the face of each row to keep lines straight.
- Cut pavers to fit edges using an angle grinder with a diamond blade or a paver splitter. Wear eye protection and a dust mask.
- Once all pavers are laid, compact the entire surface with the plate compactor — but put a rubber mat or protective pad under the compactor plate so you don't scratch or chip the paver surfaces.
- Sweep polymeric sand into the joints with a stiff brush, making multiple passes until joints are fully packed. Compact once more to help the sand settle into the joints, then sweep again.
- Activate the polymeric sand with a gentle shower-spray from a hose (not a jet or fine mist). Let it dry fully — do not walk on it or allow rain to hit it for at least 24 hours. Never apply polymeric sand to damp pavers.
Dealing with slopes, steps, and raised patio areas
A sloped garden doesn't rule out a flat patio, it just means you need to do a bit more work on one side. There are two main approaches: cut-and-fill (dig into the slope on the high side, use the spoil to build up the low side) or build a raised patio that sits above the slope and is retained by a wall or edging on the downhill side.
Raised patios and retaining edges

If your garden drops away from the house, a raised patio with a retaining wall or block edging on the lower side is often the cleaner solution. The wall holds the base material and paving in place, and you can add steps down to the garden below. For a raised patio more than about 18 inches above the surrounding ground level, check whether your local authority requires planning permission or structural guidance, most simple residential raised patios fall well under that threshold. Use concrete retaining blocks, treated timber sleepers, or natural stone for the retaining edge, and make sure it's well-anchored and backfilled with compacted gravel so water can drain through rather than building up behind the wall.
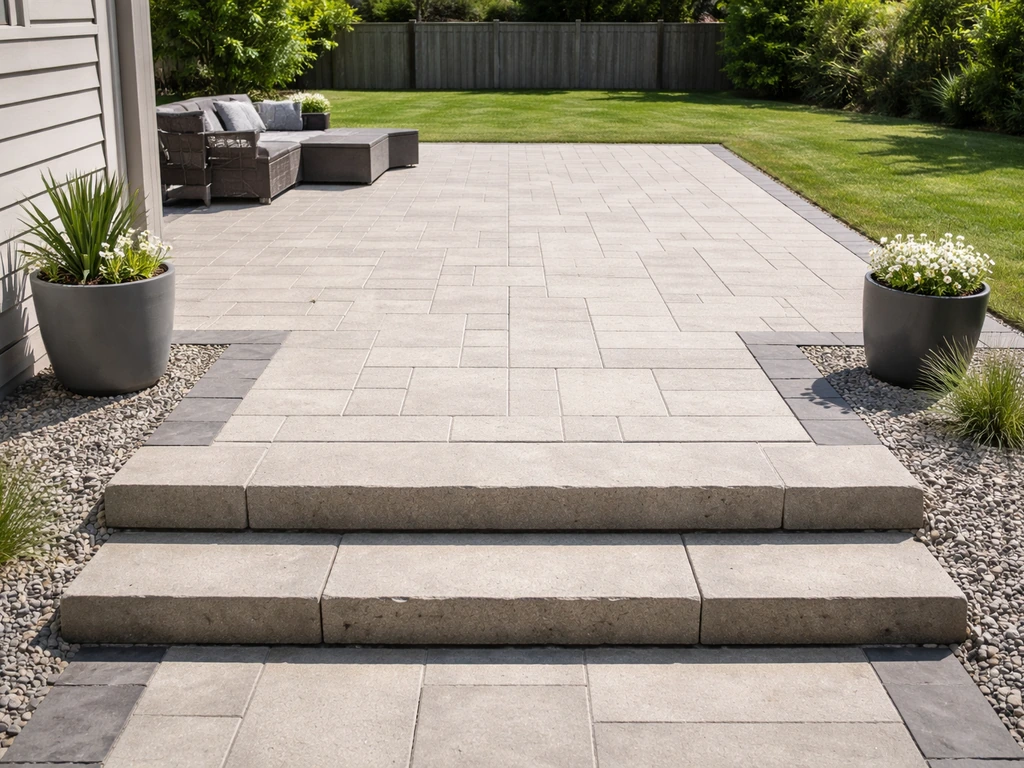
Adding steps
If your patio is raised or transitions to a lower garden level, steps are often the finishing touch that makes the whole thing feel designed rather than tacked together. A comfortable garden step has a rise (height) of 6 to 7 inches and a tread depth (front to back) of at least 12 to 15 inches, ideally 16 inches for a relaxed stride. For a two-step drop, use large concrete slab steps or stack bullnose pavers to create a solid, stable landing. Always set steps on a properly compacted gravel base just like the main patio, steps that are just set on soil will tilt and shift within a season or two. For ideas on how steps can become a design feature in their own right, patio step design is a topic worth exploring separately. You can also use these steps as part of broader patio ideas by planning how the rise and landing support your overall layout patio step design.
Managing water on sloped installations
On sloped sites, your biggest risk is water tracking along the patio and pooling at the low edge or running back toward the house. A channel drain or linear drain along the lower edge of the patio, connected to a soakaway or garden drainage point, solves this cleanly. You can also incorporate a permeable gravel strip at the base of a retaining wall to capture seepage water. Whatever you do, never create a bowl shape where water has nowhere to go, always give it an exit point.
Finishing details and keeping it looking good for years
Joint filling and sealing
Polymeric sand is the gold standard for paver joints, it binds when activated with water and hardens into a flexible, weed-resistant filler that stays in place far better than regular kiln-dried sand. The key application rule: pavers must be completely dry before you start sweeping. If you apply polymeric sand to damp pavers, it will stick to the surface and leave a haze that's very hard to remove. For concrete or stamped concrete patios, apply a concrete sealer once the slab has fully cured (typically 28 days for new concrete). Reapply sealer every 2 to 5 years, more often in harsh climates or high-traffic areas. Use the same type of sealer as the original application for best results.
Ongoing maintenance schedule
A well-built patio genuinely doesn't need much attention. Here's a practical maintenance rhythm that keeps things in good shape without a lot of effort.
- Every spring: sweep the surface clear of winter debris, check joints for any erosion or weed breakthrough, and top up with polymeric sand if any joints look thin or cracked.
- Every spring: check that the drainage slope is still doing its job — pour a bucket of water on the surface and watch where it goes. If it pools anywhere, a paver may have shifted and needs re-leveling.
- Every 1 to 3 years: re-apply jointing sand to any joints that have washed out, especially after heavy rainfall seasons.
- Every 2 to 5 years (concrete/stamped surfaces): reseal using the appropriate sealer for your surface type.
- As needed: clean stains immediately — oil, rust, and organic staining are much easier to deal with fresh than after they've had time to soak into porous surfaces. A stiff brush and a dedicated patio cleaner handles most common stains.
- Every few years: check edge restraints and perimeter borders are still firmly in place. A paver edging spike that's worked loose can let the whole edge creep outward over time.
Fixing common problems after installation
If a paver settles or tilts, lift it with a flat pry bar, add or remove bedding sand underneath to get it level, and re-lay it. It takes about 10 minutes per paver and is one of the biggest advantages of a modular paver system over poured concrete. If you notice water pooling in a section, the underlying issue is almost always either that the bedding sand wasn't level, the subgrade wasn't compacted enough in that spot, or debris has blocked the drainage path at the low edge. All of these are fixable without starting over, lift the affected pavers, address the base, and re-lay.
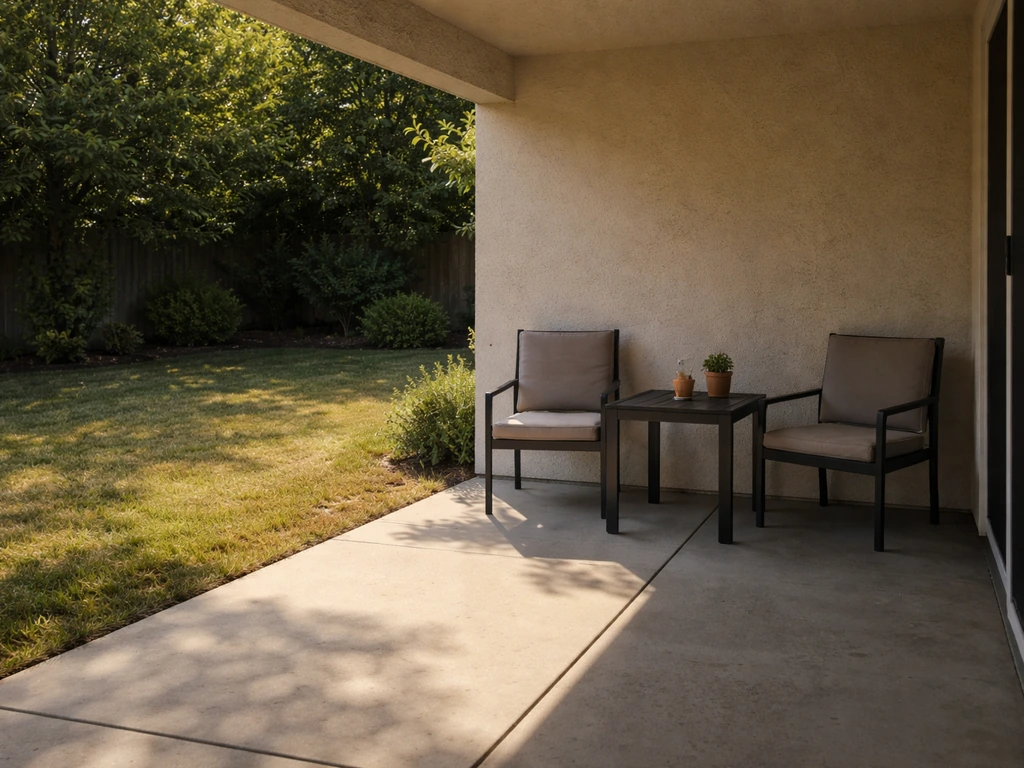
If you're thinking about adding plants, containers, or even a small vegetable growing area alongside your new paved space, that's a natural next step many homeowners take once the hard landscaping is done. Building a patio creates defined garden zones, and the edges of a paved area are often great spots to integrate planting, whether in raised beds, containers, or a dedicated patio garden bed running along one side. Once your patio hardscape is in place, you can apply the same planning mindset to figure out how to start a patio garden in the available light and space patio garden bed.
FAQ
How do I decide how thick to make my patio for my chosen surface and use?
Use the depth steps as a baseline, then adjust for load. If you expect heavy use, like a grill with lots of traffic or occasional vehicle access, upgrade compaction and consider thicker base or stronger edge restraints. For pavers, the key is not just total thickness, but achieving a firm, well-draining base that you cannot compress by hand.
Do I need a weed barrier under a paver patio, and when should I skip it?
Put landscape fabric only when you are using a standard dense base that sheds water off the surface. If you are using an open-graded drainage base that relies on water passing through, fabric can block that drainage pathway, so skip it and rely on proper base depth and edging plus jointing sand.
What should I do if my patio area is near a sprinkler or downspout?
Treat those as drainage design points, not afterthoughts. If runoff concentrates there, plan the slope and add a discharge route or a connection to a drain line or soakaway so water does not carve channels or pool at the low edge.
How can I prevent paver edges from creeping over time?
Edge restraints matter most at corners and along long straight runs. Install solid edging that is pinned and anchored into stable ground, and avoid leaving gaps where bedding sand can wash out. Also make sure the patio slope still pushes water away from the house without lifting or twisting the edge line.
Should I compact the bedding sand layer under pavers?
No. Keep the bedding sand loose so pavers can bed in evenly. If you compact it, you reduce the ability to fine-level during installation, which increases the chance of rocking and uneven joints later.
Can I install pavers over existing soil, sod, or old gravel?
Usually no, because stability and drainage are compromised. Remove sod and any organic material, then excavate to the full designed depth and compact the subgrade. If existing gravel is uniform and properly compacted, you might reuse it only after confirming depth, grading, and that it still meets the base requirements.
How do I know the subgrade is compacted enough before adding gravel?
Do a simple physical check: after compaction, the surface should feel firm, not spongy. If you can easily push a stick into it or you see soft spots after walking over it, you need additional passes or replacement of wet sections with compacted fill.
What slope should I use on a patio if I’m working on a small space?
Stick to the same target rate, about 1/8 to 1/4 inch of drop per foot away from the house. On a smaller patio, that still matters, just at a shorter total distance, so calculate the total drop across the width and avoid “almost flat” layouts.
How do I handle a patio that borders a fence or a raised planting bed?
Plan clearance so edging does not get crushed and water can still escape. Leave room at the boundary for proper edge restraint depth and ensure the patio slope does not drive runoff directly into plant beds, which can cause persistent dampness and freeze-thaw stress.
Is it normal for polymeric joint sand to haze after application, and how can I avoid it?
Haze happens when sand is applied to damp pavers. Keep the surface completely dry before sweeping it in, and apply according to the product instructions. If haze appears, resist repeated wetting and washing, because it can worsen the stain instead of clearing it.
How often should I re-sand paver joints?
Check joints after the first few seasons, and more frequently if there is heavy rain or freeze-thaw. If joints look washed out or you see gaps, top up with the correct joint sand. Avoid overfilling and do not compact pavers down while topping up.
What’s the fastest way to fix a paver that has settled or tilted?
Lift the affected paver, remove or add bedding sand to reach level, and confirm the base underneath is firm. If the base is soft or drainage is blocked at the low edge, correct that first. Re-lay the paver and refill joints as needed.
When should I add a drain channel or linear drain along a patio?
Add one when you have a clear low edge where runoff will collect, or when the site drains poorly and creates visible pooling. On sloped sites, a drain at the downhill side helps prevent water tracking and reduces the risk of undermining the base.
How do I choose between pavers, poured concrete, and gravel for freeze-thaw areas?
In freeze-thaw climates, pavers can shift if the base is not compacted and draining well, but they are also easier to repair piece by piece. Poured concrete will crack eventually, even with good prep, and repairs are harder. Gravel drains well but can be less stable for chairs and foot traffic, so consider mixed solutions like larger stepping areas with gravel infill.