You can start a patio garden today by doing four things: figuring out how much sun your patio actually gets, picking a growing method that fits your space (containers, a raised bed, or in-ground planting), choosing beginner-friendly plants that match those conditions, and setting up the right soil so plants don't drown or starve. That's really it. Everything else, the layout, the watering schedule, the feeding plan, builds on those four decisions. If you need more detailed inspiration, these steps for patio ideas can help you plan the layout, plants, and care that fit your space.
How to Start a Patio Garden: Step-by-Step DIY Guide

Nolan Carver
12 Jun 2026

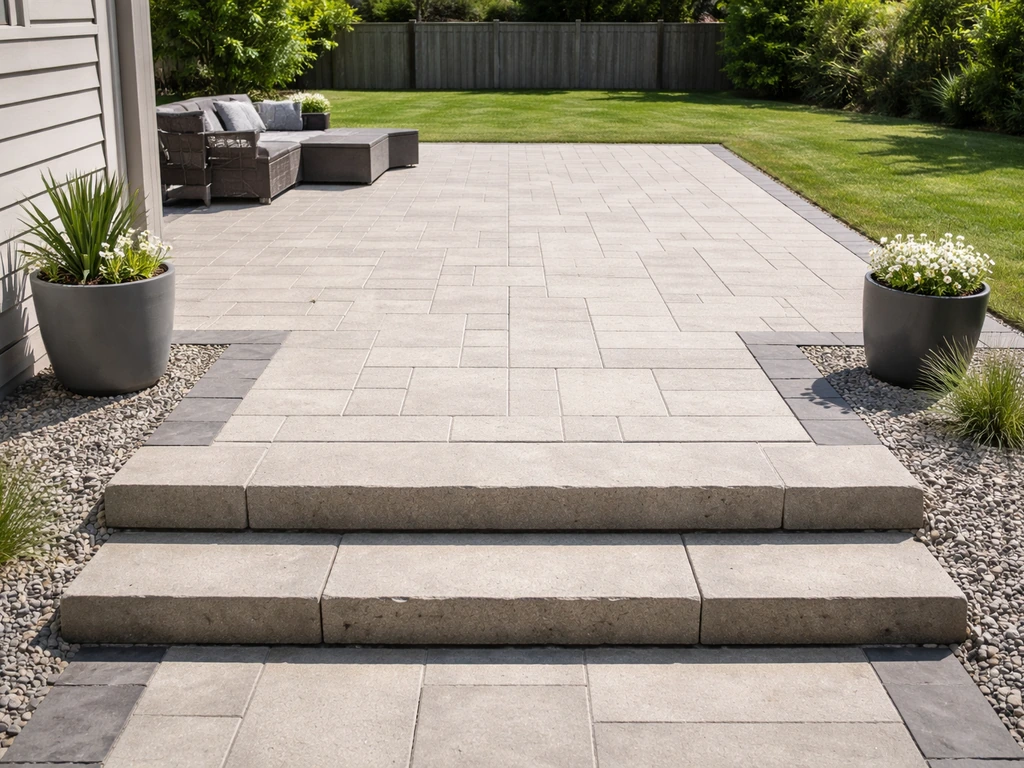
Step 1: Do a Quick Patio Assessment First
Before you buy a single pot or seed packet, spend one day observing your patio. This sounds boring but it will save you a lot of dead plants. What you're looking for is light, space, drainage, and microclimates.
Track Your Sunlight Hour by Hour
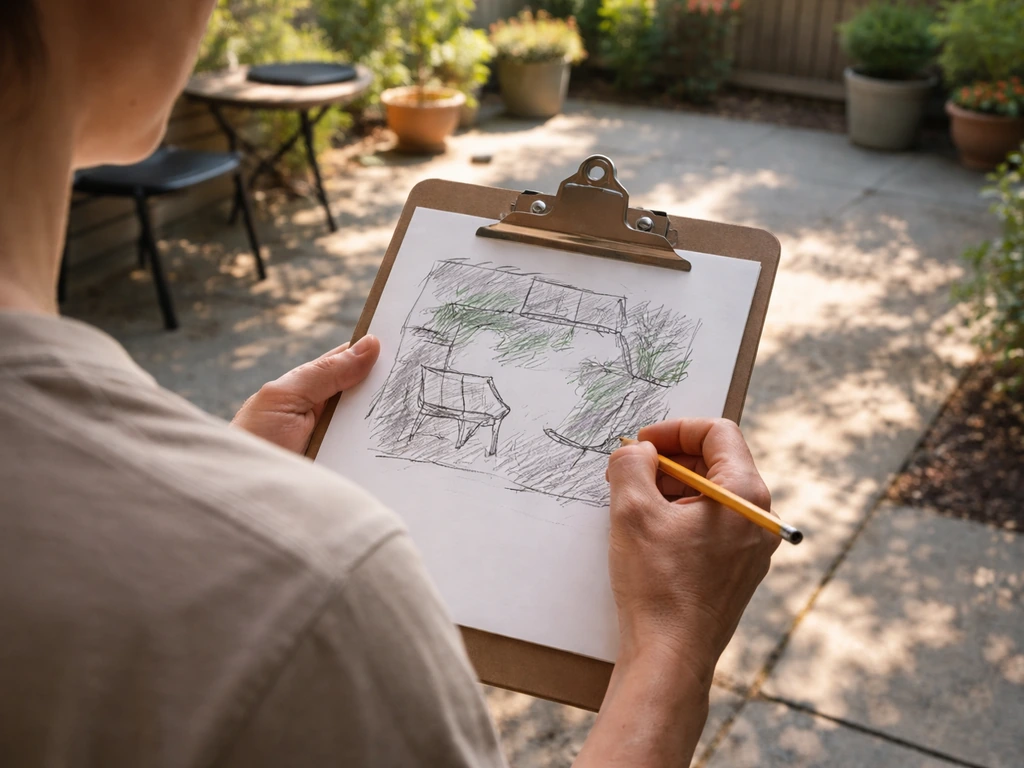
Grab a piece of paper and sketch a rough outline of your patio, then go out every hour from early morning to late afternoon and mark each area as full sun, partial shade, or shade. Do this for one full day. It sounds tedious, but patio light conditions change dramatically as the sun moves and as roof overhangs, fences, or nearby walls cast shifting shadows. Most people think they have more sun than they do. Once you've done the hourly log, you'll know exactly which corner gets six hours of direct sun and which spot is in shade by noon.
Here's a useful benchmark from NC State Extension: leafy crops like lettuce and spinach only need 3 to 4 hours of direct sun per day. Flowering crops need at least 5 hours, and fruiting crops like tomatoes need considerably more. So even a shady patio can grow something useful.
Check Your Drainage and Patio Surface
This is where your patio's construction matters more than most gardening guides admit. A well-built patio should slope away from your house at roughly 12 to 17 mm per meter (about 1:60 to 1:80 fall) to prevent water from pooling. If your patio sits flat or pitches inward, containers placed directly on the surface will sit in standing water after rain, which is bad for both the plants and the patio surface over time. Walk your patio after a heavy rain and note where puddles form. Those spots are where you don't want heavy containers or raised beds without additional drainage planning. If you notice pooling near a downspout, try redirecting roof runoff before you start placing garden beds.
Measure Your Usable Space
Measure the actual open floor area you have to work with, and note the weight-bearing limitations if you're on a deck or elevated surface. Large raised beds and wet soil are surprisingly heavy. On a ground-level concrete or paver patio you generally don't need to worry, but on a wood deck, check your joists before loading up with multiple large containers.
Step 2: Choose Your Growing Method
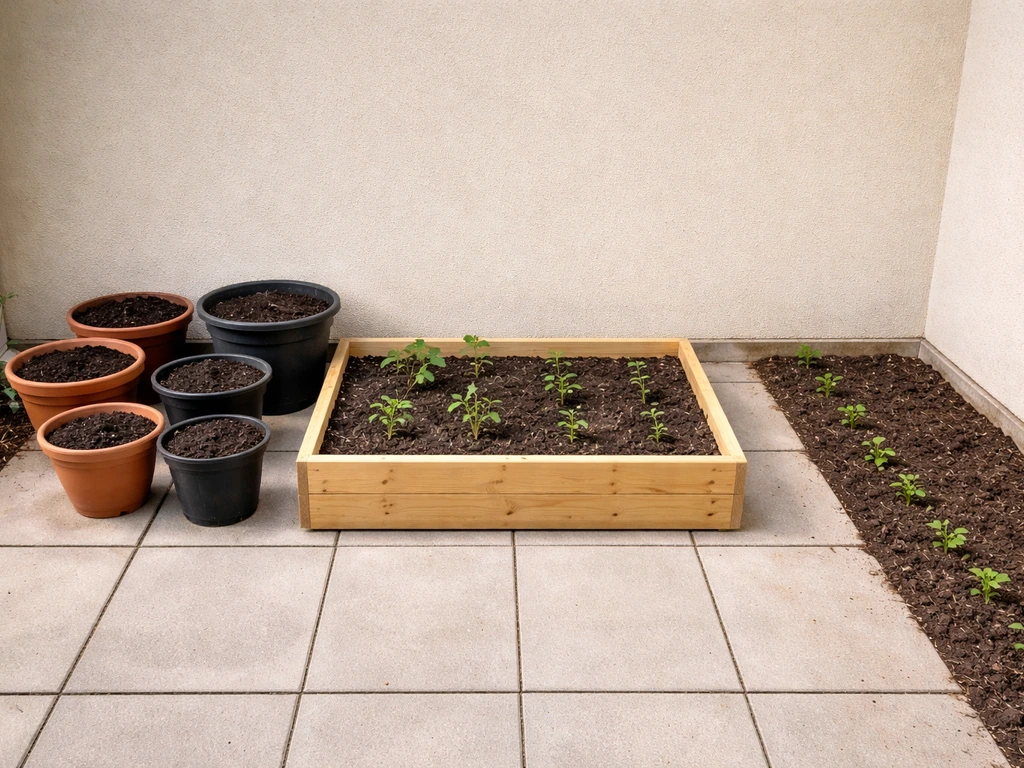
On a patio, you have three real options: containers, raised beds, or in-ground planting at the patio's edge. Each has tradeoffs. When the ground isn't an option at all (poor soil, a concrete slab, or rental restrictions), containers and raised beds let you create usable garden space from scratch.
| Method | Best For | Drainage Control | Soil Control | Cost to Start | Effort |
|---|---|---|---|---|---|
| Containers | Beginners, small spaces, renters, decks | High (you control it) | High | Low to medium | Low |
| Raised Beds | More growing volume, better than poor soil, longer season | Very high | Very high | Medium to high | Medium |
| In-Ground at Edge | Large patios with soil borders, established homeowners | Depends on native soil | Low (amend existing soil) | Low | Low to medium |
For most people starting out on a patio, containers are the practical first choice. They're flexible, affordable, and let you move things around if the light assessment changes. Raised beds make sense once you know you like patio gardening and want to grow more volume, like a full vegetable plot. In-ground planting at the patio edge works if you already have decent soil there and want low-maintenance perennials or herbs. For a deeper look at designing those planted beds as part of your patio itself, there's more on how to make a patio garden and how to patio your garden in related guides on this site.
A Note on Raised Bed Drainage
If you go the raised bed route, drainage matters a lot. If you're lining the sides of a raised bed to protect your patio surface, make sure the liner doesn't run across the bottom, or cut drainage holes in the base. Blocking bottom drainage turns your raised bed into a giant bathtub. The goal is to let excess water exit freely while keeping the soil contained.
Step 3: Pick Plants That Actually Match Your Conditions
The single biggest mistake new patio gardeners make is buying plants they like rather than plants that fit their light. Here's a practical starting list based on common patio conditions.
For Partial Shade (3 to 5 Hours of Sun)
- Lettuce: one of the easiest edibles you can grow, tolerates 3 to 4 hours of sun, bolts in too much heat
- Spinach and kale: cool-season workhorses that do well in part shade
- Radishes: fast-maturing (ready in about 25 days), very forgiving
- Beets: tolerate partial shade, dual-purpose (greens and roots)
- Chives: one of the most adaptable herbs for patios, performs well even in partial shade
- Mint: grows aggressively, keep it in its own container
For Full Sun (6+ Hours)
- Tomatoes: compact or patio varieties like Tumbling Tom or Tiny Tim work well in containers
- Peppers: slower to produce but very productive once established
- Cucumbers: need consistent water but thrive in containers with support
- Basil: loves heat and full sun, pairs naturally with tomatoes
- Eggplant: heat-loving and container-friendly in larger pots
If you want to grow vegetables specifically, there's a full guide to how to grow a patio vegetable garden on this site that goes deeper into crop selection, timing, and succession planting. If you want step-by-step help, this guide on how to grow a patio vegetable garden walks through crop selection and planting timing how to patio your garden.
Step 4: Set Up Containers and Soil the Right Way
This step determines whether your plants thrive or slowly decline. The soil you use in containers is not the same as garden soil, and the drainage setup directly affects whether roots get the oxygen they need.
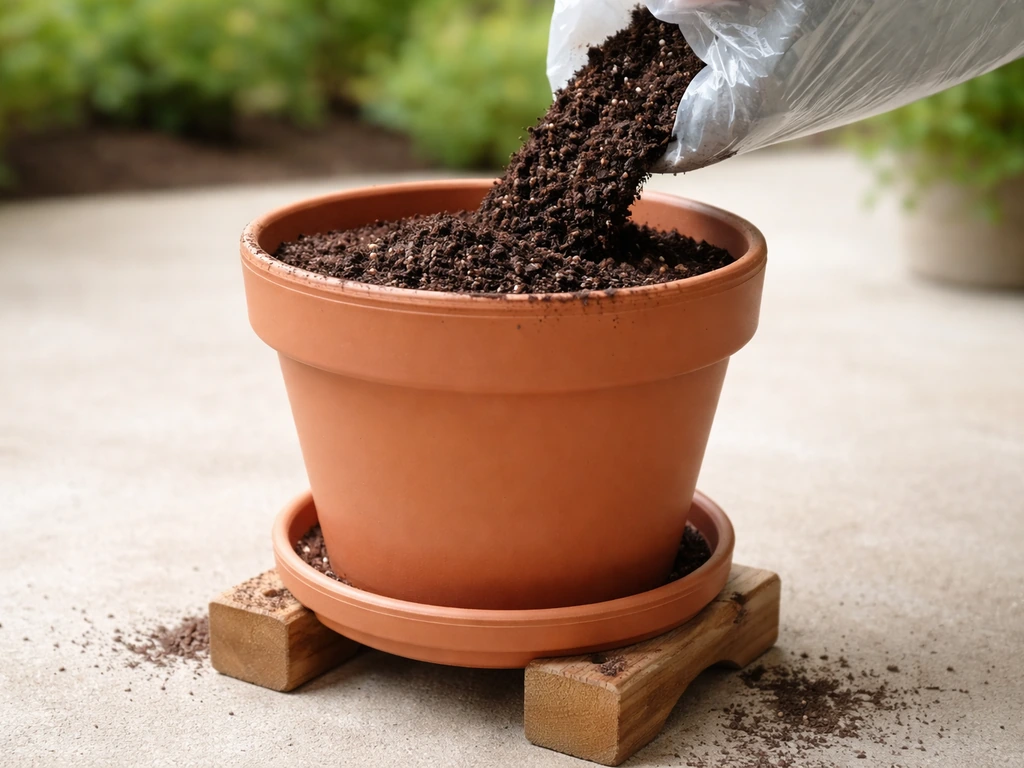
Choose the Right Potting Mix
Never use native yard soil or basic topsoil in containers. In the ground, roots spread outward to find water and nutrients. In a pot, they can't do that, so the growing medium has to compensate. Garden soil compacts in containers, reduces the air pockets roots need for oxygen, and can waterlog easily. Instead, use an all-purpose potting mix that contains perlite or vermiculite. These lightweight additions keep the mix from compacting and improve drainage. Avoid very light, peat-heavy soilless mixes for larger vegetables like tomatoes; they can be too insubstantial to anchor roots properly.
Get the Container Depth Right
Shallow-rooted crops like lettuce and radishes need at least 6 to 8 inches of potting mix depth. Carrots need 10 to 12 inches. Tomatoes and peppers do best in containers that are at least 12 to 16 inches deep with a 5-gallon or larger volume. Undersizing the container is a common reason plants stall or wilt repeatedly even when watered.
Drainage Holes: Size and Number
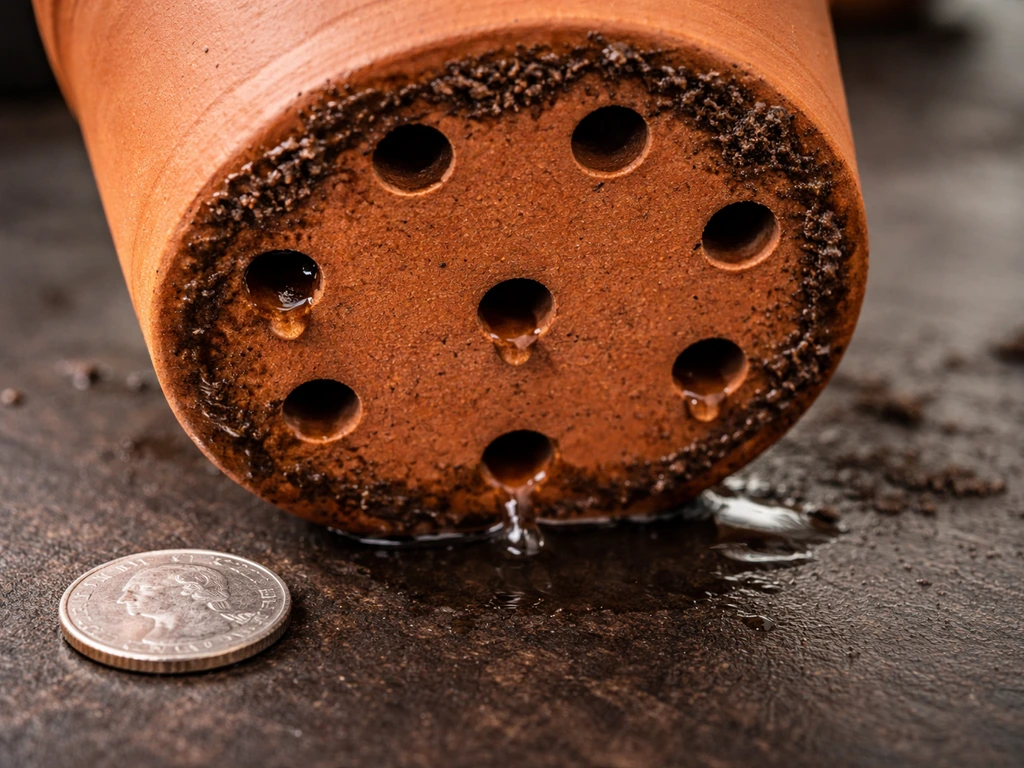
Every container needs drainage holes, full stop. Aim for holes in the range of 1/4 to 1/2 inch in diameter. Scale the number to pot size: small pots need 1 to 2 holes, medium pots 2 to 4, and large containers 4 to 6. If you're worried about soil washing out of the holes, place a small piece of mesh or landscape fabric over each hole before filling. Do not put a layer of gravel or rocks at the bottom of your container. This is a common myth. Adding rocks actually raises the water table inside the pot, which can make drainage worse rather than better. If you're using a decorative outer pot as a sleeve, leave a visible gap between the inner grow pot and the outer container to allow airflow and faster drying.
Soil Amendments Worth Adding
- Perlite: add extra if your potting mix feels dense; improves drainage and aeration
- Compost: work in a few handfuls to boost nutrients at planting time
- Slow-release granular fertilizer: mix into the potting soil at planting to give plants a head start for the first 2 to 3 months
- Water-retaining granules: optional, useful for hot patios or if you travel, but don't overdo it
Step 5: Plan Your Layout for Easy Care
A good patio garden layout isn't just about looking nice. It's about making sure you can actually reach every plant to water, harvest, and inspect for problems without crawling under other pots or twisting awkwardly. Function first, aesthetics second.
Accessibility and Spacing
Leave at least 18 inches of walking clearance between container groupings so you can move around them easily. If you're building a raised bed and want to work it from a seated position, aim for a bed height between 28 and 34 inches. Place the largest, tallest containers (like tomato pots or trellised cucumbers) at the back or north side of the arrangement so they don't shade shorter plants. Group containers with similar watering needs together so one watering run covers them all.
Match Placement to Your Light Map
Go back to the sun map you made in Step 1. Place sun-hungry fruiting plants in the spots that got 6 or more hours of direct sun. Put your shade-tolerant herbs and leafy greens in the areas that only see 3 to 5 hours. This one decision alone will dramatically increase your success rate compared to placing plants randomly.
Protect Your Patio Surface
Place pot feet, small risers, or plant caddies under containers. These serve two purposes: they allow drainage water to exit rather than pooling under the pot, and they protect your patio surface from staining, algae growth, and moisture damage over time. On wood decks this is especially important. Stagnant water under a pot on a wood deck will rot the surface boards faster than almost anything else.
Step 6: Set Up a Simple Watering and Feeding Plan
Container plants dry out much faster than in-ground plants because their root systems can't reach beyond the pot. In hot weather, you may need to water daily. The key is to check before you water, not just water on a schedule.
The Finger Test: Your Best Watering Tool
Push your finger about 2 inches deep into the potting mix near the base of the plant stem. If it feels dry at that depth, water thoroughly until it drains freely from the bottom holes. If it still feels moist, skip it and check again the next day. Don't let containers dry out completely between waterings, but also never let them sit in standing water. Both extremes stress roots.
Feeding Schedule That Actually Works
If you mixed slow-release fertilizer into the potting mix at planting, it will handle the first 2 to 3 months on its own. If you didn't, start supplementing with liquid fertilizer 2 to 6 weeks after planting, once plants are actively growing. After 3 to 4 weeks, a dilute liquid fertilizer (something like a balanced 20-20-20 type) applied weekly at low concentration works well for most herbs and vegetables. For long-season fruiting crops like tomatoes, peppers, cucumbers, and eggplant, aim for a light liquid feed every two weeks once they start flowering to support continuous harvest. Liquid fertilizers need more frequent application than slow-release products, so pick one approach and stick with it.
Step 7: First-Month Care and Quick Troubleshooting
The first four weeks are when most problems show up, and most of them are fixable. Here's what to watch for and what to do about it.
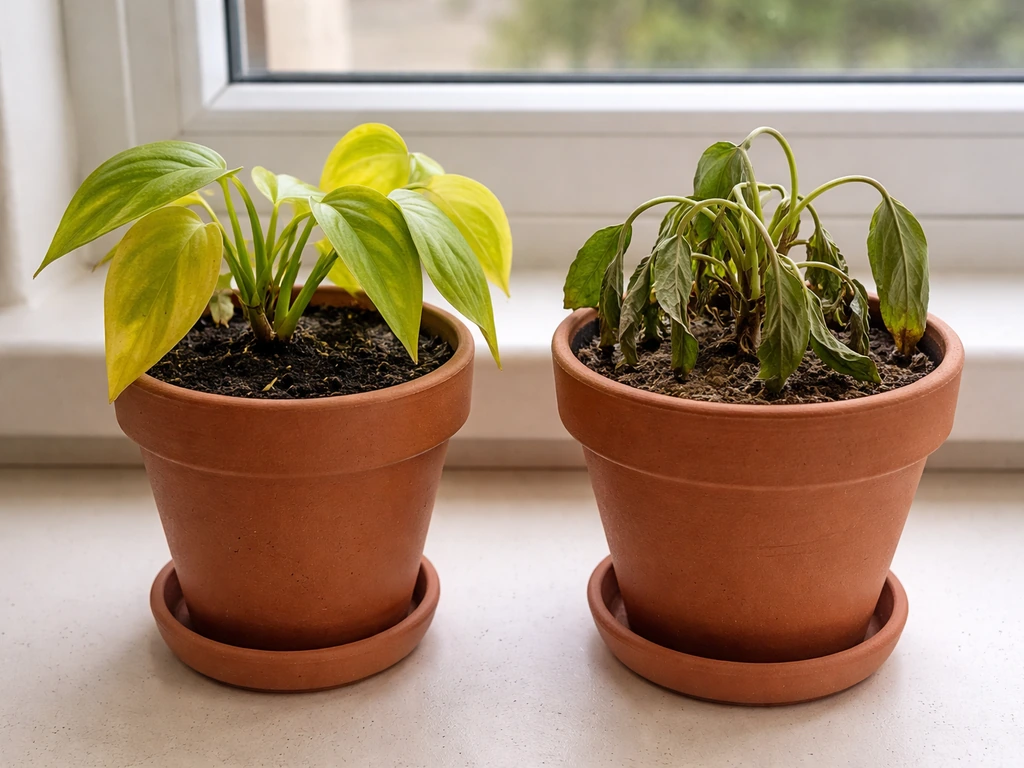
Overwatering vs Underwatering
Overwatering symptoms include yellowing leaves, wilting even when soil feels wet, leaf drop, and general decline. Overwatered soil fills the pore spaces that roots need for oxygen, and sustained overwatering leads to root rot. Underwatering looks similar at first (wilting) but the plant typically perks back up quickly after you water it. If a plant wilts frequently and bounces back each time you water, it may also be in too small a pot and the roots simply can't hold enough moisture. The fix is moving up to a larger container.
Leggy, Weak Growth
Long, spindly stems with wide gaps between leaves almost always means the plant isn't getting enough light. This is called etiolation. If your seedlings are stretching toward the light source and leaning noticeably, move the container to a brighter spot. If you've already placed it in the sunniest spot available and it's still leggy, you may need to reconsider your plant selection for that location and switch to a more shade-tolerant option.
Pest Identification and Treatment
The most common container pests are aphids, spider mites, and whiteflies. Check the undersides of leaves and the leaf axils (where the leaf meets the stem) every few days during the first month. Early detection is everything. A small aphid colony can be knocked off with a strong spray of water. For more persistent problems, insecticidal soap spray, neem oil, or pyrethrin-based products are all practical options that work well for patio container situations. Bacillus thuringiensis (BT) is effective for caterpillar pests. Always treat in the evening to avoid burning foliage and to protect any beneficial insects.
Yellowing Leaves and Nutrient Issues
If you see uniform yellowing across the whole leaf, especially on older leaves, the plant may be short on nitrogen or phosphorus. Yellowing between the leaf veins (while veins stay green) points more toward a magnesium deficiency. In both cases, a balanced liquid fertilizer application is a good first response. If the yellowing persists after feeding, check your watering habits since both overwatering and underwatering interfere with nutrient uptake.
Container Stability
Tall plants in smaller pots can tip over in wind, especially once foliage fills out. Use wider, heavier base containers for anything over 18 inches tall, or cluster containers together so they stabilize each other. On a sloped or uneven patio surface, use pot feet with rubber bases or small wedges to level the container so water distributes evenly through the soil rather than draining all to one side.
You Have Everything You Need to Start
Starting a patio garden doesn't require a big budget or a perfectly designed space. Spend an hour assessing your light and drainage, pick up a bag of quality potting mix with perlite, grab two or three containers sized right for your plant choices, and start with beginner-friendly plants that match your actual sun hours. Do the finger test before every watering, feed consistently after the first month, and check leaves weekly for pests. Most patio garden problems are either water-related or light-related, and now you know how to diagnose both. Build from there and let your first season teach you the rest.
FAQ
What if my patio light changes throughout the day because of moving shade from trees or an awning?
Use your hourly sun log, then plan for “peak” and “average” sun. If a corner only hits high direct sun for a short window, choose plants that tolerate partial shade (herbs, leafy greens) there, and reserve the longest direct-sun zone for fruiting crops. If you cannot predict shade, prioritize containers you can move a few feet rather than committing to one fixed layout.
Can I use decorative planters that look good but have no drainage holes?
Avoid true “no drain” planters for vegetables and most herbs. If you love the look, place a drained grow pot inside the decorative shell, and keep a visible airflow gap so excess water can escape from the inner pot. Without bottom holes, roots suffocate quickly and water can pool under the liner.
How do I know whether my container has enough depth for the specific plant I bought?
Match pot depth to root type. Shallow-root crops like lettuce and radishes generally need deeper than you might think, and fruiting plants like tomatoes and peppers need substantially deeper containers. If the tag gives only plant spacing, check a root-depth recommendation, or compare to the “container at least 5-gallon and 12 to 16 inches deep” rule of thumb for tomatoes and peppers.
Is it okay to put potting mix on top of old soil in a container to save money?
For containers, remove and replace most of the mix at least each season, especially if drainage seems slower or leaves have been struggling. Reusing old mix often means compacted structure, depleted nutrients, and buildup of salts. If you must reuse, blend with fresh potting mix and top up depth, then start with a lighter feeding schedule and watch leaves closely.
What watering schedule should I follow if weather is unpredictable?
Don’t rely on calendar timing. Use the finger test near the stem (about 2 inches down) before watering. Hot, windy days often require more frequent watering, even daily, while cool, cloudy periods can stretch it out for several days. The target is moist but aerated soil, never constantly wet and never fully dry.
Why do plants in containers sometimes wilt in the heat even when the potting mix looks slightly moist?
That can happen when the surface feels damp but the root zone is drying unevenly, or when wind and sun evaporate water faster than roots can absorb. Check deeper than the top layer with the finger test, and water thoroughly until it drains from the bottom. If it still wilts, confirm the pot is not sitting in a saucer or outer sleeve that traps water or overheats the roots.
How can I prevent nutrient problems in containers without over-fertilizing?
If you add slow-release fertilizer, let it carry the first couple of months, then switch to a consistent liquid feeding plan. For liquid fertilizer, use dilute concentrations and stick to the frequency your plant type needs. If yellowing appears, first confirm whether the issue is watering or light, then feed lightly rather than increasing dose immediately.
What’s the safest way to choose plants if my patio is only 3 to 4 hours of direct sun?
Prioritize leafy crops and many herbs over fruiting vegetables. Lettuce, spinach, and other greens can do well with limited direct sun, while tomatoes and peppers usually struggle without longer direct exposure. You can still grow something productive by placing the right plants in the brightest corner you logged, even if that means shifting your expectations for what “full garden” looks like.
Do I really need pot feet or risers, or is it optional?
It’s strongly recommended, especially on decks and uneven patios. Risers keep water from soaking the surface, reduce staining and algae growth, and help containers drain more effectively. If you skip them, you may get rot-prone boards underneath, slower drying, and a higher chance of root issues.
How should I handle pests on patios, especially with kids or pets around?
Start with frequent inspection on leaf undersides and leaf axils, early detection matters most. Use knockdown methods like a strong water spray for small aphids before reaching for treatments. When you do treat, apply in the evening, target the underside of leaves, and follow label directions carefully, especially for neem, insecticidal soap, BT, and pyrethrin products.
My raised bed liner covers the bottom, should I fix that?
Yes, if the liner blocks bottom drainage, your bed can turn into a water-trapping basin. If the liner runs across the base, add drainage openings or adjust so excess water can exit freely. If you already see pooling after rain, correct it early rather than waiting, because root rot risk increases quickly in continuously saturated soil.
How can I stop tall container plants from tipping without making the whole patio look messy?
Use wider, heavier base containers for anything over about 18 inches tall, and cluster pots so they partially support each other. Level the container on sloped or uneven surfaces using pot feet with rubber bases or small wedges. For extra stability, consider a trellis support anchored to the planter itself rather than relying on the plant to stay upright.