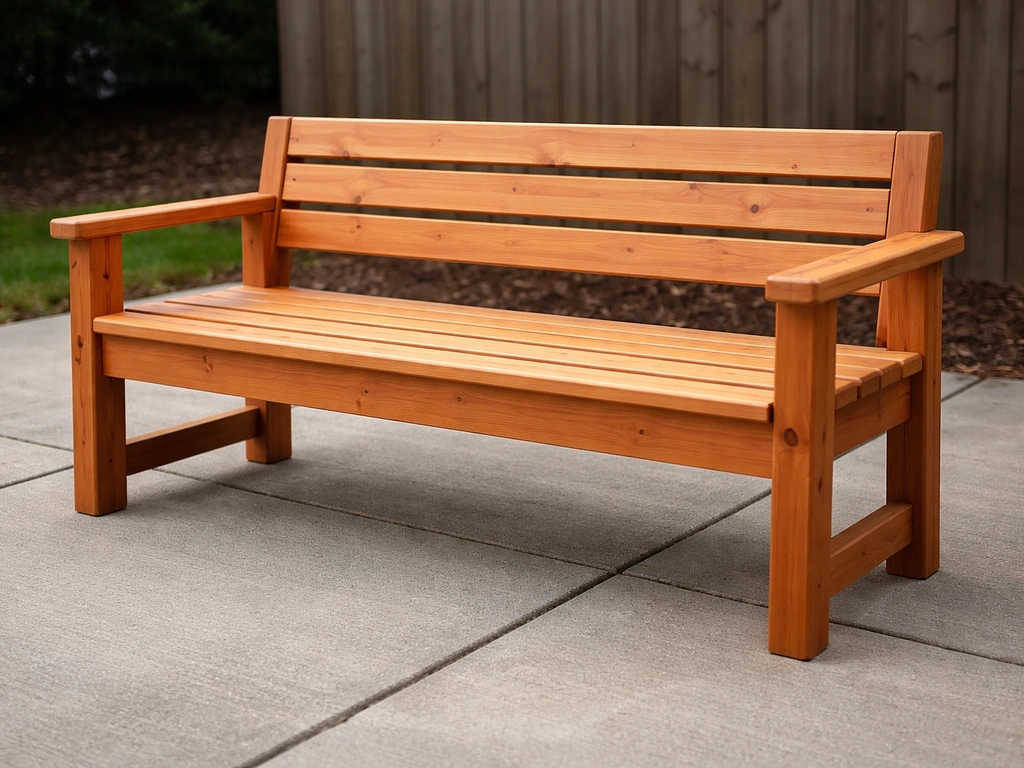
You can build a solid, good-looking patio bench in a weekend using cedar or pressure-treated lumber, a handful of basic tools, and about $80–$150 in materials. The standard freestanding slat bench, side frames connected by rails, with a slatted seat and an optional slatted back, is the most beginner-friendly design, and it's what this guide walks you through. By the end you'll have a bench that sits at a comfortable 17–19 inches high, drains rain properly, resists rot, and doesn't wobble on your patio surface.
How to Build a Patio Bench: Step by Step DIY Guide

Nolan Carver
17 May 2026
Pick Your Bench Style Before You Buy Anything
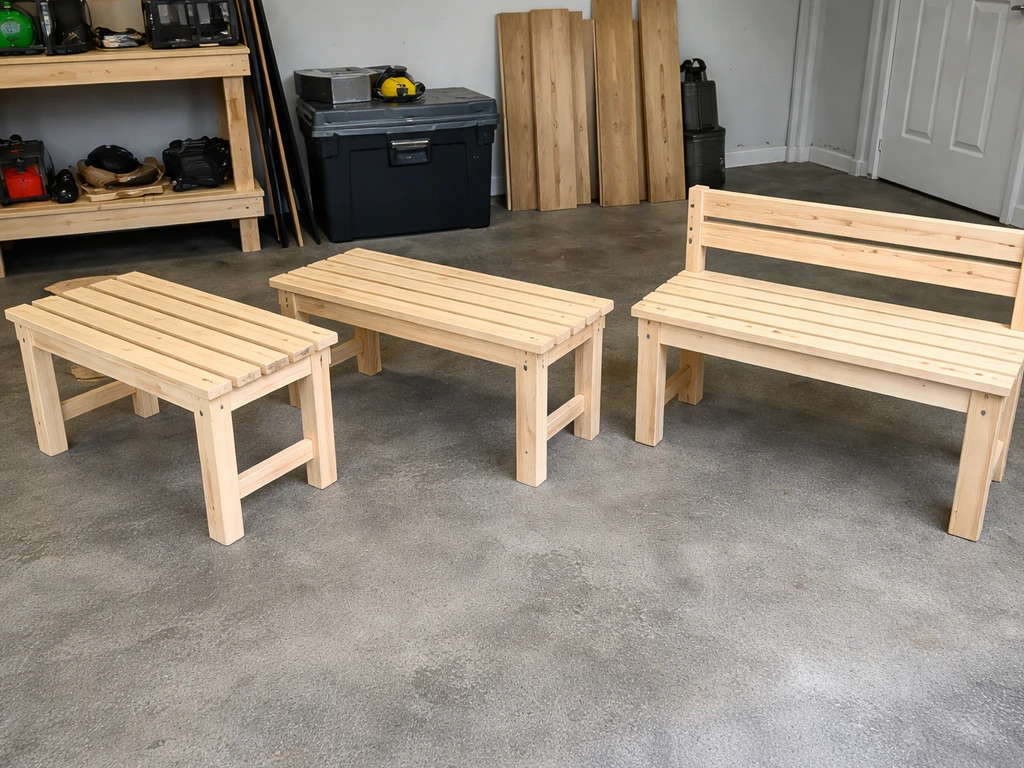
The three styles you'll realistically build as a DIYer are: a freestanding slat bench (most popular, very doable), a backless bench (simpler and cheaper), or a built-in bench that anchors to a wall, post, or retaining structure. If you're building around a patio wall or integrating seating into a landscape edge, that's a different animal, closer to what you'd tackle when building a patio seating wall or a patio wall bench, both of which involve masonry or structural posts. If your patio needs support against soil, the process shifts toward building a small retaining wall, including setting proper footing and using the right masonry materials build a patio seating wall or a patio wall bench. This guide focuses on the freestanding version, which suits most patios and can be moved or repositioned as needed.
Before you cut a single board, nail down these three things: the bench length, whether you want a backrest, and where it will sit on your patio. A standard freestanding bench runs 4 to 6 feet long. Adding a backrest increases comfort significantly but adds about 30–45 minutes of build time and requires a slightly larger footprint. For seat height, aim for 17–19 inches from the ground to the top of the seat slats, that's the range most adults find comfortable for sitting and standing up. Seat depth (front to back) should land between 16 and 20 inches; 18 inches is a good middle ground.
For placement, think about traffic flow on your patio, sun exposure, and whether the bench will back up against a wall or sit in open space. A bench against a wall or railing works well backless. One floating in open space usually benefits from a back. Sketch a quick top-down layout of your patio and mark where the bench goes, this takes five minutes and prevents you from building something that blocks a door or crowds a table.
Materials and Tools You'll Need
Wood choices
Cedar is the go-to recommendation for a DIY patio bench. It's naturally resistant to moisture, rot, and insects, it's lightweight, and it takes stain and oil finishes beautifully. Redwood is similar but harder to find and pricier. Pressure-treated (PT) lumber is the budget option, typically $20–$40 cheaper for a bench-sized project, but it's heavier, it can warp as it dries, and it requires corrosion-resistant fasteners (more on that below). Fine Homebuilding recommends hot-dipped galvanized or stainless steel fasteners as the typical, most common choice for pressure-treated lumber corrosion-resistant fasteners. Avoid standard pine or untreated whitewood outdoors; it'll rot within a couple of seasons. For the example build in this guide, use cedar.
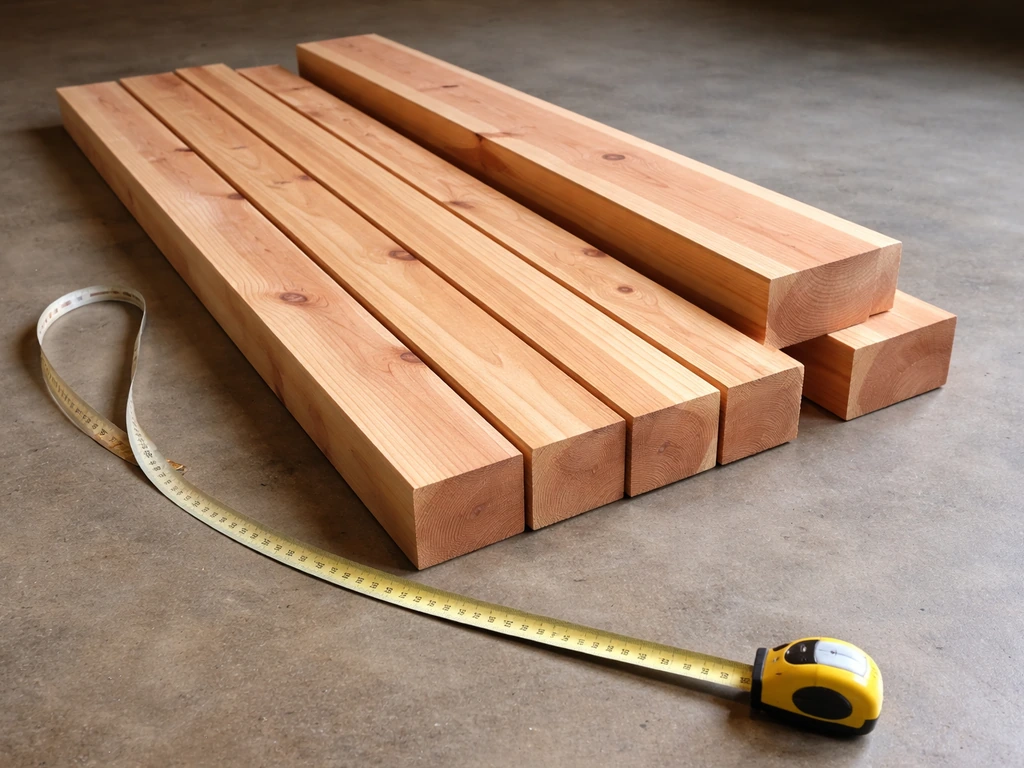
Lumber list for a 5-foot slat bench with back
- 4x4 cedar posts, 18 inches long: 4 pieces (leg pairs for each end frame)
- 2x4 cedar, 8-foot length: 4 pieces (stretchers/rails connecting the two end frames, plus back support)
- 1x4 cedar, 8-foot length: 6–7 pieces (seat slats and back slats)
- 2x6 cedar, 8-foot length: 1 piece (optional—use as the front seat rail for extra rigidity on longer benches)
Hardware and fasteners
This is where a lot of first-time builders go wrong. Outdoor fasteners must be corrosion-resistant, full stop. For cedar, use hot-dipped galvanized (HDG) or stainless steel screws and bolts. For pressure-treated lumber, the stakes are higher: the preservative chemicals in PT wood are corrosive to standard fasteners.
Use only hot-dipped galvanized (ASTM A153, Class D or better), stainless steel, silicon bronze, or copper fasteners. One important rule if you mix hardware types: don't let hot-dipped galvanized and stainless steel components touch each other directly, as they can react. Pick one and stick with it throughout the build. Stainless steel deck screws (316-grade if you can find them) are the premium choice and worth it for a bench that should last 15-plus years.
- 3-inch exterior screws (HDG or stainless): 1 box of 100
- 1-5/8-inch exterior screws (HDG or stainless): 1 box of 50 (for slats)
- 3/8-inch carriage bolts with washers and nuts, 3-inch length: 8 (for leg-to-rail connections)
- Exterior wood glue (optional, adds rigidity to frame joints)
- Joist hanger or metal angle brackets: 4 (optional, for rail-to-frame connections)
Tools
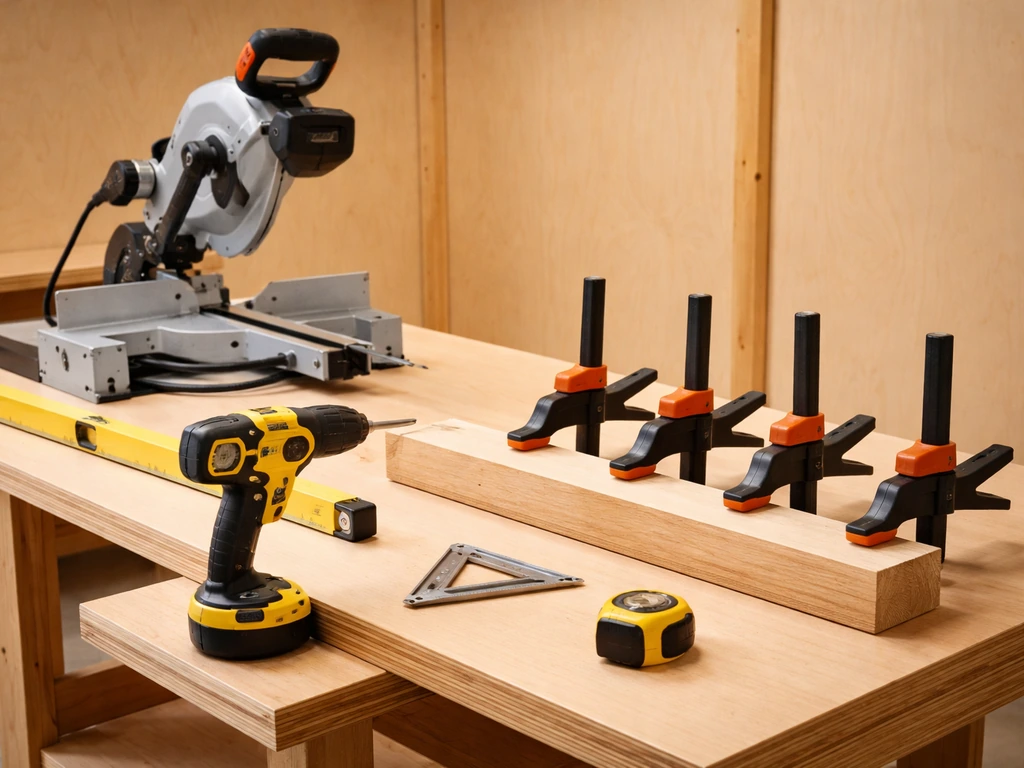
- Miter saw or circular saw
- Drill/driver with bits
- Clamps (at least 4 medium bar clamps)
- Speed square and tape measure
- 4-foot level
- Sander or sanding block (80-grit and 120-grit)
- Router with roundover bit (optional but recommended for slat edges)
- Safety glasses and hearing protection
Building the Bench Frame and Base
Work on a flat surface, a garage floor or driveway is perfect. Build the two end frames first, then connect them with rails. This order makes everything easier to square up.
- Cut your legs to length. Four legs at 16.5 inches gives you a finished seat height of about 18 inches once slats are added on top. Cut all four at once so they match exactly.
- Build the end frames. For each end, take two legs and connect them with a horizontal 2x4 crosspiece at the top and another crosspiece near the bottom (about 4 inches up from the floor). The bottom crosspiece adds rigidity and keeps the legs from racking. Clamp everything before drilling. Pre-drill to avoid splitting, then drive two 3-inch screws at each joint. Use a speed square to confirm each frame is 90 degrees before the screws go fully home.
- Add carriage bolts to the key joints. At the top connection of each end frame (where legs meet the top rail), drill through with a 3/8-inch bit and install a carriage bolt with washer and nut. This single step dramatically improves long-term rigidity.
- Connect the two end frames with side rails. Cut two 2x4 rails to your bench length (say, 60 inches for a 5-foot bench). Position one rail along the front, one along the back, flush with the tops of the end frames. Clamp them in place, check that the overall frame is square by measuring corner to corner diagonally (both measurements should match), then screw through the end frames into the rail ends with 3-inch screws—two screws per connection. Add metal angle brackets inside the corners for extra strength if you want belt-and-suspenders security.
- Add a center support if your bench is over 4 feet long. A third leg frame or a center rail underneath prevents seat sag. Avoid unsupported slat spans greater than about 5 feet—beyond that, even thick cedar slats will feel bouncy over time.
- Check that all four legs sit level. Flip the frame upside down on your flat work surface and look for any rocking. Trim any high leg slightly with a hand saw or belt sander until it sits flat.
Installing Seat Slats, Adding a Back, and Fastening Everything
Seat slats
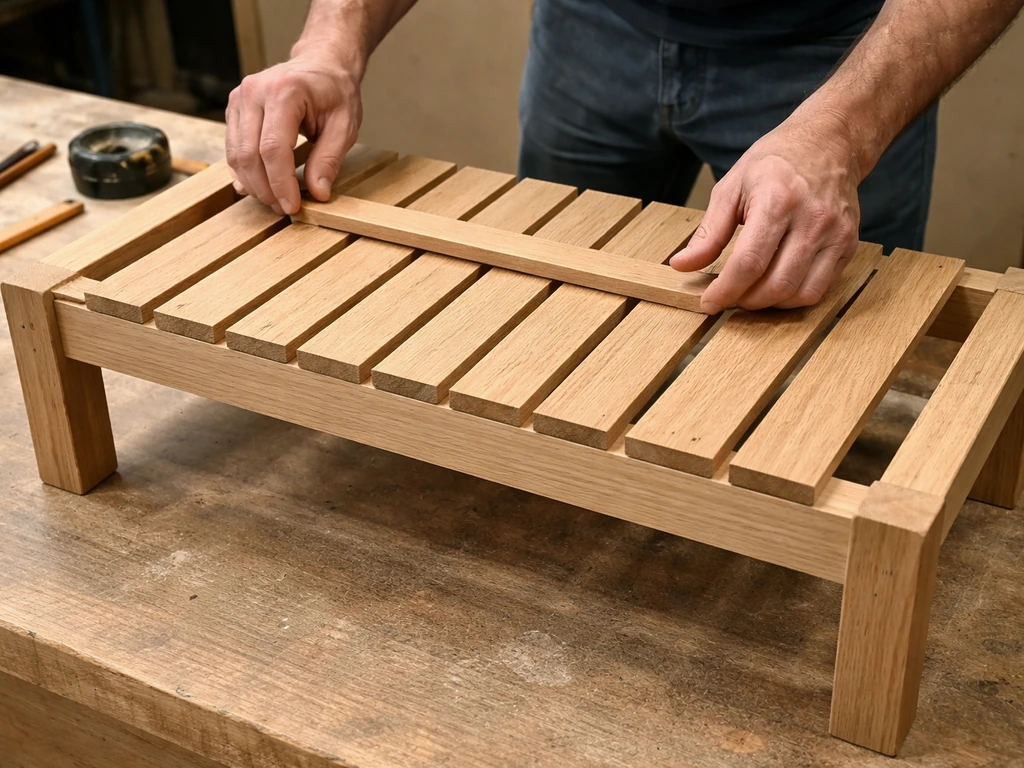
Before installing any slats, run them through a router with a 1/4-inch roundover bit on all four long edges, then sand with 80-grit and finish with 120-grit. This step is easy to skip and easy to regret, sharp slat edges are uncomfortable and hold moisture. If you don't have a router, just knock the edges down with 80-grit sandpaper by hand.
Lay the seat slats across the top of the frame with the bench right-side up. Use consistent spacing of 1/4 inch between slats, this allows water to drain and lets the wood move seasonally without buckling. An easy trick: cut a few short pieces of 1/4-inch scrap wood (or use 1/8-inch diameter wooden dowels as Lowe's suggests, depending on how tight you want the gap) and use them as spacers between slats while you fasten. Start with the front slat flush with the front of the frame, work back, and trim or adjust the last slat if needed.
Fasten each slat with two 1-5/8-inch exterior screws per rail crossing. Pre-drill to prevent splitting, especially near the ends of slats. Drive screws flush, not proud. If you countersink slightly and fill with exterior wood filler later, the surface looks cleaner and the filler protects the screw head from moisture.
Adding an optional backrest
A backrest starts with two angled back legs (or back posts) rising from the rear of each end frame. Cut these from 2x4 cedar at about 36 inches and angle the top cut at roughly 10–15 degrees so the back leans slightly (this makes it more comfortable). Bolt these back posts to the rear legs of each end frame using carriage bolts.
Then run two horizontal back rails between the posts, one near the bottom of the backrest zone and one near the top, positioned so your lowest back slat starts about 12–13 inches above the seat surface. Fasten back slats the same way as seat slats: pre-drill, consistent 1/4-inch gaps, two screws per rail. Use clamps to hold slats in position while you drive screws, it makes alignment much easier and prevents that frustrating slightly-off-parallel look.
Weatherproofing, Finishing, and Making It Last
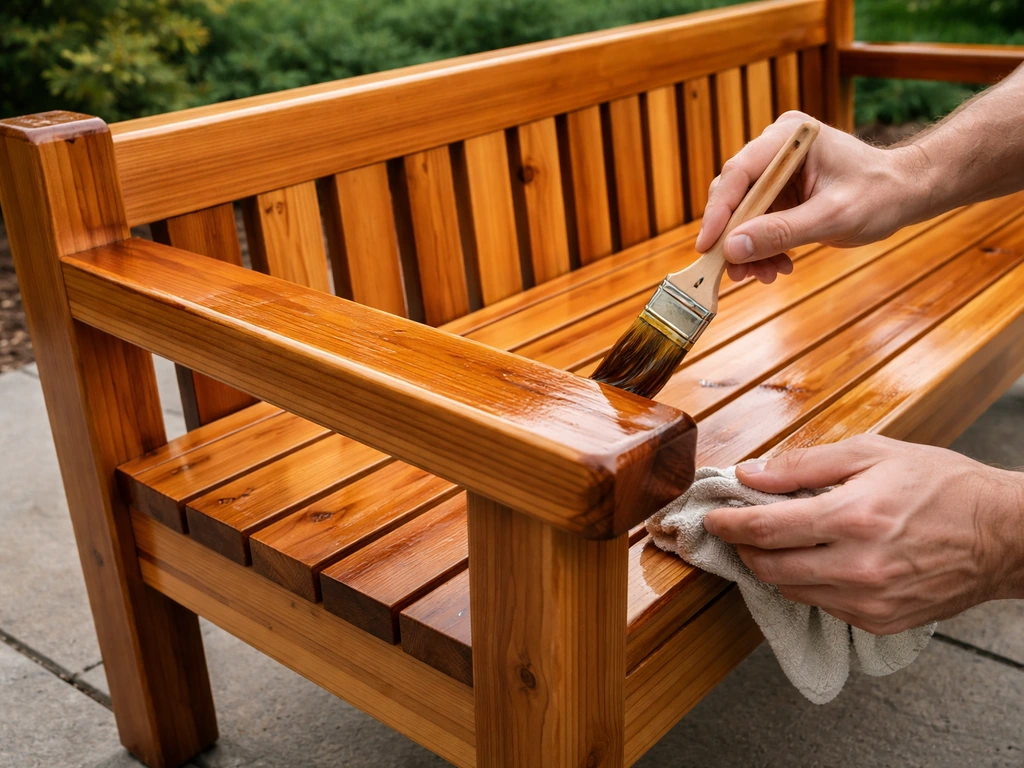
Skipping this step is the most common reason a DIY bench looks rough after two seasons. Even cedar needs protection once you've cut into it, the milled surfaces are more vulnerable than the natural exterior of the board.
Your finishing options
| Finish Type | Best For | Recoat Interval | Notes |
|---|---|---|---|
| Penetrating wood oil/sealer | Cedar, teak, hardwoods | Every 12–18 months | Soaks in, easy to reapply, natural look |
| Spar urethane (water-based) | Any exterior wood | Every 2–3 years (touch up annually) | Hard film finish, more gloss, good UV protection |
| Exterior stain + sealer combo | Cedar, PT lumber | Every 1–2 years | Adds color, hides grain variation in PT wood |
| No finish (let cedar gray naturally) | Cedar only | N/A | Low maintenance but wood can crack over time |
For most DIYers building a cedar bench, a penetrating wood oil or a semi-transparent exterior stain is the easiest path. Apply it before final assembly if possible, it's much easier to coat individual pieces than to work around assembled corners and slat gaps. Apply two coats, letting the first coat dry fully before the second. If you're using spar urethane, check the product data: most water-based spar urethanes are ready for recoat in 4–6 hours, while oil-based versions may need 1–2 hours between coats but longer before full cure. Don't coat wet or high-humidity wood, moisture trapped under the finish causes peeling and mildew.
Ongoing maintenance is simple: inspect the bench each spring, clean off any mildew with a mild wood cleaner and water, let it dry completely, and reapply oil or stain when the finish looks faded or water stops beading on the surface. For penetrating oils, that's roughly every 12–18 months. Stay on schedule and this bench will outlast the ones from big-box furniture retailers.
Hardware corrosion check
Every spring, spin a few screws and check your carriage bolt nuts. Tighten anything that's backed off. If you used quality HDG or stainless fasteners from the start, this should be a 5-minute task. If you notice rust streaks around screw heads, those screws weren't exterior-grade, replace them now before the wood stains permanently and the screws lose holding power.
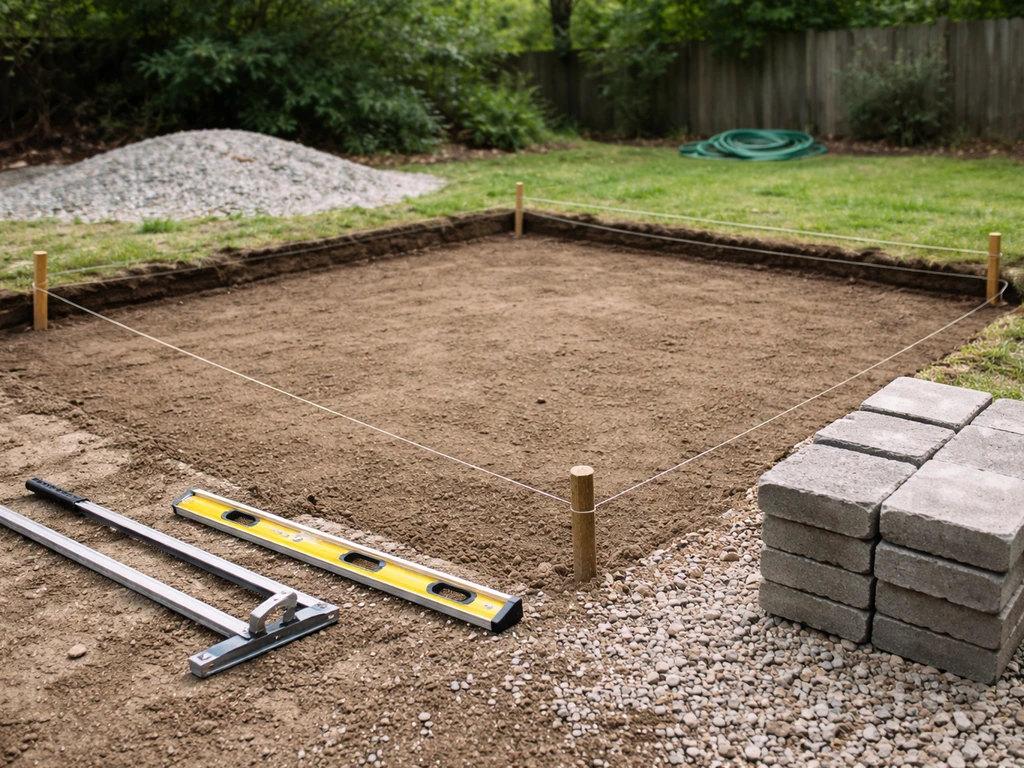
Placing the Bench on Your Patio So It Stays Level and Stable
A bench that wobbles is annoying and, on a raised patio or uneven surface, genuinely unsafe. Here's how to handle the most common patio surfaces.
On concrete or pavers
Set the bench in place and rock it. If it wobbles, identify which leg is short by watching which diagonal pair of legs lifts when you press each corner. Slide wedge-shaped shims under the low corners to bring the bench level, rubber or composite shims work well outdoors and won't rot. For a more permanent fix, you can add adhesive rubber feet to each leg, which grips the patio surface and reduces sliding without permanent anchoring.
If you want the bench fully anchored to concrete (especially in a high-traffic or public area), drill through the bottom of each leg and use concrete anchors or masonry screws. For pavers, avoid anchoring directly through individual pavers if possible, a paver that shifts slightly will crack. Instead, use low-profile rubber feet and rely on the bench's weight for stability.
On gravel or compacted base
Gravel is tricky because it shifts, especially after heavy rain. The fix is to place a concrete patio paver (a flat 12x12 or 16x16 inch paver) under each leg. Set the pavers level before placing the bench, then sit the bench on top. The pavers spread the load and prevent the legs from sinking over time. Check level after the first hard rain and adjust if a paver has settled.
Drainage around the bench
Position the bench so the legs aren't sitting in a low spot that pools water. Legs sitting in standing water, even cedar legs, will rot faster at the base. If your patio has a known drainage problem in one area, that's the wrong spot for a bench. The 1/4-inch slat gaps you built in will handle water on the seat surface just fine, but the base needs to be on dry, well-drained ground.
If you're dealing with persistent drainage issues around your patio, that's worth addressing at the patio level before adding furniture, slope and drainage are foundational problems that affect everything you place on the surface. If you want to level the space and create a more permanent boundary, you can also learn how to build a patio wall with wood as a related project.
If you want to take it further than a bench, you can also build a patio seating wall using similar outdoor lumber, corrosion-resistant hardware, and careful drainage so it stays solid over time. If you’re instead working on a retaining wall, the same focus on level, stable footings, and proper drainage applies, but the materials and layout are masonry-focused patio retaining wall.
One final stability check
Once the bench is in position, sit on it hard, rock side to side, and push on the back if you built one. Any racking movement means a frame joint needs tightening or an additional fastener. It's much easier to fix this on day one than after a season of use has worked the joint loose. A well-built bench from this plan should feel rock-solid, if it doesn't, trace the movement back to the source (usually one loose carriage bolt or a rail that didn't seat fully into its connection) and address it before finishing.
FAQ
How long should a patio bench slat gap be, and can I make it wider for looks?
Use the 1/4-inch gap as your baseline for drainage and seasonal wood movement. If you go noticeably wider, you may reduce water trapping, but you can also get a more “loose” feel and more visible movement as the boards expand and contract. If you want a different look, keep the gap close to 1/4-inch (for example, 3/16 to 1/4-inch) and instead vary the slat width or number of slats.
Do I need to seal the underside of the bench, especially the frame rails and leg bottoms?
Yes, focus on coating the areas that stay damp. Even if the seat drains well, the underside of rails and the bottom portions of legs take longer to dry. Apply the same exterior oil or stain to the undersides before final assembly when possible, and pay extra attention to freshly cut ends, which are most vulnerable to moisture intrusion.
What’s the best way to prevent cedar from splitting when pre-drilling screws?
Pre-drill every screw location, and don’t skip drilling near slat ends where the wood is thinnest. Use an exterior screw bit matched to your screw diameter, and keep the pilot hole straight so the screw doesn’t wander and wedge the board. If you still see splitting, reduce screw edge distance by adjusting slat positioning slightly rather than forcing screws closer to board ends.
Can I build the bench with PT lumber, and do I need to treat it after assembly?
You can use pressure-treated lumber, but assume it needs extra time for drying and warping control. PT boards often move after installation, so allow them to acclimate before cutting if possible. After assembly, apply a compatible exterior finish (oil or stain) to help slow moisture cycling, but follow the product label for recoat timing and whether the finish is meant for PT wood that’s already treated.
Should I use wood glue on this bench?
Generally, no for the primary structural joints. Screws and carriage bolts handle the load and allow for seasonal movement. If you add glue, use it only as a secondary aid on non-structural parts and choose an exterior-rated product. The bigger risk is trapping moisture at glue lines, which can accelerate issues in the slat gaps and frame corners.
What’s the safest way to level the bench on uneven pavers without cracking anything?
Avoid anchoring directly through individual pavers, because minor shifting can crack them over time. For leveling, use outdoor composite or rubber wedge shims under the legs, then re-check level after the first heavy rain. If you need more stability, place a low-profile rubber foot or set each leg on its own flat paver pad, so load is spread even if the patio base settles.
My bench rocks slightly, how do I tell whether the problem is leg length or a frame rail connection?
Do a quick rock test first, then check both diagonals by pressing corners. If the same diagonal lift repeats, the legs or base contact points are likely uneven. If the rocking changes when you tighten visible fasteners or if you find side-to-side racking, suspect a loose rail-to-frame joint. Tighten carriage bolt nuts and confirm each rail seats fully before you add shims.
Can I use a different bench length than 4 to 6 feet, and what changes?
Yes, but longer benches need more bracing to avoid sagging or racking. If you exceed the typical range, add at least one additional support point in the seat area by increasing the number of rails or adding a mid-rail connection so the slats don’t flex between end frames. For shorter benches, reduce slat count but keep the same seat height and drainage gap approach.
What if I want a backrest but the bench will sit near a wall or gate?
Plan for the extra footprint created by the back legs and back slats. Before cutting, sketch a top-down layout and measure clearances to the nearest obstacle, including door swings and chair placement. If clearance is tight, consider fewer back slats or a backrest that stops higher or lower, but keep the lowest back slat positioned around 12 to 13 inches above the seat for comfort and support.
How often should I re-stain or re-oil, and what signs mean it’s time?
Reapply when water stops beading and the finish looks faded, especially on the top edges of slats and the front rail where wear happens first. For penetrating oils, a common interval is roughly every 12 to 18 months in sun and weather exposure. Don’t apply over trapped moisture or mildew, clean first, let everything dry completely, then apply two coats with proper drying time.